Hello everyone, I hope that you are keeping well. In a change from usual procedure, I am only posting on my own blog this month, as the Design Team blog at Chocolate Baroque is closing down. We have decided, due to decreasing visits from viewers, and ever increasing popularity on other forms of social media, like Facebook and Instagram, that we will discintinue the blog. It is still there, if you wish to visit the archives, but we will not add anything new.
I have a bumper packed issue today, with projects from last month's TV shows, plus some older projects using stamps from the TV shows that some of you may have seen before. I hope you will enjoy what I have to share with you.
My first set of projects were made using a stamp from the Shaded Baubles stamp set, and I wanted to show that you could use this stamp all year round, it is such a versatile stamp. The stamp set is essentially a Christmas stamp set, but you can make cards for any occasion using this stamp.
My first two cards started out in the same way, I made a Distress Ink background in shades of blue and purple. For the first card, I kept the background plain, but added a sentiment from the Kings of the Orient stamp set, stamped in dark blue. I coloured a piece of Drawing Cartridge with Distress Oxide in blue and purple inks, and stamped the circle from Shaded Baubles with the dark blue ink, adding an image from the Following Yonder Star stamp set. I added highlights with a white gel pen, and cut the circle out. I adhered the circle to the background, and edged the background with the dark blue ink, before attaching it to a card blank.


To create my alternative season cards, I sprayed a piece of Drawing Cartridge with some green ink and left this to dry. I added some colour around the edges with Seedless Preserves Distress Ink, and stamped a little leaf from the Hyacinth stamp set all over the background using green ink. I used the same green ink to stamp the circle from Shaded Baubles onto a piece of card which I had lightly shaded with green Distress Ink. I added the cone flower from the Fuchsia stamp set, and more of the little leaf to create a fuller effect. I coloured the image with pencils. I edged both pieces of card with the green ink before attaching them to my card blank.

I am sharing an older example at this point that I had also made with the circle from the Shaded Baubles stamp set, using a butterfly and sentiment from Butterfly Perfumery. The background is once again sprayed with ink, and I stamped a splatter stamp from the Timeless stamp set using brown ink. I coloured the butterfly with Inktense pencils, and added a touch of brown shading to the circle background.I used a fineliner pen to draw a frame on the background.

A final Christmas sample that I made for last month was this brightly coloured tag card. I used a DL card base, and cut off the two top corners. I did the same for the piece of Drawing Cartridge. I coloured the background in shades of yellow, orange and purple, and added stamps from the Gold, Frankincense, Myrrh stamp set over the top. I stamped and embossed the main image from Kings of the Orient using gold embossing powder. I coloured the image using Zig clean colour markers.

This next card is a remake of an old favourite, but I found a much quicker, easier way to create the card. The first time around, it took me ages to make the card! I had decided to make the card as a TV demo, and needed to make the card quite quickly, so a bit of lateral thinking helped me devise a better way of making the design. I used some masking tissue to create the wavy hills, and these held the top spotlight piece of the card in place as I inked both pieces of the card, much easier than last time. I inked the main card in tones of grey, and the spotlight portion of the card in greens, and heather for the hills, adding blue for the sky, and a sun, using a circle mask. I used the folige from Floral Edges on both pieces of card, using grey ink for the main card, and green ink for the spotlight card. I added a sentiment from Amazing Mackintosh Words.

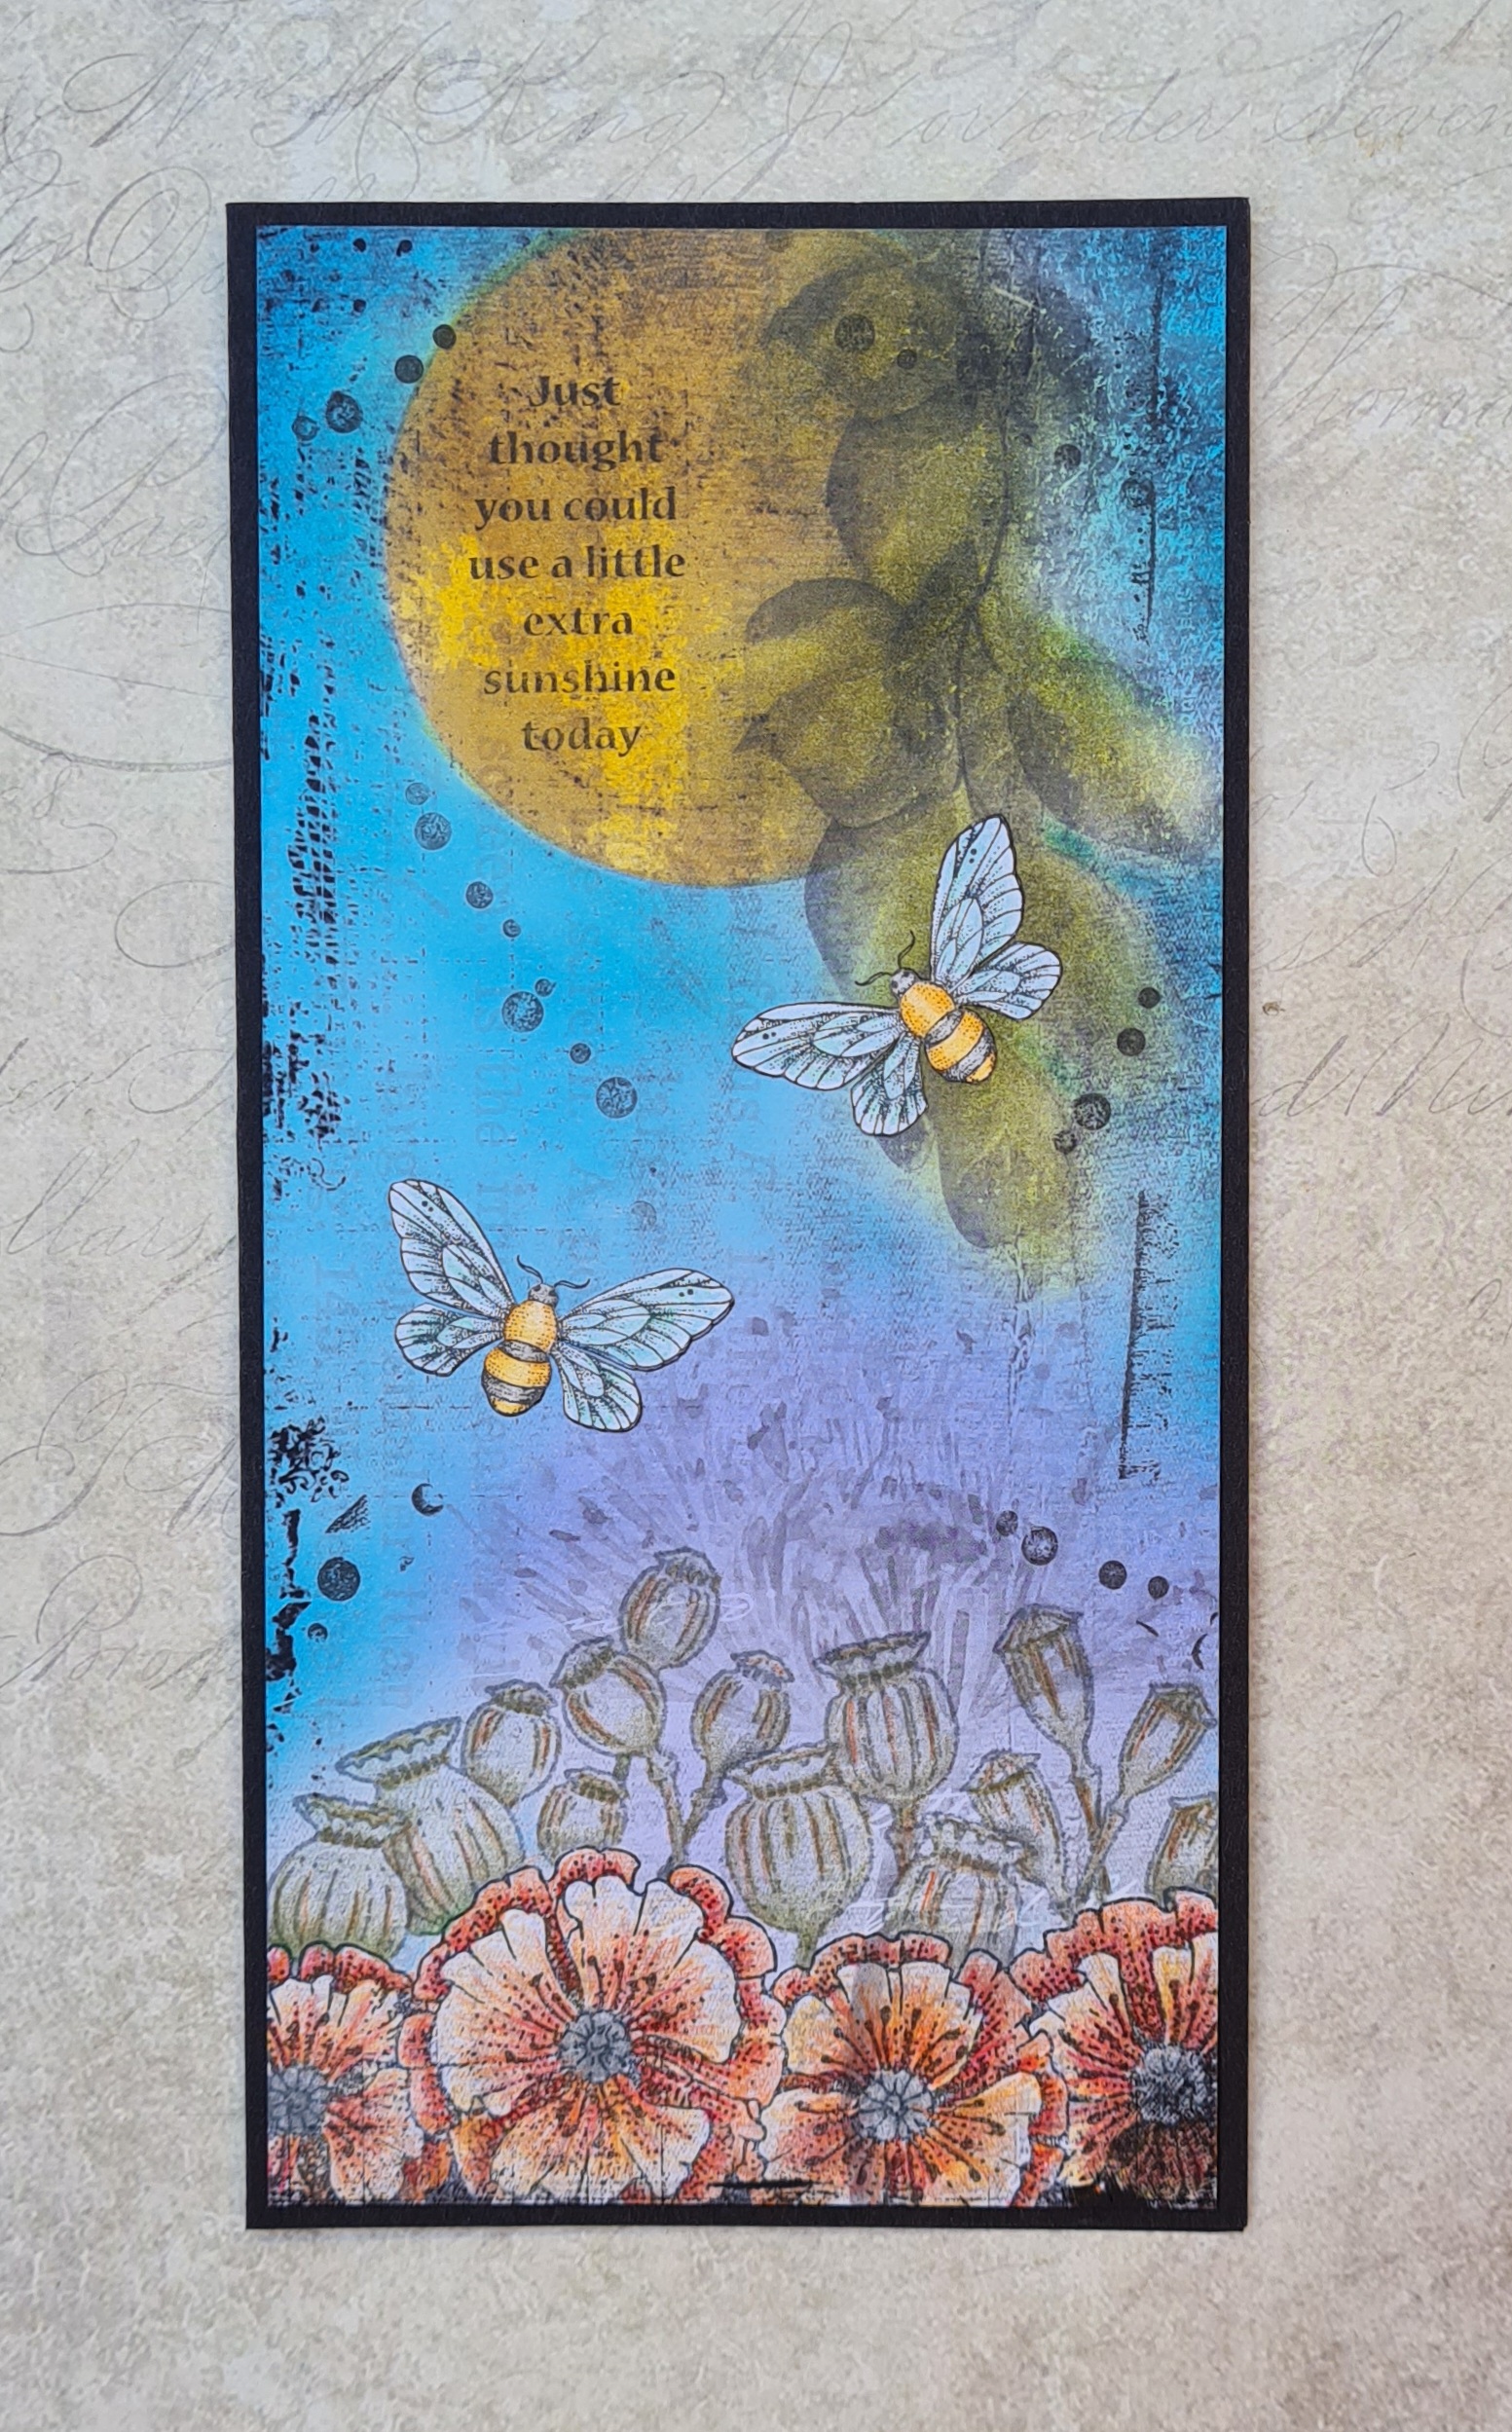
Another one of the edge stamp sets that we had on the TV shows was Poppy Edges, a beautiful stamp set, and I decided to combine this set with some of Lesley's black and white papers that we had on the TV show. I inked up the paper using Distress Ink and blending brushes. I stamped the big poppies at the bottom and masked them off, adding the poppy seed heads afterwards. I coloured these with pencils, and added a couple of bees, which I stamped on a separate piece of card and decoupaged. The sentiment comes from Loving Sentiments.
Now for a few golden oldies, this one uses the Decorative Edges stamp set, and the image is hand drawn by me.

These two are from Landscape Edges:
.JPG)

This one is from Autumn Edges:

Finally this one combines Floral Edges and Butterfly Dress:

Thanks for stopping by, I will be back very soon to share some projects from this month's TV shows. Take care, xx

