Followers

Saturday 5 August 2023

Over the Moon

Hello everyone, I hope that you are keeping well. It's been a while since I have posted, as life here has been very busy. More of that later in my post. I have a couple of projects to share with you today, featuring stamps from this month's TV shows on Create and Craft designed by Fiona Randall. I do hope that you were able to watch the shows. You can still watch them on catch up if you missed them.

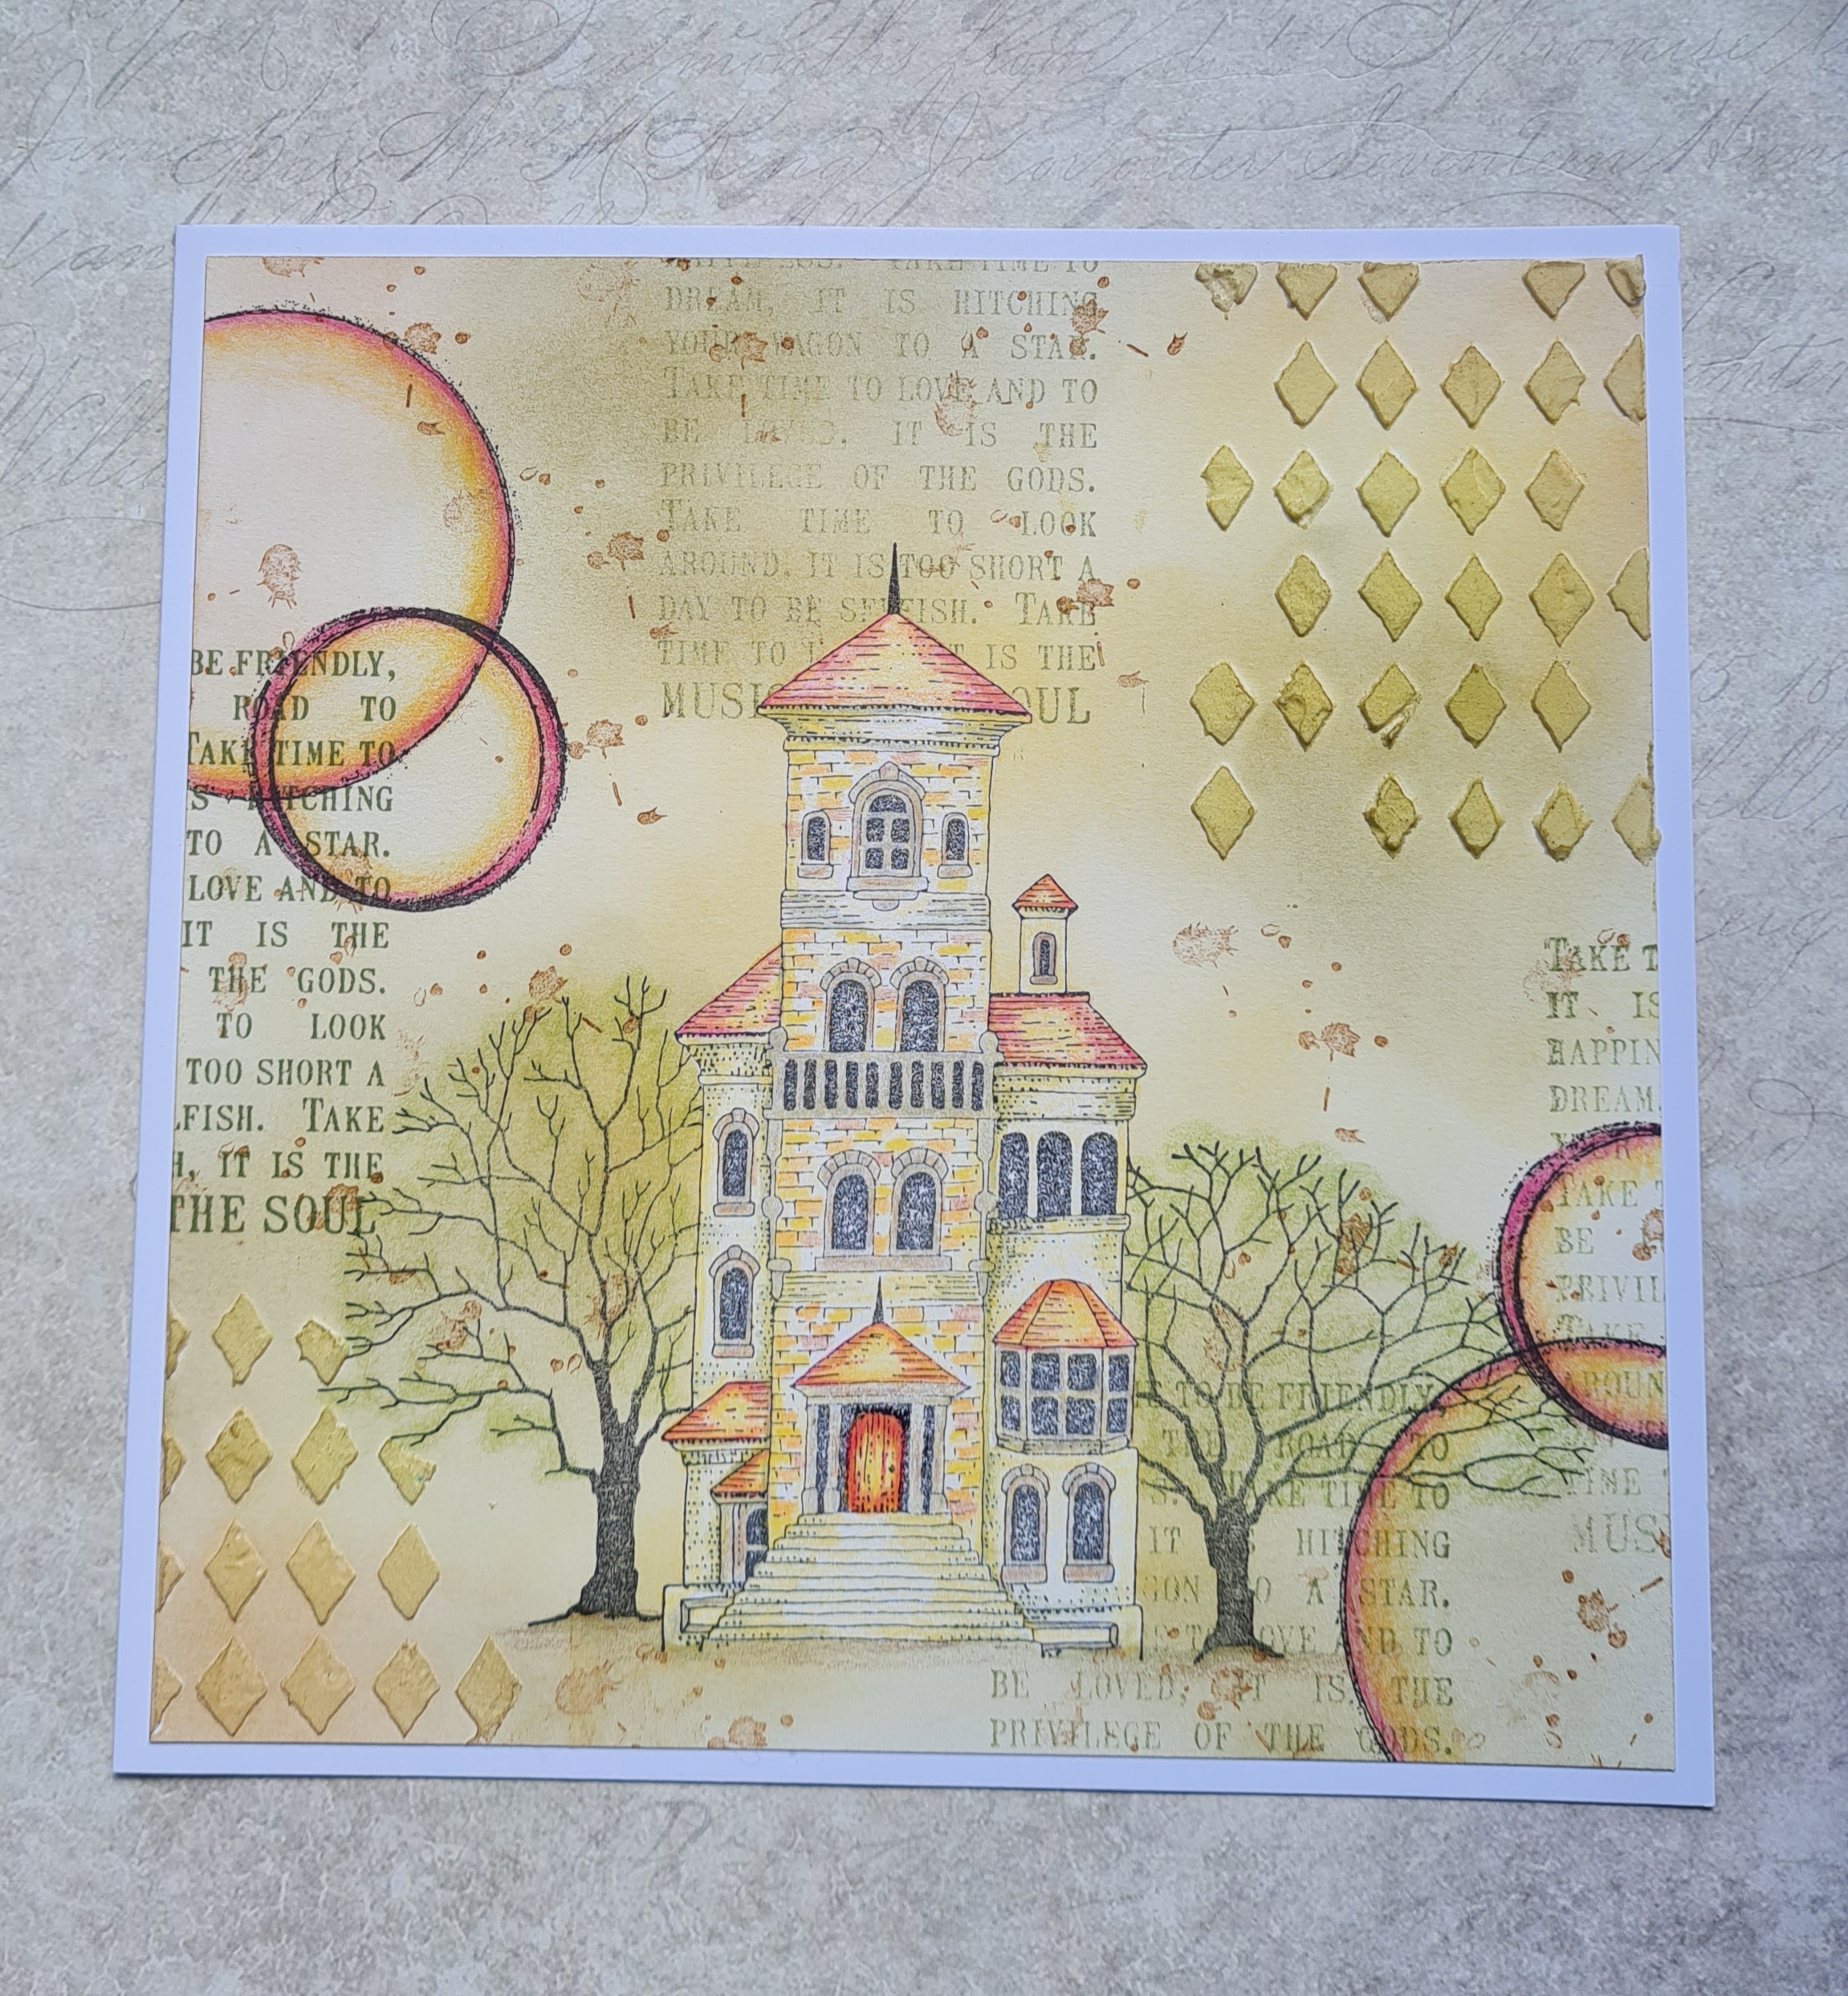
I used kraft card to create both of these cards. It's such a fabulous surface for colouring, and I wanted to create a very dramatic card, so it was a great background choice. Grey card would have made an equally good backdrop for this design. I stamped the moon moth twice, and masked the image. I used a circular stencil and sponged some colour onto the background. I could have cut a mask from paper or acetate, but this option was much quicker. You just need to be a bit careful not to go over the edges. I used Speckled Egg and Twisted Citron Distress Oxide Ink. I removed the masks and added some pencil colouring to the images, and then added a sentiment from the same stamp set, which is called Over the Moon. I used a fineliner pen to go over any areas of the images that had been washed out by the Distress Oxide Ink, they can look a bit milky, and the fineliner pen just sharpens up the outlines again.


My second project is very similar to the first, but I chose to stamp the butterfly instead. I used Speckled Egg Distress Oxide, and then used a piece of sponge and added Faded Jeans Distress Ink over the top to create areas of shading. The circle looks rather like the moon, or even the Earth this time. It was so quick to achieve this effect. I have not gone over the milky areas of the stamped image in this photo with a fineliner pen, so you can see the difference between the two projects.

I used Faber Castell Black Edition pencils to colour my images. They are great for colouring on surfaces like kraft, or other coloured surfaces. You could use your Koh-I-Noor pencils, Polychromos, Polycolours, whatever pencils you enjoy using normally, and paints would work equally as well. I tend to grab whatever is at hand, and go through phases of what I enjoy using most.

So as I mentioned earlier, life has been very busy lately. My beautiful granddaughter Ruby has just finished nursery school, and will be starting school in September. She is not quite four years old, so it feels very early for her to be at this momentous point in her life. Her birthday is later this month. She had a little graduation ceremony at her nursery school, with a cardboard mortar board hat and a scroll to mark the occasion! We were so proud to be there.

A couple of weeks ago, my daughter got married at a stunning location in North Norfolk. The whole weekend was amazing, and we had a wonderful time. Megan looked so beautiful, and we had the happiest of days, despite the rain which did not dampen our spirits at all. We could not have asked for a more perfect day.

Proud Mother of the Bride moment, I always think that Megan is beautiful, but she looked amazing on her wedding day.
The rain did not stop the happy couple from having a wonderful day together.

My granddaughter felt that my outfit needed a special accessory to finish it off!

Thanks so much for stopping by, your visits are always appreciated, take care xx


Tuesday 6 June 2023

Furry Friends

Hello everyone, I hope that you are keeping well. I have some projects to share with you showcasing stamps from this month's TV shows on Create and Craft.

My first two cards feature stamps from a new set of stamps called Over the Rainbow, designed by Donna St. Pierre. I created a background for my cards by adding Distress Oxide to an acrylic block and spritzing this with water. I placed a piece of Drawing Cartridge over the block and pressed it down . Once I had removed the Drawing Cartridge, I scrunched a piece of cling film onto the surface, and left the background to dry. This technique creates a fabulous marbled effect.

Once the background was dry, I added some first and second generation stamping along the bottom with a foliage stamp from the Silhouette Grasses stamp set, using a green Versafine Clair ink. I used the same Distress Oxide inks to shade around the edges of a whiteboard heart using blending brushes. I then stamped the silhoette cat or dog onto the heart in second generation stamping, using a soft grey for the dog, and a yellow for the cat. I only wanted a faint impression of the image. I used three different coloured pencils and small pencil strokes to create fur for the animals. I started with the lightest colour first, and worked up to the darkest colour last. I let some of the inked image show through for highlights in the fur. My pencil colours were a brown, grey and black for the dog, and two shades of orange and a terracotta for the cat.


I added a little butterfly and a sentiment from the same stamp set to each heart, then more of the silhouette grass to create a little scene. I attached the heart to its background to complete the card.


My next card was created using both of Donna's sets, Over the Rainbow, and Hevenly Pets. I am a cat lover, and so I have chosen to use the cat for my sample, but you could use the dog image and create a similar project. I stamped the cat image onto smooth stamping card, and then masked the image off with Masking Tissue. I stamped the rainbow bridge image so that just the bridge and rainbow would be visible. I added a soft background using Wilted Violet, Kitsch Flamingo and Tumbled Glass Distress Ink blended softly over the background. I added a sentiment which fitted this card perfectly. I removed the mask and coloured the images with pencils. You could use whatever medium you like to add colour, I simply had my pencils nearby, and they are generally my go to medium of choice.

I am sharing an older sample created with another stamp set of Donna's, A Vase full of Love. I really enjoyed creating this card, the hummingbird is such a lovely image, as are the fuchsias.


We also had some beautiful designer papers on the show. They are a fabulous size, perfect for creating a card in no time at all. I simply trimmed one of the papers slightly, as I wanted a white edge, and added a bit of ink to the edges. I chose some words from Punky Expressions which I stamped in the corner, and I added a couple of vellum butterflies. This butterfly comes from the Butterfly Mind stamp set. 

You could use the papers as beautiful backgrounds, cut the flowers out, decoupage them, add stamping or inks, coloured pencils, or a vellum strip with a sentiment, they are so versatile. 

I will be back soon with more projects to share. Thanks so much for stopping by, I always appreciate your visits. Take care xx


Tuesday 30 May 2023

Reuse, Recycle

Hello everyone, I hope that you are keeping well. I have a few projects to share with you today featuring stamps from this month's TV shows on Create and Craft.

My first project features a bit of recycling, and when I showed it Lesley, we both laughed, as we had both thought up very similar projects! I started by creating a vibrant background using red, orange and yellow Brushos on a piece of Drawing Cartridge. These backgrounds are a great starting point for a project and you could have a crafty afternoon making lots of them and save them for later.

I then cut up a brown paper shopping bag, the sort that you get your groceries in from a supermarket, and ironed a smalled piece nice and flat. I stamped the Poppy Ledger image using Versafine Clair Nocturne ink. I put a small amount of yellow, orange, red and olive green Brusho onto an acrylic block and gently spritzed each colour with water. I used a brush and some extra water to paint the image with these colours. I then used a couple of the colours to splat the image with my brush afterwards, to make it look a bit older. 

I added a piece of scrap card behind the image to make it a bit stiffer, then attached it to a piece of corrugated card that I had trimmed to become a mount. I think that this card would look great with some little tickets and some twine added to finish it off, don't you?

I have a couple of older projects to share with you. On my next project, I decided to stamp the lovely focal image from Fragile Wings onto dark blue card for a change. I used white pencil for highlights and than added some blue and green pencil for a pop of colour. The blue/green background uses a couple of useful background stamps that tie in well with the main image.


Next, this card featuring Floral Study is another older card, but I like the greens contrasted with the pinks and oranges, it feels quite warm. I have added stamping from the Glorious stamp set in the background, and used watercolour pencils to colour the main image.

I am also sharing some projects using some stamps from the tree house stamps that we brought to the shows. My next project uses the fabulous Tree House stamp set, and I chose to stamp the image onto a piece of patterned paper created by Lesley a while ago. The paper had lovely pink and green elements, and this became the basis for my colour scheme. I created a background for the card using Picked Raspberry and Shabby Shutters Distress Inks, then added a tree image and sentiment from the Trees a Crowd stamp set using a dark green ink. I stamped both repeatedly over the background.

I coloured the focal image with pencils, and then added extra shading around the main image and background using the Picked Raspberry Distress Ink.

You could create a similar look if you did not have the patterned paper, using a piece of black and white script paper or a piece of plain smooth white stamping card. You could add script and a subtle floral image to the plain background, or some coloured stamping to the script background, plus a bit of shading. You can very easily achieve a patterned background that looks every bit as nice as the one that I started out with.

I have some older 'house' projects to share with you today, to round off this month's selection. I hope that you enjoy them. 

This one is created using the Mushroom House, and the moon reflecting on the house at night.


This one is the Heath Robinson House. I stamped the main image on a tag, coloured it with pencils, and used one of the sentiments to create a background over a gelli print.


 This one is Italian House, with a couple of Trees from Orchard Design a Tree, words from Words of Wisdom, and circles from Make Your Mark. I have added texture paste through a stencil and coloured the images with pencils.

This card was created using the Dutch House, and a tree from Trees a Crowd. I wanted the colourful houses to look like a street in Amsterdam in the Spring. 

Finally, a project from the Garden House. I stamped the image onto book paper, using the Tagtastic stamp as a frame. I added a couple of bees from the Honey Bee set and a sentiment onto the watercoloured background.

Thanks so much for stopping by and take care xx


Monday 15 May 2023

Fun With Flowers

Hello everyone, I hope that you are keeping well. I have a few more projects to share with you featuring stamps from this month's TV shows on Create and Craft.

My first project was created by stamping and embossing the very pretty Wish Flower repeatedly over a piece of Drawing Cartridge using Versamark and white embossing powder. I then added Wilted Violet and Broken China Distress Oxide over the top. The white embossing acts as a resist, and creates a beautiful design. 

I then stamped the flower again, complete with its accompanying words onto a piece of fabric using Archival Jet Black Ink. Don't be worried about stamping onto fabric, you just need to allow a little bit more time for the ink to do its job, so allow the stamp to sit for a bit longer before you lift it off. I coloured the image with Inktense pencils, first a pale green and a lilac, then added water with a brush. While the image was damp, I added a deeper green on the leaves and stems, and a turquoise on the flowers in the dotted areas for shading. As the fabric was damp, the colour was a little bit deeper.


I chose to leave the fabric as it was, but I could have frayed the edges, sewn the piece with a sewing machine, or drawn some faux stitching around the edges with a fineliner pen, (see my example below). You can really play around and experiment with fabric, it can be a lot of fun.

My second project was a pretty little acrylic bookmark using one of Lesley's newest patterned papers. These are all bookmark size, so perfect for this project. I stamped the image from Garden House using Versafine Clair Nocturne Ink, then needed to decide what materials to use on the top. Because I knew that I was going to use Matte Medium to adhere my bookmark to the acrylic piece, I could not use anything that might react to something wet, for example watercolours or Distress Inks. So I chose to colour the image with pencils to be on the safe side. I added a bit of shading at the bottom, again with pencils, and also used pencils to colour through a stencil. 

I added a sentiment at the top, which normally would have been too wide, so I used masking tape to cover parts of the sentiment each time I inked it up, enabling me to break it into three parts. Finally, I covered the whole bookmark with Matte Medium and adhered it to the acrylic tag. I allowed the glue to dry before sanding the edges and punching a hole at the top. If you chose to make one of the bookmarks and stick it to a chipboard shape, you could use all sorts of mediums, paints, watercolours, Distress Inks, whatever you like. It was purely because I was inking over the top that I needed to be so careful.

I have an older project using the fabulous Wish Flower that I am sharing with you today. I have stamped the image onto patterned paper and coloured it with pencils. I then took a piece of greyboard and painted it to match the patterned paper, adding some stencilling and the words from the stamp to create a matching background.

I will be back soon with more projects to share with you. Thanks so much for stopping by, take care xx


Thursday 11 May 2023

In Flight

Hello everyone, I hope that you are keeping well. I have some projects to share with you featuring stamps that were part of this month's TV shows on Create and Craft. 

My first project was created by adding some Distress Oxide Inks to a craft mat, (I used Wilted Violet and Evergreen Bough), and spritzing them with water. I patted a piece of Drawing Cartridge onto the mat to pick up the colour. I dried the Drawing Cartridge and then picked up some of the left over colour, to get a layered effect on my background. I am explaining this technique purely for any new stampers out there. I know that I use this technique a lot, but due to the time constraints of a TV demo, I need to add colour to a background very quickly, and this works very well.

For the next stage of my project, I brayered Evergreen Bough Distress Ink onto some smooth stamping card, (on my original card, I used a gelli plate for this step). I added some extra texture to the background by stamping over the top using the Square Bubbles stamp and Lucky Clover Distress Oxide Ink. I then stamped the A Year of Stamping Issue 5 - May image using Versafine Clair Nocturne Ink. After ensuring that the image was completely dry, I coloured the dragonflies using Artway shimmer paints. I coloured the dotted areas of the wings with Inktense pencils to add a bit of shading.

To finish the card, I found a piece of patterned paper in my stash, to which I added shading with Distress Inks so that it matched my overall colour scheme. I stamped a sentiment from the Fragile Wings stamp set. I trimmed the main image around the outline, and then ran a black inkpad around the other components of the card to match. I allowed everything time to dry before attaching it all to a card blank.

My second project features the very pretty Bird of Joy stamp. This is such a versatile stamp, as the words can also be removed and stamped separately, or not at all. I chose to create a large, colourful tag, and started by stamping the image with Versafine Clair Nocturne. I masked the image and also used a circle mask for a sun. I added background colour in blue and green. I then used a couple of floral images from the Walk Tall stamp set, stamping them in plum and olive shades. I added the wording using a grey Versafine Clair Ink, and second generation stamping, so that the words were not too prominent.

I removed the masks and added yellow ink for the sun, and coloured the image with Zig Clean Colour markers. I love how vibrant these pens are, and how they blend so easily.


I have another card using this fabulous stamp that I created a while ago, and I thought that I would share it with you again. I made a gelli print directly onto a square card blank, and then stamped the Bird of Joy over the gelli print. I simply coloured the image with pencils. I obviously like this colour option, as both birds are very similar! 

I will be back very soon with more cards to share with you. Thanks so much for stopping by, take care xx

Sunday 23 April 2023

A Bumper Blueprint Post!

Hello everyone, I hope that you are keeping well. This post could be a long one, so I hope that you have a cuppa handy! I have lots of projects to share with you today, featuring stamps from our TV shows on Create and Craft. 

My first project was a journal page spread that I created using the beautiful blueprint stamp bundle that we had on the TV show. The stamps featured were Cala Lily Blueprint, Freesia Blueprint, Wild Cornflower Blueprint and Sweetpeas Blueprint. I cut some panels of smooth stamping paper, two were 8cms by 14cms, and one was 8cms by 15cms. I used a small rectangle gelli plate and covered it with Evergreen Bough Distress Ink. I stamped the On The Tiles stamp onto the gelli plate using Broken China Distress Ink. I then stamped the gelli plate onto each of the panels. Once the panels were dry, I stamped one of the large images from the stamp plates using Versafine Clair Nocturne onto each of them. I missed out the Cala Lily Blueprint, as I only needed three. 

I coloured the images with pencils, sticking to a limited colour palette of mostly purple, magenta and green. I added Seedless Preserves Distress Oxide through a square stencil onto the panels, avoiding the images themselves.

Using a small round gelli plate, I inked it up and stamped over the top with the On the Tiles stamp in the same way repeatedly over a two page spread in my A4 journal. I worked out where I wanted to place the panels, and added ruler frames around those areas using black ink. I added smaller technical images from the stamp sets using Purple Delight, Warm Breeaze and Nocturne Versafine Clair Ink. I then added sentiments using Twilight Ink. Finally, I attached the panels over the top.


I always knew that I intended to make a card with an extra panel, so I made one as I went along. I created a background using Drawing Cartridge and Evergreen Bough Distress Ink. I added one of the sentiments and black ink. I often find that working in my journal is a springboard for a good card idea, and this was no exception.

I decided to make a set of cards using some of the technical images. They are so useful, these smaller designs. I very quickly inked up a square gelli plate with a variety of colours, then stamped over the background with a toning ink. I cut a piece of smooth stamping card and stamped one of the medium floral images and coloured it with pencils. I inked around the edge of the panel with the background ink colour. These were fairly quick cards, but really pretty and very effective. 


You could choose more masculine colours - grey, brown, ochre, etc. and make a range of masculine cards by adding the technical images instead of the flowers. These would make fabulous storecupboard cards for when you need a card in a hurry. I can think of lots of other stamps in the Chocolate Baroque range that I am going to give this treatment to for Birthday cards now, and I hope that it has helped to give you some inspiration too.

So now I am going to share a bunch of older cards with you, which if you have followed me or Chocolate Baroque for a while you will recognise, if not, then I hope that you will enjoy them.

The first card is a typical blueprint style, white embossing on glossy card, with Blueprint Sketch Distress Ink over the top, and the lovely Wild Cornflower Blueprint image to complete the card.

More white embossing and colouring on kraft card for the Cala Lily Blueprint this time.

A few cards showcasing the Freesia Blueprint stamp set. The first card, I have stamped the image onto a linen panel.

The second uses textured embossing on the background through one of our stencils.

Onto the Sweetpeas Blueprint stamp set now, and a little canvas where the image was stamped onto tissue paper and added over acrylic paint.

A horizontal panel matted over patterned paper. the little flower heads were placed into the flagpole centers as if they were in glass domes.

Finally, I used the postage stamp stencil and added lots of the small images from the stamp sets to create postage stamps.


I hope that I have given you lots of inspiration using these fabulous stamps. Thanks so much for stopping by, take care xx

Sunday 16 April 2023

Butterfly Flourishes

Hello everyone, I hope that you are keeping well. I am back with more projects to share from our April TV shows. 

My first project was created by stamping an image from the Butterfly Flourish stamp set onto a piece of Drawing Cartridge with Versamark and white embossing powder. I added Shabby Shutters, Evergreen Bough and Wilted Violet Distress Ink with blending brushes. I then covered the background with copy paper and ironed over the top to remove the embossing powder. This creates a faux batik effect, leaving a flat surface once again.

On a piece of smooth stamping card, I stamped the butterfly flourish image from the same stamp set, and a butterfly from the Butterfly Perfumery stamp set. I coloured these with co-ordinating coloured pencils, (I used Caran D'Ache pencils).  I cut the butterflies out, and arrached them to the card. I drew the antennae using a fineliner pen. Because I had ironed the embossing powder away, I was able to draw over the surface of the background easily. I also added a sentiment.

Faux batik is such a useful technique, you can stamp over the top and colour the clear areas with pencils, inks, etc. It adds so many possiblities to your backgrounds.

For my second card, I used the same colour Distress Inks as before, and swiped them over an acrylic block. I spritzed them with water, and pressed the block onto a piece of Drawing Cartridge. I allowed the background to dry completely. I used the two corner stamps from the Butterfly Flourish stamp set, and created a very simple card design, stamping with Twilight Versafine Clair Ink. I added a sentiment from the same stamp set. By varying the colours, you could make this into a masculine card.

I will be back soon with more cards to share with you, thanks so much for stopping by, take care xx


Related Posts Plugin for WordPress, Blogger...