Hello everyone, I hope that you are keeping well. I have a few projects to share with you today featuring stamps from this month's TV shows on Create and Craft.
My first project features a bit of recycling, and when I showed it Lesley, we both laughed, as we had both thought up very similar projects! I started by creating a vibrant background using red, orange and yellow Brushos on a piece of Drawing Cartridge. These backgrounds are a great starting point for a project and you could have a crafty afternoon making lots of them and save them for later.
I then cut up a brown paper shopping bag, the sort that you get your groceries in from a supermarket, and ironed a smalled piece nice and flat. I stamped the Poppy Ledger image using Versafine Clair Nocturne ink. I put a small amount of yellow, orange, red and olive green Brusho onto an acrylic block and gently spritzed each colour with water. I used a brush and some extra water to paint the image with these colours. I then used a couple of the colours to splat the image with my brush afterwards, to make it look a bit older.
I added a piece of scrap card behind the image to make it a bit stiffer, then attached it to a piece of corrugated card that I had trimmed to become a mount. I think that this card would look great with some little tickets and some twine added to finish it off, don't you?

I have a couple of older projects to share with you. On my next project, I decided to stamp the lovely focal image from Fragile Wings onto dark blue card for a change. I used white pencil for highlights and than added some blue and green pencil for a pop of colour. The blue/green background uses a couple of useful background stamps that tie in well with the main image.

Next, this card featuring Floral Study is another older card, but I like the greens contrasted with the pinks and oranges, it feels quite warm. I have added stamping from the Glorious stamp set in the background, and used watercolour pencils to colour the main image.

I am also sharing some projects using some stamps from the tree house stamps that we brought to the shows. My next project uses the fabulous Tree House stamp set, and I chose to stamp the image onto a piece of patterned paper created by Lesley a while ago. The paper had lovely pink and green elements, and this became the basis for my colour scheme. I created a background for the card using Picked Raspberry and Shabby Shutters Distress Inks, then added a tree image and sentiment from the Trees a Crowd stamp set using a dark green ink. I stamped both repeatedly over the background.
I coloured the focal image with pencils, and then added extra shading around the main image and background using the Picked Raspberry Distress Ink.

I have some older 'house' projects to share with you today, to round off this month's selection. I hope that you enjoy them.
This one is created using the Mushroom House, and the moon reflecting on the house at night.

This one is the Heath Robinson House. I stamped the main image on a tag, coloured it with pencils, and used one of the sentiments to create a background over a gelli print.

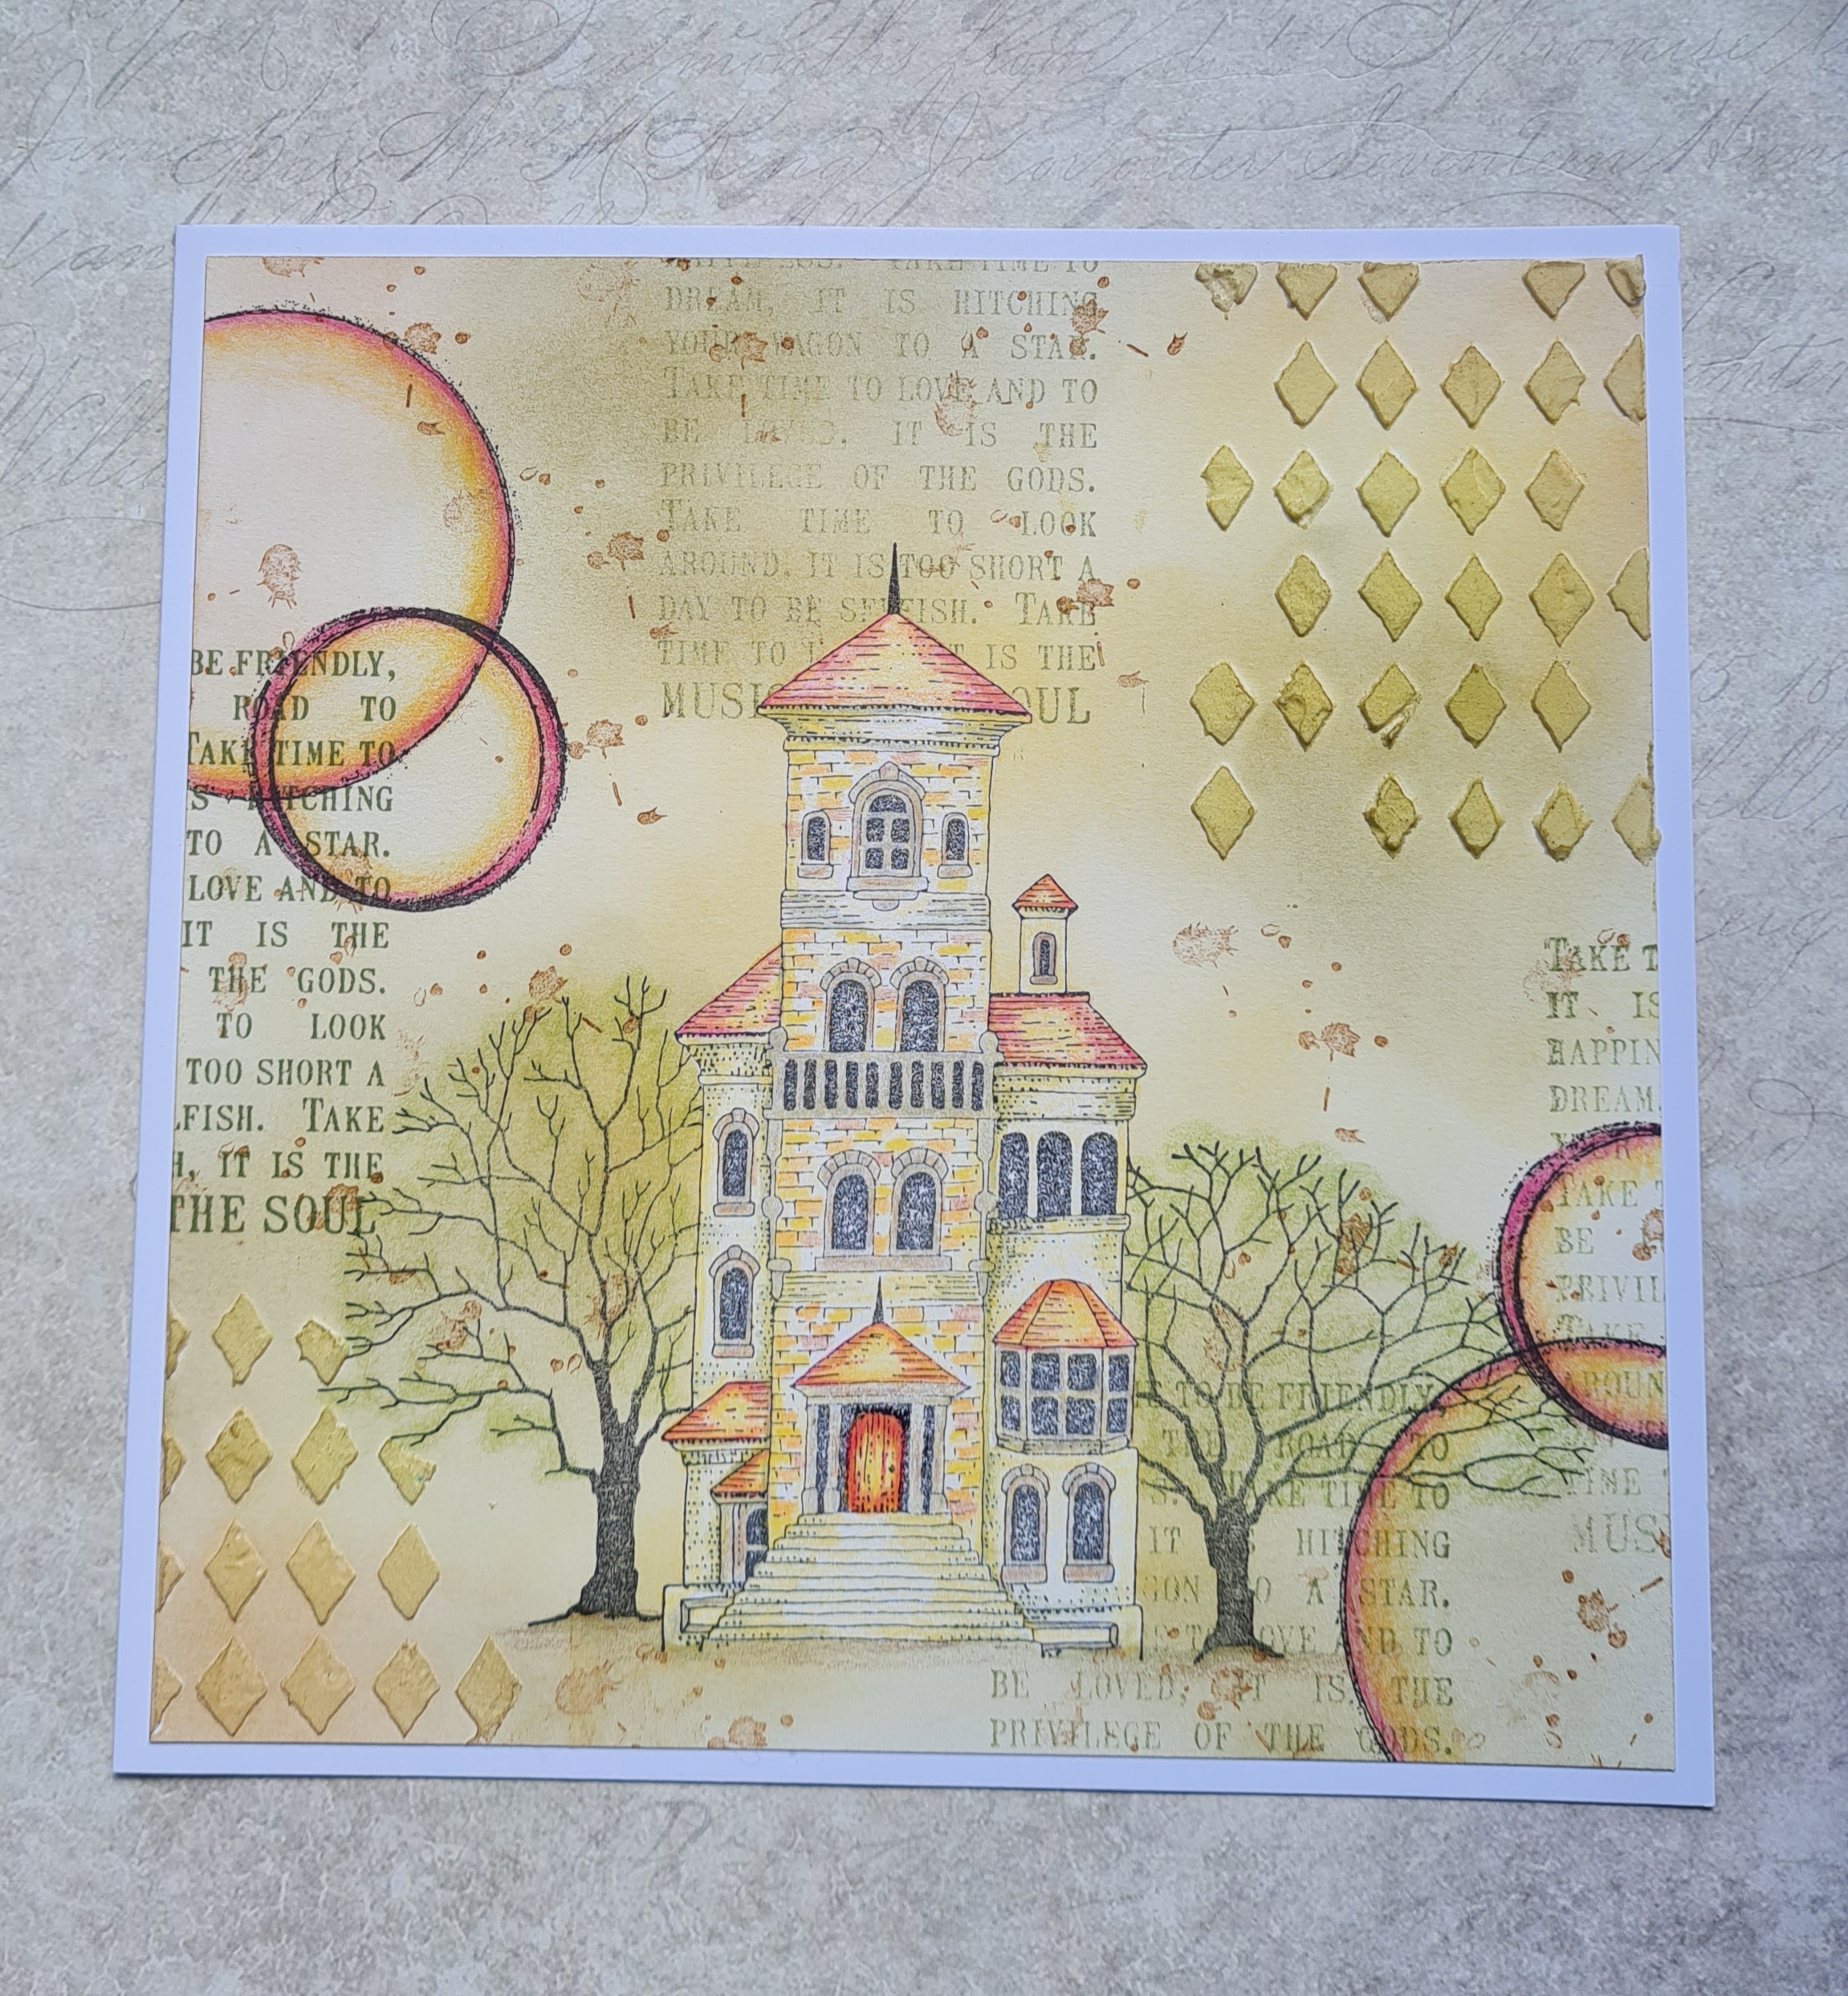
This one is Italian House, with a couple of Trees from Orchard Design a Tree, words from Words of Wisdom, and circles from Make Your Mark. I have added texture paste through a stencil and coloured the images with pencils.


Thanks so much for stopping by and take care xx


