Followers

Friday 28 April 2017

Russian Inspired Wedding Card

Hello everyone, I have another Russian inspired project to share with you today. I have created a card for today's post using the Russian Spires stencil, and have chosen a wedding theme for my project. I have used bold colours, but you could easily opt for pastel colours and create something to match the colours of a specific wedding, by changing the colours of the rooftops, for example..

I cut a piece of watercolour card, and drew through the stencil with a pencil to start with, to get the shape of the buildings. I removed the stencil, and using a fine tipped permanent pen, I drew the outline again, joining up all of the broken lines. I added in a few extra details, like the edges of the rooftops, and the landscape.

I coloured the image and landscape with Zig Clean Colour markers. I masked the building, and also added a mask for a sun.  I used some Salty Ocean Distress Ink on a craft mat, and spritzed it with water, then picked it up with a waste piece of bubble wrap to create the sky. I just dabbed the scrunched up bubble wrap randomly over the background. I removed the masks, and added some Squeezed Lemonade Distress Ink for the sun.

I added a sentijment from the Words to Dazzle and Sparkle stamp set, and a small image of two silhouette birds from the Landscape Edges stamp set.

I hope that my card has given you a bit of inspiration, thanks for stopping by, xx

Saturday 22 April 2017

Colourful Journal Pages

Hello everyone,  I needed to create an extra project for the Design Team Blog this month, and decided to have a bit of fun. Lesley, during the TV shows that introduced the new Russian themed stamps, had suggested giving the lovely Katya image some hair, and that was what kick-started this whole journal spread off in the first place. I chose to use the really versatile A5 Pink Pig journal containing 270 gsm watercolour paper, as this size of journal allows for a lot of choice in the layout that you can create, without feeling that you have too much space to fill. The watercolour paper is lovely and smooth and will take lots of water.

I started my project by masking the headdress on the Katya stamp, and inking up just the bottom part of the image, using Versafine Sepia Ink, before stamping it onto the journal page. I drew some hair freehand, using a pencil at first, until I was happy with the design, and then inking over it with a permanent brown pen.
I needed to mask the image, and as the masking tissue available on the website is not completely opaque, I was able to lay it over my image, and draw an outline to create my own custom mask.

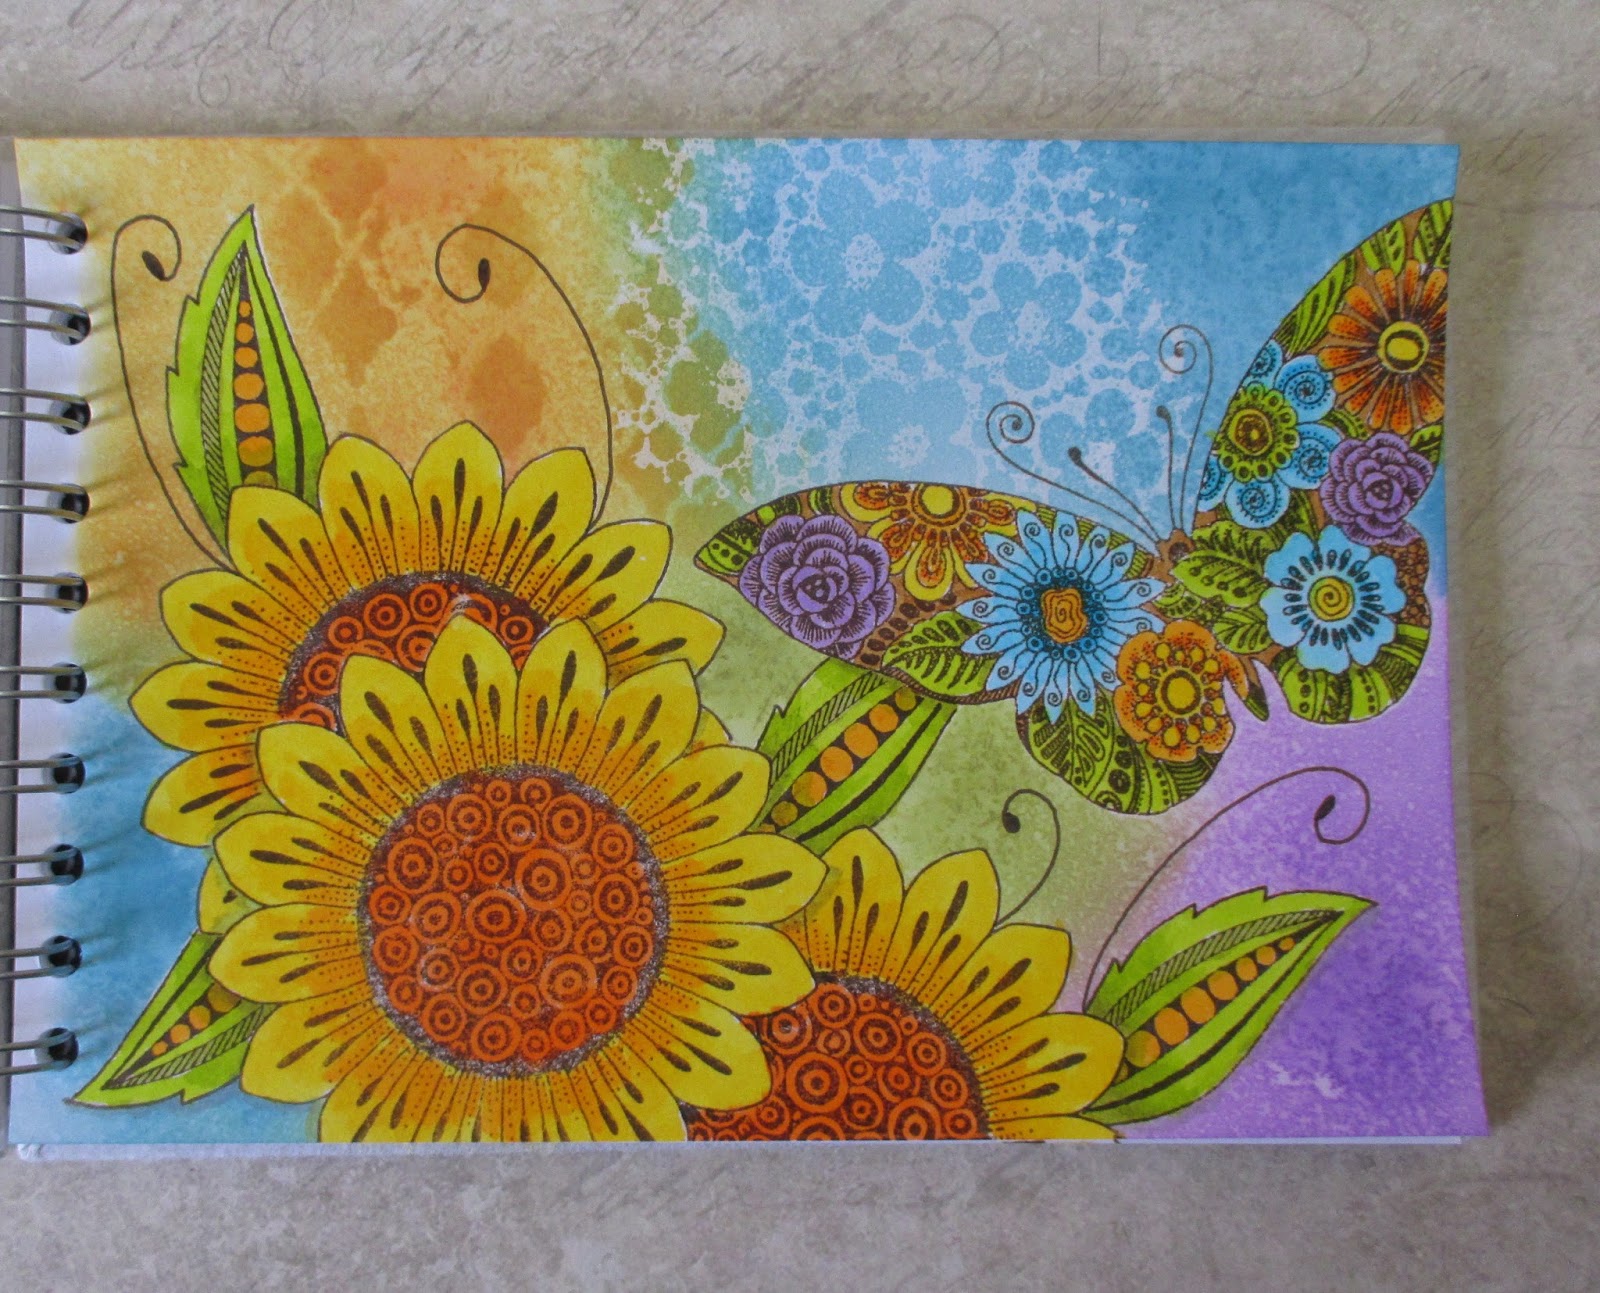
I added several other images to the pages; the Swirl Centre Flowerhead, and some leaves and a butterfly from the Tangled Garden stamp set. I masked all of these images as I went along, so that I could create a layered look to the pages. I wanted a subtle floral image in the background and added a favourite texture stamp from the Texture Fragments stamp set, using Acrylic Wax to stamp the image. I simply put a small amount onto a craft mat, applied it to the stamp with a piece of sponge, and stamped the image onto the background. I heat set the image before moving on to the next stage. I added Distress Ink to colour the background, and the acrylic wax acted as a resist where I had stamped the floral texture image.

I drew a few swirls by hand, using a permanent brown pen as before, and added a sentiment from the Artistic Expressions stamp set. A little bit of stencilling completed the background.

I coloured the images using Zig Clean Colour markers, keeping the colours bright and cheery to match the vibrant background. I decided to give Katya a modern twist with ombre hair, rather than a conventional colour. I added extra shading to her hair with some Stabilo Fineliners in co-ordinating colours.


I hope that you have enjoyed reading about my project, thanks for stopping by, xx


Saturday 15 April 2017

Speedy Distress Ink Cards

Hello everyone, I have a couple of quick cards to share with you today. These form part of a much bigger blog post over on the Chocolate Baroque Design Team Blog, that is a regular monthly feature, entitled Fifteen Minute Cards. The aim is to create cards in fifteen minutes or less, and we aim to share our tips and techniques for both beginner and more advanced stampers, to create both stylish and speedy cards.

For my first card, I created a wrinkle free distress background, using Fossilized Amber Distress Ink on my craft mat, spritzing it with water, and then patting a piece of smooth watercolour card onto the ink to pick up the colour. I dried the card, and then gently picked some of the droplets of ink left on the craft mat, to create a second layer of colour over the first, before dying the card again.

I used a stencil on two corners of the card, inking through the stencil with both Fossilized Amber and Tea Dye Distress Ink, to add a deeper colour. I stamped three bees from the Honey Bee stamp set, and coloured these with pencils. Finally, I added a sentiment from the Words of Wisdom stamp set.

I used a strip of left over card that had already been coloured in the same way as the first background, left over from another project, this time in shades of blue and green. I used the Silhoutte Palace 1 and Silhouette Palace 2 masks, joining them together, as I wanted a longer line to fill the card, and inked two shades of green through the masks. I also stamped the Large Crackle Background through the masks, using Versafine Onyx Black Ink. I used an image from the Floral Edges stamp set to stamp along the bottom of the background, without an acrylic block, so that I could use small portions of the image here and there, exactly where I wanted it. I used first and second generation stamping for more depth. I added some birds from the Landscape Edges stamp set, and a sentiment from the Words to Dazzle and Sparkle stamp set. I adhered the background to a large black card blank for added drama.

Head over to the Design Team Blog to see the rest of the cards designed by my Team mates. Thanks for stopping by, xx


Friday 14 April 2017

More Russian Inspired Projects

Hello everyone, I would have to say that the lovely Katya is probably my favourite of the Russian inspired images that we have been working with these past few weeks; the image is such a versatile stamp, and can be used in so many different colour options and settings. I have so many ideas for this stamp floating around in my head.

I have a card to share with you that was shown during the recent TV shows on Hochanda. I stamped the image first onto a piece of smooth watercolour paper, then masked the image, before creating a background, using Distress Oxide Inks. I placed a stencil slightly offset to one side of the stamped image, and added some blue ink through the stencil and spritzed it lightly with water to get the chalky effect again. I heat set the background with a heat tool, and then stamped and embossed the Large Crackle Backround stamp around the edge of the background, using Versamark and gold embossing powder.

I removed the mask, and coloured the image using Distress Markers, using shades of blue and yellow to tone in with my background colours. Finally I chose a lime green card to mat the background onto, before I adhered everything to my card base.

I have also created a very chocolately Easter card, perfect for this time of year. I found a shimmery background in my stash of left over background pieces, which was just the right colour. I stamped and embossed the Russian Floral Egg stamp all over the background, using Versamark and copper embossing powder.

I spread some Soft Form Relief Paste-Copper over the stamp, and left it overnight to set. Once the paste had set to a film, I peeled it away from the stamp, and trimmed the edges neatly. I added a little bit of gilding wax in a chocolate brown colour, just for a bit of definition.

I added a thick band of dark brown ribbon to the background, before matting it onto some dark brown card. Finally, I adhered the egg with strong double sided tape. It looks just like a foil wrapped Easter egg, good enough to eat!

I hope that my projects will inspire you to have a go with these fabulous stamps. I will be back in a few days with another project. Wishing you all a very Happy Easter, xx

Monday 3 April 2017

Katya Tryptich

Hello everyone, I  have a Russian style tryptich to share with you today, which was shown on the recent TV shows on Hochanda showcasing the fabulous new collection of stamps from Chocolate Baroque.

To create my project, I covered a wooden tryptich with Paper Artsy Vintage Lace acrylic paint, but any pale paint would be fine. I then stamped Katya and the Russian Floral Egg onto some pale scrapbook paper, using Potting Shed Archival Ink. I stamped the Large Crackle Background over the top using second generation stamping, as I did not want the crackle stamp to overpower the images. I used the same brown ink as before. I coloured the images with Polychromos pencils, choosing a fairly muted colour palette, in keeping with an old religious icon that you might find in a church or museum. I added some brown shading around the edges of each section, just with the edge of a pencil, before adhering each section to the tryptich.

I covered the back of the tryptich with a very pretty serviette, using a matte medium adhesive. I chose a design that looked very ornate with gold swirls and a dark base, as I wanted quite a mediaeval feel to the design.

I added gilding wax to the edges of the triptich in shades of green and gold to give an older feel to the piece.

I hope that my project will give you some ideas for using these beautiful stamps, not just for home decor pieces, but for your card making too. Thanks for stopping by, xx


Related Posts Plugin for WordPress, Blogger...