Followers

Showing posts with label Texture Fragments. Show all posts

Saturday, 1 January 2022

Happy New Year

Hello everyone, I hope that you are all keeping well and that you have had a good break over the festive period. I want to wish you all a very Happy New Year and all the very best for 2022. 

I am sharing a couple of projects with you today showcasing stamps that were featured on last month's shows on The Craft Store. The first is a little book made from a huge tag and I have used the Damask Panel stamped three times onto a Brusho background, using a metallic embossing powder.

I adhered the pieces onto the tag, and then cut away the excess from the third piece to get the tag shaped end. I added some pretty scrapbook paper on the inside of the tag, and punched the hole again at the top of the tag.


I scored inbetween the pieces, to create the book. I cut a few pages, and sewed them into the book using bookbinding thread. 


I added a piece of teal ribbon through the hole at the top of the tag to allow the book to be closed. This simply wraps around the book, and ties in a bow. These little books make great gifts, and are really quick to make. You could add any kind of pages; old book pages, kraft paper, watercolour paper, whatever you like, to create a mixed media book, but I used drawing cartridge for my sample.

My second project is an old project, which I thought I would share again. I stamped Ophelia onto a piece of Drawing Cartridge and masked the image with Masking Tissue. I coloured the background with Distress Inks and splattered the background with water, which I blotted with tissue. I added some stamping over the top using a stamp from the Texture Fragments stamp set. I stamped and embossed the fronds from the Underwater stamp set before removing the mask. I coloured Ophelia with pencils. I added some foliage from the Song Thrush Silhouette stamp, which coloured this way tie in with the flowers in her hair quite well. I added a bit of Glossy Accents to the centres of the flowers.

I will be back later in the month with more projects to share with you, take care and thanks for stopping by, xx



Saturday, 22 April 2017

Colourful Journal Pages

Hello everyone,  I needed to create an extra project for the Design Team Blog this month, and decided to have a bit of fun. Lesley, during the TV shows that introduced the new Russian themed stamps, had suggested giving the lovely Katya image some hair, and that was what kick-started this whole journal spread off in the first place. I chose to use the really versatile A5 Pink Pig journal containing 270 gsm watercolour paper, as this size of journal allows for a lot of choice in the layout that you can create, without feeling that you have too much space to fill. The watercolour paper is lovely and smooth and will take lots of water.

I started my project by masking the headdress on the Katya stamp, and inking up just the bottom part of the image, using Versafine Sepia Ink, before stamping it onto the journal page. I drew some hair freehand, using a pencil at first, until I was happy with the design, and then inking over it with a permanent brown pen.
I needed to mask the image, and as the masking tissue available on the website is not completely opaque, I was able to lay it over my image, and draw an outline to create my own custom mask.

I added several other images to the pages; the Swirl Centre Flowerhead, and some leaves and a butterfly from the Tangled Garden stamp set. I masked all of these images as I went along, so that I could create a layered look to the pages. I wanted a subtle floral image in the background and added a favourite texture stamp from the Texture Fragments stamp set, using Acrylic Wax to stamp the image. I simply put a small amount onto a craft mat, applied it to the stamp with a piece of sponge, and stamped the image onto the background. I heat set the image before moving on to the next stage. I added Distress Ink to colour the background, and the acrylic wax acted as a resist where I had stamped the floral texture image.

I drew a few swirls by hand, using a permanent brown pen as before, and added a sentiment from the Artistic Expressions stamp set. A little bit of stencilling completed the background.

I coloured the images using Zig Clean Colour markers, keeping the colours bright and cheery to match the vibrant background. I decided to give Katya a modern twist with ombre hair, rather than a conventional colour. I added extra shading to her hair with some Stabilo Fineliners in co-ordinating colours.


I hope that you have enjoyed reading about my project, thanks for stopping by, xx


Wednesday, 19 October 2016

Sending Love and Best Wishes

Hello everyone, it's the start of a brand new challenge over on the Chocolate Baroque Challenge Blog this week, and the colours are bold and bright, lovely blues and greens. I always remember that old adage my Mum used to tell me.....blues and green, must never be seen....but I love working with them together.

Anyway, I rummaged through my scrap box again, and found this lovely background, made when I was experimenting with my Golden paints ages ago, and it suited the colour scheme perfectly. I stamped the Swirl Centre Flowerhead, and some leaves from the Diamante Delights stamp set onto a spare piece of watercolour paper, usding Versamark and Wow brass embossing powder. I coloured the images in using Zig Clean Colour marker pens and cut the images out. I die cut a circle of card, and coloured it using Squeezed Lemonade Distress Ink. I stamped over the top using an image from the Texture Fragments stamp set and Salty Ocean Distress Ink.

I assembled the card, adding a dark layer of card to mat my layers, and adhered the leaves and flowers around the edge of the circle.


Thanks for stopping by, xx

Friday, 23 September 2016

Brusho Journalling

Hello everyone, I have a project that is a departure from my usual projects today. We are exploring texture on the Design Team Blog this month, and I decided to create a two page journal spread, using layers to give a feeling of texture to the pages.

I have an A4 Pink Pig Journal, several in fact, and used one of these to create my project. The pages are quite robust for adding water, paint, etc. I started by sprinkling Turquoise, Violet and Lime Green Brusho onto the pages, (which I had placed newspaper underneath, so that I could keep the rest of the journal dry), and then spritzed the pages with water. I used two large spare pieces of watercolour paper to blot the pages, so that the excess water did not run everywhere, and I now have two extra pieces of background for other projects.

I added some stencilling with both Distress Inks and white paint. I chose to use in particular Three Quarter Face, and added a stamped image from the Texture Fragments stamp set below to give the suggestion of a lacy dress. I also added an image from the Tangled Fragments stamp set and Shabby Shutters Distress Ink  to build up the background layers. I added a few bottle top ring marks using left over white paint to echo the circular stencil that I had used.

Finally, I added sentiments from the Positive Pants and Rockstar Diva stamp sets.

This was one of those projects that was a lot of fun to make, as I had no real idea at the beginning how it was going to end up! Thanks for stopping by, xx


Monday, 19 September 2016

Bouquet of Sunflowers

Hello everyone,September is a very busy month for me, with lots of family Birthdays. My Mother-in-Law has her Birthday in September, and so when I needed to make another DT project this design seemed perfect to double up as her Birthday card. She loves sunflowers, they are her favourite flower, and so I wanted to make them the focal point of the card.

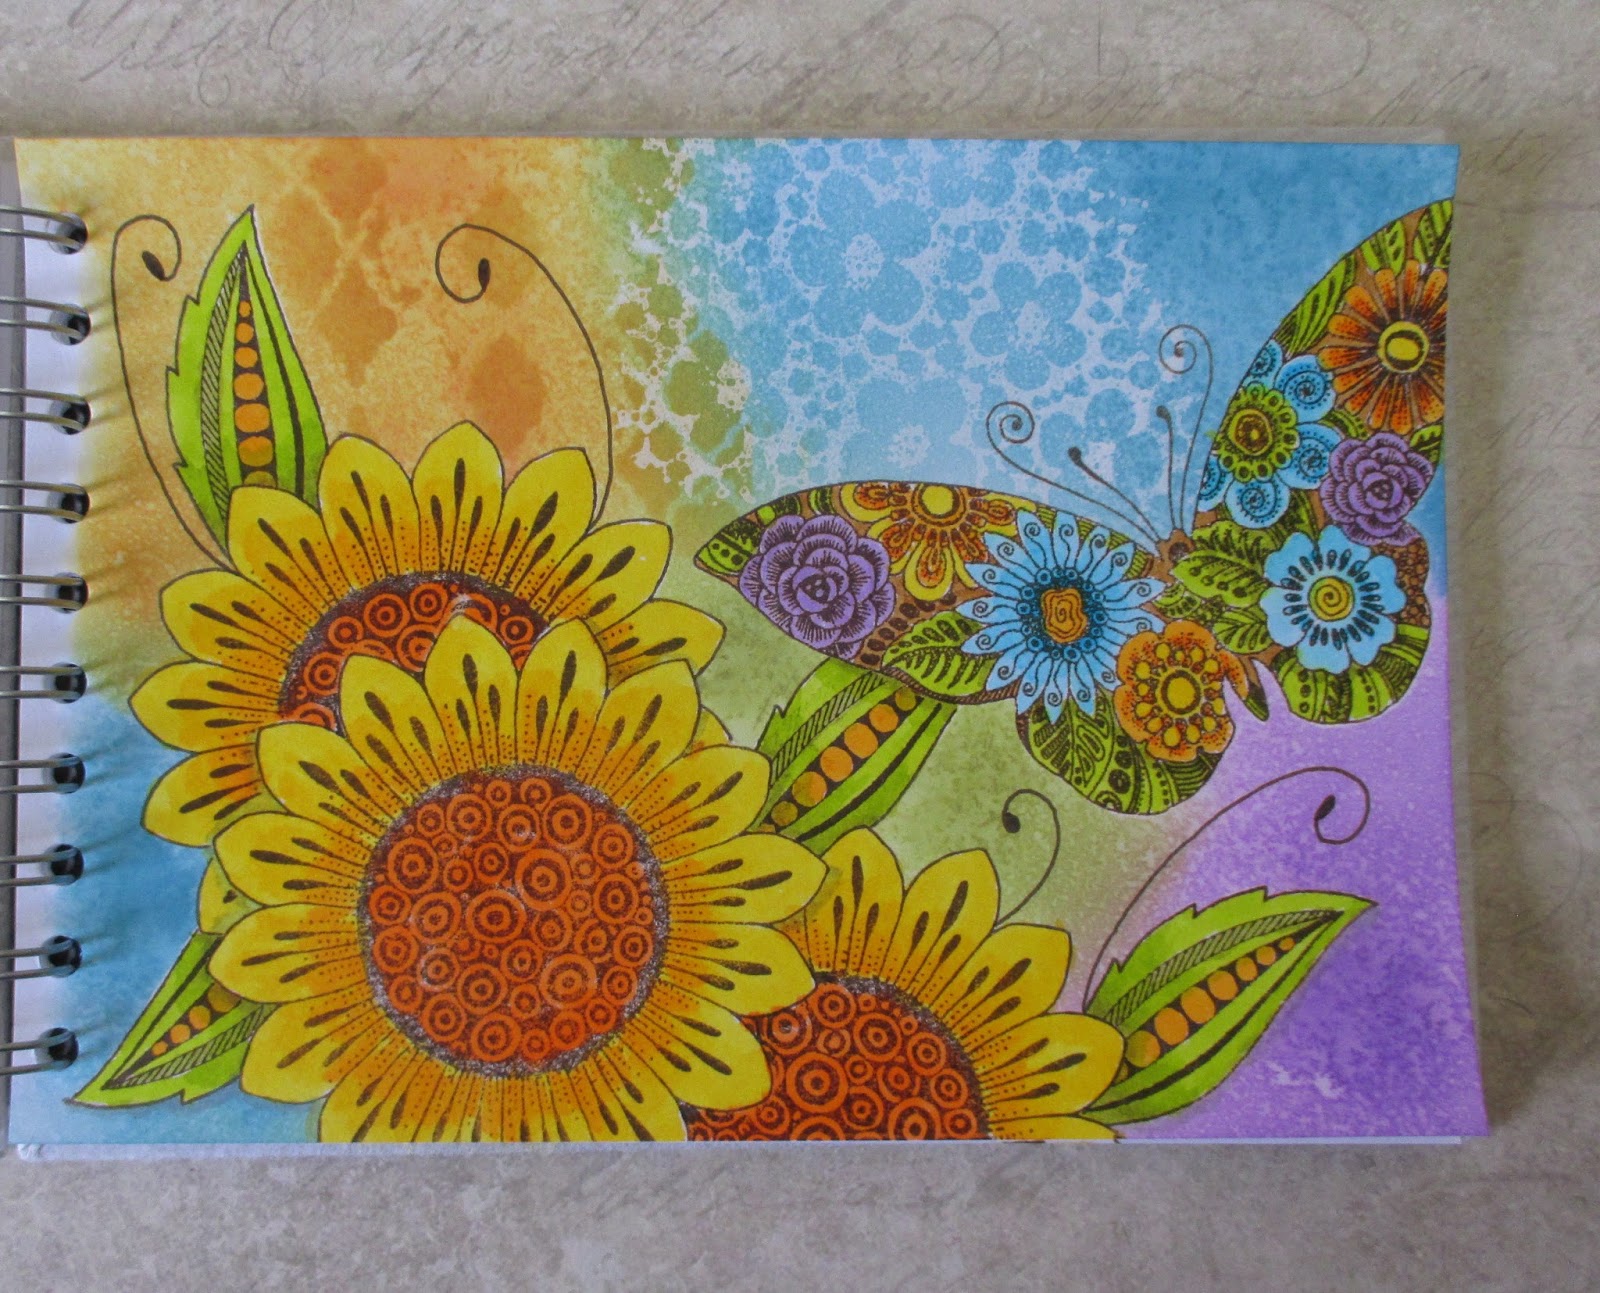
I have created the card, using stamps from the Sunny Sunflowers stamp set, stamping the flowers and leaves, masking them as I went along, to create a cluster of flowers in the corner of the card. Once I had masked all of the images, I created a Brusho background, using red, yellow and brown pigments.
I embossed an image from the Texture Fragments stamp set around the edge of the background, using gold embossing powder. I then coloured the images in using Distress Markers, and added some shading with Faber Castell watercolour pencils.
Finally, I added a sentiment from the Mackintosh Sentiments stamp set, and matted the background onto a black card blank.


Once I had created my card, I had quite a bit of left over colour on my craft mat. I used a large water colour tag to mop up some of the colour, and dried it completely. I repeated the process a couple of times, until I was happy with the overall colour on the tag. I stuck the tag to a thick piece of burgundy card, and added some shading, using Seedless Preserves Distress Ink around the edge of the tag.

I stamped some more sunflowers and leaves onto some spare watercolour paper, and coloured them in using Zig Clean Colour markers. I arranged the flowers and leaves onto the tag, adhering them with a dries clear glue. I added some micro beads to the centre of the main flower for some added texture. Some toning ribbon completes the tag.
 Thanks for stopping by, xx

Monday, 30 May 2016

More TV Show samples

Hello everyone, I hope that you have been tuning in to Lesley's and Dawn Bibby's recent TV shows on the Craft Channel. They have been showcasing the Chocolate Baroque stamps superbly, and the demos have been absolutely fantastic. It has been great to see some of our older stamps getting an update using newer products, and I have thoroughly enjoyed using them again.

Lots of my DT projects have been having another airing, which has been great. I made several of them ages ago, and it is lovely to see them still giving inspiration to people. You can check out my Pinterest board here: https://uk.pinterest.com/judithsmith45/my-own-cards-and-projects/ if you care to scroll through, you will see lots of the cards featured on the various shows, but I thought that I would share a few with you.

Dawn saw this card on a recent show featuring the texture stamps, and instantly fell in love with the peacock stamps:
My other texture samples at the time were these: A tag using the Fancy Flowers stamp set
 A canvas created using acetate for the central window motif and dimensional flower embellishments.
 A mixed media piece using scrap cardboard as the base, fabric for the stamping, and acetate for the bird cages.
The peacock related show showcased a lot of my samples, and I remebered having a lot of fun creating these:

I used sari waste as part of the tail on this peacock, showing how you can use elements from the stamp plate to design your own bird.

I always love to mix and match the stamps that I have, and using the bodices from one of the haberdashery stamp sets, gave me a chance to be a dress designer for a day!

I have had a lot of fun using my gelli plate to create new samples for some of the shows, and the following cards show a cleaner style than some of my older cards, offering inspiration to make cards in a shorter amount of time. We don't always have hours to create something special, but want something that is nonetheless a little bit different:


Finally, a round up of a few more examples that were created for the shows, both old and new that you may have caught along the way:


This card was created using a sentiment and flourish from the Artistic Expressions stamp plate:


I hope that you have enjoyed my gathering of projects, and do please keep looking out for more shows coming up on the craft channel with Lesley and Dawn, showcasing the stamps from Chocolate Baroque. You never know, you might see something else that I have created ;) Thanks for stopping by, xx

Tuesday, 8 March 2016

Colourful Babushkas

Hello everyone, I have a couple more cards to share using this month's Babushka stamp set. I absoloutely love the versatility of this quirky stamp set, and the many possibilities that the stamps offer.

For my first card, I created a wrinkle free Distress background, using Salty Ocean Distress Ink on smooth watercolour paper.  I stamped the three dolls onto some white card using white embossing powder and I also stamped the face areas again onto some spare card using black ink. I coloured the images using Distress Markers and a water brush. I cut the dolls out, and decoupaged the faces onto the white embossed dolls.

I die cut some hexagons, and stamped the flower head from the Breath of Spring stamp set on to the hexagons, again using white embossing powder. I coloured the hexagons using various tones of blue Distress Ink, to match the Babushka dolls.  I ironed off the white embossing from the hexagons using copy paper. I drew faux stitching to the edges of the shapes using a fine-tipped marker. I also added faux stitching around the edge of the background. Finally, I added a sentiment from the Amazing Birthday clear stamp set.

My second card became a Mother's Day card for my Mum. She loves Russian dolls, and always wanted to collect them. When we were growing up, I always remember her hankering after them, but never being able to afford them. So, I thought that it would be lovely to incorporate some of the images into a card for her.

I stamped a window fragment from the Texture Fragments stamp set onto my background, and added gold embossing powder. Before using the heat gun, I stamped the large fragment from the Dusky Damask stamp set using Elderberry Memento Ink into two of the corners of the background, and added clear embossing powder. I then heat set the images.

I covered the background with a blend of pink and purple Distress Inks, before adding a stencil, and repeated the process, to deepen the colours. I stamped the Babushka images onto a spare piece of card, using gold embossing powder, and coloured them using the corresponding colours in Distress Markers, picking the colours up using a water brush. Finally, I added a sentiment from the For Mum clear stamp set.

I will be back later in the month with some more ideas using these lovely stamps,  Thanks for stopping by, xx


Wednesday, 3 June 2015

Batik Florals

Hello everyone, it's my turn to post a tutorial on the Chocolate Baroque Challenge Blog this week. I have made a card with a batik style background, and thought that I would share it here with you as well.

I stamped and embossed my background using a floral fragment stamp and Versamark ink with clear embossing powder. I then coloured the background using Distress Inks: Salty Ocean, Picked Raspberry and Cracked Pistachio, adding a bit of Memento Grape Jelly ink around the edges. Once I had added my colour, I ironed the baclground, covering it with scrap paper first! This left the background lovely and smooth, and showed off the lovely floral pattern.

I stamped the fantasy flower onto a smaller rectangle, and coloured it with watercolour pencils, before shading around the edges with Distress Inks. I added a couple of butterflies and a sentiment. A pretty organza bow was all that was needed to finish the card. These challenge colours are right up my street, so pretty.


I hope that you will pop over to the challenge blog to take a look at the other DT inspiration on offer. Don't forget, there is a monthly prize on offer if you enter the challenge using current CB stamps.

Thanks for stopping by, xx
Monday, 2 February 2015

Sketchy Doodle Flowers


Hello everyone, there are new stamps over at Chocolate Baroque. Two sets of great flowers suitable for all kinds of projects. I have lots of ideas that I am hoping to show you this month. I have two very different cards to show you today.


For my first card, I wanted to create the feeling of a stained glass window by Gaudi. I coloured my background with Tumbled Glass Distress Ink. I stamped the flower and leaf images onto the background, and then masked these before placing a stencil on the left hand side. I sponged Salty Ocean, Shaded Lilac and Peacock Feathers Distress Inks through the stencil, covering these with a coat of Transparent Soft Form Relief Paste.

Once the Soft Form Relief Paste was dry, I added a bit more colour to the background, with Faded Jeans Distress Ink. I stamped an image from the Texture Fragments stamp set and one of the flower images from the Sketchy Doodle Flowers set over the background. I removed the masks from the flowers.

I created the large flower by spreading some Gold Soft Form Relief Paste over the stamp, and allowing it to dry overnight. I peeled the thin film off my stamp very carefully. I coloured the film with metal paints and added some gilding wax. I stuck a large flat-backed gem in the centre.

I chose to stamp the flower and leaf images onto a seperate piece of card, and coloured these with Inktense pencils. I cut them out and decoupaged them over the original images. Finally I added the focal flower.


The transparent relief paste has given a lovely sheen to the stencilled area, and the colours are so vibrant underneath.

My second card uses the lovely floral frame image on the Sketchy Doodle Flower stamp set. I stamped the image onto a die cut piece of smooth watercolour paper. I masked the outer area of the image, leaving the oval uncovered. I added some colour using Distress Inks, blending them together where they met. I removed the mask, and coloured the leaves with a watercolour pencil.

I created the background by stamping a leaf taken from the Thistle Butterfly stamp set, using the same colours that I had used on the main image, randomly over some smooth watercolour paper. I die cut some leaves from the same paper and coloured them with Distress Ink. Finally, I assembled the card adding dark brown card and ribbon. I have left the card without a sentiment for now, as it is such a versatile image that it will be useful for many occasions.

Thanks for stopping by, xx


Tuesday, 13 January 2015

A Bird for all Seasons and Ophelia the Mermaid?

Hello everyone, I have a project using one of the new individual cling mounted stamps from Chocolate Baroque, called Song Thrush to show you today.

I wanted to show the diversity of this lovely stamp, and how it could be used to create cards all year round, so I have made a Christmas card for my sample. I started by embossing the image a three times, using white embossing powder on some green scrapbook paper, and colouring the image with pencils. I decoupaged the flowers and bird. I layered the image onto kraft card, using some dark red card as a mat for contrast. I also added some holly die cuts, and some more stamping, using a berry stamp from the Woodland Dreams stamp set which I also coloured with pencils. I tucked some flowers from a spare image under the main frame, along with the holly die cuts. I added some shading around the edge of the kraft background, using Festive Berries Distress Ink. Finally, I added a sentiment taken from the Warm Christmas Greetings clear stamp set.

I always start out with good intentions to make Christmas cards throughout the year, in order to be ready when December comes around. Hopefully my card will have given you some inspiration.

For my second sample, I stamped Ophelia onto a piece of heavy weight cartridge paper, and then masked the image. I coloured the background, by blending Shabby Shutters, Peacock Feathers and Salty Ocean Distress Inks randomly all over the page. I stamped an image from the Texture Fragments stamp set onto opposite corners, using Salty Ocean Distress Ink. I then flicked water onto the other areas of the page, and dried it with a heat gun, to emphasise the watermarks.

I stamped and embossed a seaweed image along the bottom of the page, from the Underwater stamp set,  using a blue/green metallic powder. I then added some flowers which I had cut out and coloured with pencils from the Song Thrush Silhouette image. It just goes to show that you can add flowers to just about anything! I coloured Ophelia using pencils, and matted the project using toning coloured card.

For a bit of underwater shine, I added Glossy Accents to the centre of my flowers. Thanks for stopping by, xx

Related Posts Plugin for WordPress, Blogger...