Followers

Showing posts with label Chocolate Baroque. Show all posts

Thursday, 3 March 2016

Fabulous New Stamps to Show You!

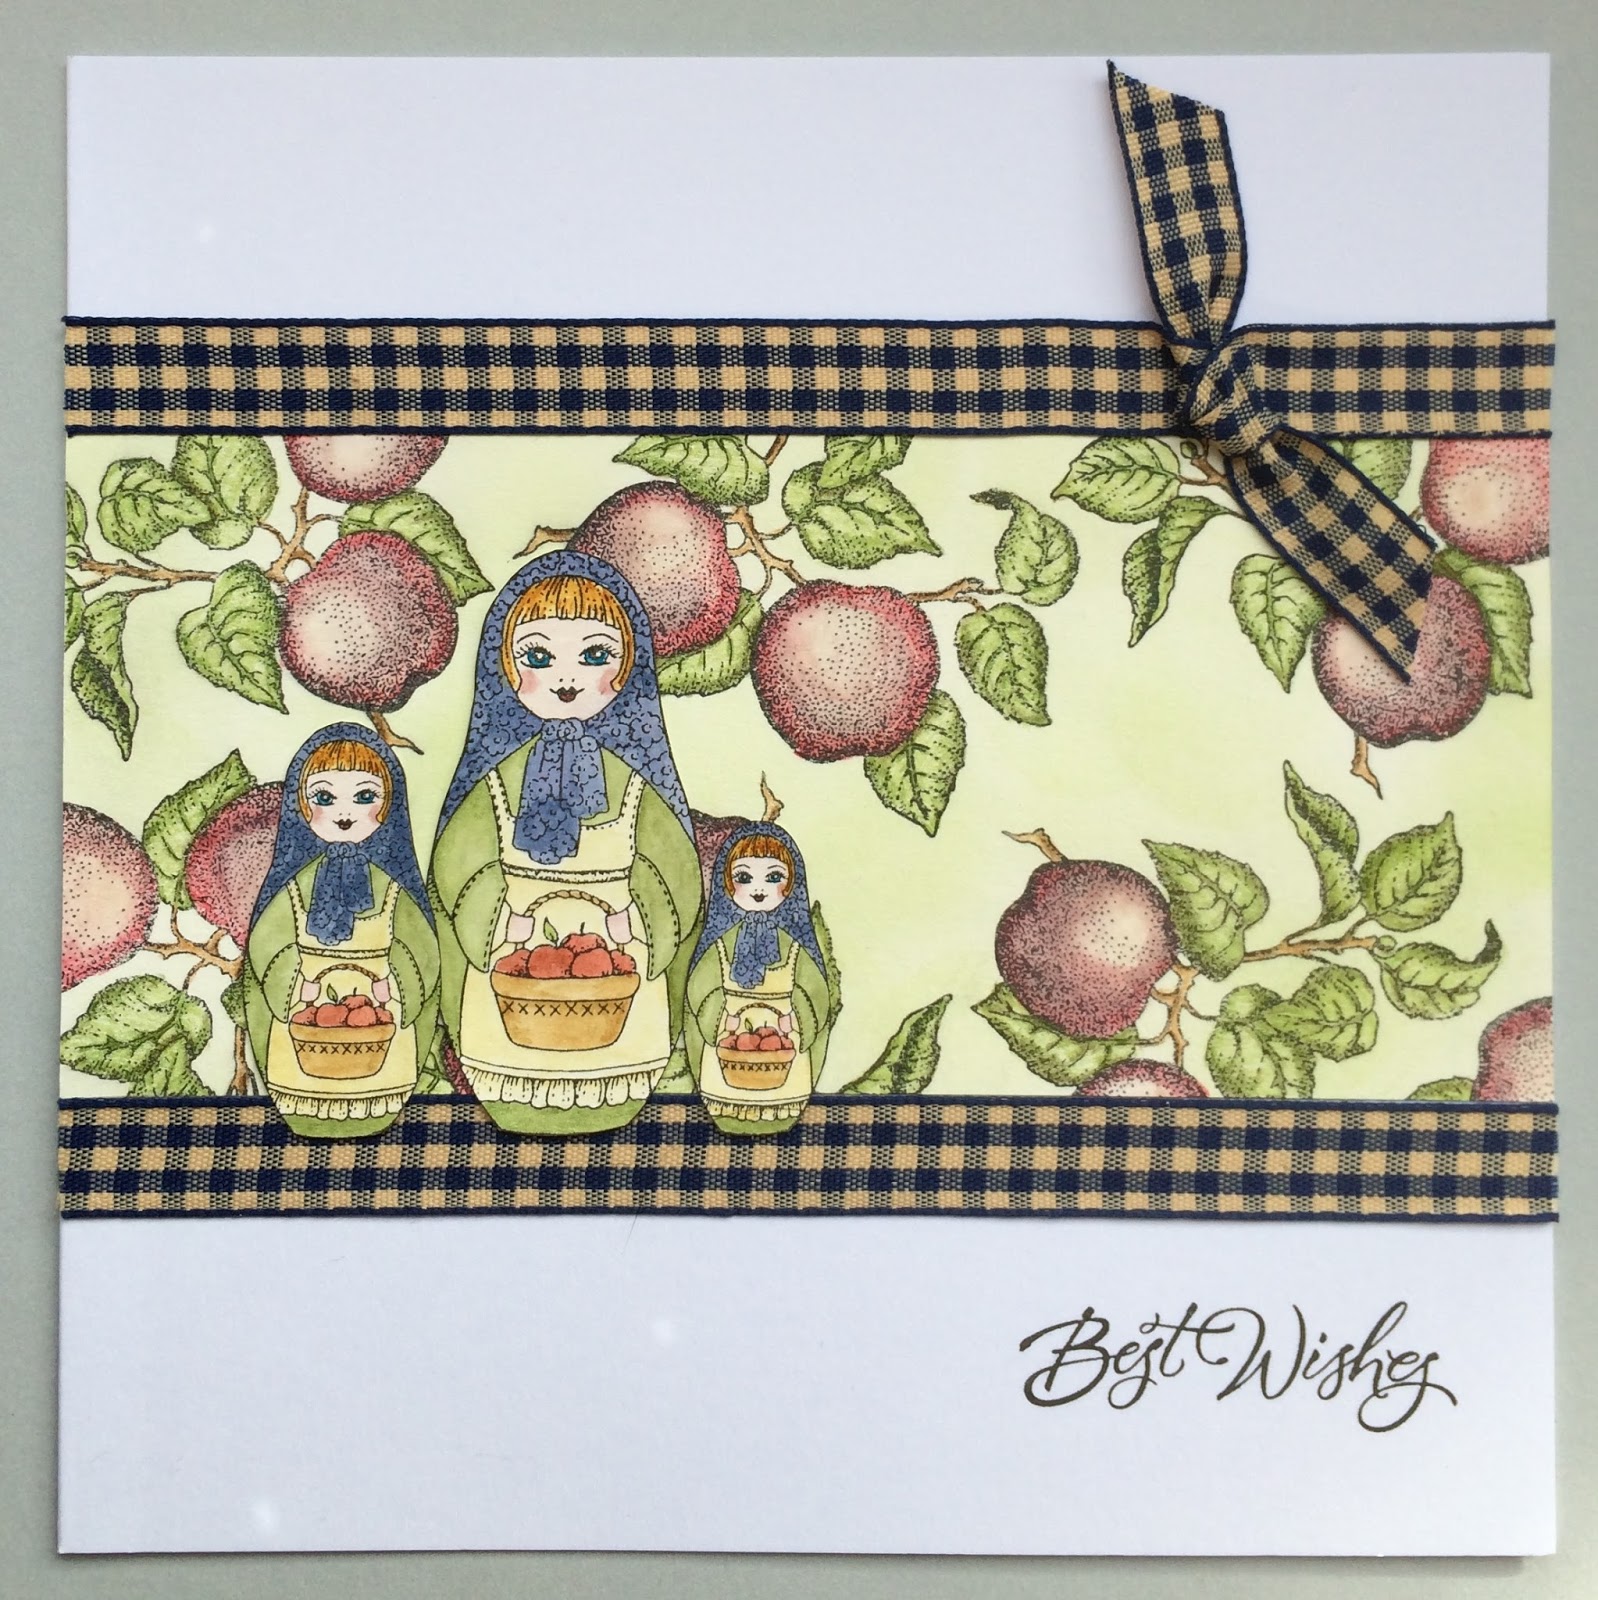
Hello everyone, there are new stamps launching today over at Chocolate Baroque. Babushka is a super A5 plate of Russian dolls in three sizes, with a couple of little rooftop fragments to help you build a scene. These stamps are really lovely, and evoke lots of childhood memories for me. My Mum loves Russian dolls, and always wanted to collect them, but could never really afford them. I always remember being fascinated by opening the dolls, only to find yet more dolls inside. It was like magic.

I have created a card with one of the doll sets, and combined it with some apples from the Mellow Fruitfulness stamp set. I coloured a small panel of card with Shabby Shutters Distress Ink, and stamped the image randomly across the panel, before colouring it with watercolour pencils. I added some lovely navy gingham ribbon above and below the panel.

I stamped the three dolls onto a separate piece of card, and coloured them with pencils as before, and then cut them out ant attached them to the card. I added a sentiment from the Card Sentiments clear stamp set to finish.

The Design Team have been making some beautiful samples using these stamps, so be sure to visit the Design Team blog across the month to see lots of inspiration. Thanks for stopping by, xx


Friday, 19 June 2015

Making an Impression

Hello everyone, I have a textured card to show you today using the stamps of the month currently on offer at Chocolate Baroque.

I created my background by cutting a piece of smooth watercolour paper slightly smaller than my card blank, and covering it with water. I added some acrylic paint that I had diluted to the paper to give a watery wash over the background. I chose three colours of paint; yellow, saffron and a plum colour. I dried the background with my heat gun, and as is it was quite rippled, gave it a good iron to get it nice and flat again!

I stamped the linen texture stamp using Saffron Archival Ink, and added the flower heads using Seedless Preserves Distress Ink. I stamped a sentiment from the Mackintosh Sentiments stamp set onto some hand dyed ribbon that I had left over from another project, and attached this to the background.

I rolled out three pieces of polymer clay and cut them into circles. I pressed the flower head stamp firmly into the clay, and following the maufacturer's instructions, I baked the clay in the oven. Once the pieces had cooled down, I painted them with the same colours of acrylic paint that I had used for the background of the card. Once they were dry, I added some metallic wax to pick out the details of the flowers.

These stamps are great for adding texture to all sorts of surfaces, and I hope that you will experiment and try something like this out yourself. Thanks for stopping by, xx


Monday, 2 March 2015

Spring Birds


Hello everyone, I would like to show you some cards made using the Spring Birds multibuy stamp set, currently on offer at Chocolate Baroque. These stamps are perfect for this time of year, as we start to look forward to warmer weather and the changing season.

I started my first card by making a wrinkle free distress background; placing some Spun Sugar and Old Paper Distress Stains onto a craft mat, and spritzing them with water. I also spritzed a piece of watercolour paper with water and then placed it onto the craft mat, ensuring that the paper was covered with colour. I dried the paper with a heat gun, and then patted it randomly onto the droplets of colour left on my craft mat, creating a second layer of colour on the background. I also dried this with the heat gun.

I stamped some dog roses and a bird from the Pretty Birdcage stamp set along with a bird taken from the Spring birds stamp set onto the background. I masked the main dog roses before adding the birds and extra roses. I coloured the images with pencils. I added a sentiment from the Mackintosh Sentiments stamp set to finish.


I decided to create an easel card for my second project, by cutting a piece of dark brown card measuring 12" x 6" and another piece 6" x 6". I scored the large piece at 6" and 9", folding and creasing the folds firmly. I folded the card in half, and then with the fold facing away from me, I stuck the bottom half of the 6" x6" square piece of card to the folded card. I stamped the Leafy Trails Big Bold Background stamp twice onto plain card, and coloured this with waterbased markers. I edged the card with Distress Ink.

I die cut two circles, and whilst the dies were still in place, I added some colour with Distress Ink. Once I had removed the dies, I then stamped the bird image onto the larger circle, and a sentiment from the Amazing Birthday stamp set onto the smaller circle. I hand cut the mounts for the circles, by drawing around the dies onto some card left over from the easel card. I coloured some seam binding ribbon with Distress Stains to match my colour scheme, I used Spiced Marmalade.
   
 Thanks for stopping by, xx

Tuesday, 11 November 2014

Ten Minute Makes

Hello everyone, we are quite often aware that our Design Team cards are elaborate and complicated, which can be a bit off-putting for a newbie or less experienced crafter. With this in mind, we are running a series of 'Ten Minute Makes' over on the Design Team Blog, showing some simpler designs.  I have a couple of quick cards for you today, using the Mellow Fruitfulness stamp set. For my first card, I punched out four squares of smooth watercolour paper from my stash of scrap card, but any smooth card will do. I coloured three of the stamps using Distress Markers, and then stamped them onto the squares. I embossed them with clear embossing powder. I used one of the sentiments for the fourth square. I used Festive Berries Distress Ink to add a bit of colour to all of the edges of the squares. To finish the card, I simply chose some deep red card, and a piece of gingham ribbon. The ribbon reminded me of jam jar covers, so I felt that it fitted the theme quite well.


I quite liked one of the images on my first card, and so I decided to use it again on my second card.I stamped it again onto a die cut oval, embossing it as before with clear embossing powder, and adding a touch of red Distress Ink around the edges. I chose another sentiment which I turned into a little tag with the addition of a hole and some string.

I found some gingham paper in my stash and used some more of the red card, with a touch of green ribbon this time, to tie all of the elements together.


Two very quick cards, using these lovely stamps, showing that you do not have to spend ages to create a fun project. I hope that I have given you some inspiration, thanks for stopping by, 


Saturday, 11 October 2014

Haunted House

Hello everyone, I have a Halloween make for you today, using a combination of old and new stamps from Chocolate Baroque.

I started off by making a crackled background using this technique, with Distress stains and Perfect Pearls. I then stamped and embossed a tree from the Design a Tree multi-buy stamp set and the ruined building from the Things that go Bump stamp set, using archival ink and clear embossing powder. I added a couple of birds and some bats from the Nevermore stamp set and some cobweb edging from the Book of Spells stamp set, all using Speedball black block printing ink. (This ink is great, because it gives great coverage over more difficult surfaces, and is a really deep black. Another bonus, being water soluble, your stamps and brayer clean up really easily!) I painted the windows in the ruin using yellow Speedball ink and a water brush.


I added a little bit of Pumice Stone Distress Ink underneath the tree and the ruin to 'ground' the images. Finally, I matted the background onto a black card blank.

Thanks for stopping by, xx


Tuesday, 30 September 2014

Autumn Tones


Hello Folks, I have some cards to share today, using some of the lovely new stamps that have been recently launched over at Chocolate Baroque .  This has to be my favourite time of year, as the leaves start to fall, and there is a riot of different colours displayed in the trees and hedgerows.

For my first two cards, I made a wrinkle free Distress background, using Ripe Persimmon and Seedless Preserves Distress Inks. I have used a stamp taken from the Poppy Edges stamp set, and stamped around the corners of a piece of the background, using plum archival ink. I masked the corners, and then stamped an image from the Poppy Meadow stamp set over the background using the same orange ink that I used to make my background. However, I stamped the image onto scrap paper first, before I stamped onto the background, as I did not want the image to be too vibrant. I masked off part of the poppy edge stamp with masking tape, before I inked up one of the flowers, and then peeled off the masking tape. I then stamped the single flower onto a piece of stampbord. I coloured the image with pencils, and then covered the surface with three layers of ultra thick embossing powder, to create a tile effect. I added a sentiment from the Mackintosh Sentiments clear stamp set.


On my second card, I used a strip of the same wrinkle free distress background, matted onto burgundy card, and placed it onto a kraft card base. I stamped the poppy edge four times onto card, and coloured sections of the image with pencils, before cutting them out, and layering them onto the background. I added two of the little bees, which were also coloured with pencil. The sentiment was taken from the Amazing Birthday clear stamp set.


For my final card, I made a gelli plate background, using a selection of green inks, and stamped the single leaf and foliage stamp taken from the Autumn Poppy stamp set randomly over the plate. I took a print from the plate and trimmed it to size, before edging the background with a Tea Dye Distress Ink. I stamped the main image onto a large oval die cut, adding some colour to the background with green and orange Distress Inks. I coloured the image with pencils. The sentiment comes from the Nature's Peace stamp set, and is one of my favourites.


Thanks for stopping by, xx


Thursday, 11 September 2014

Christmas Circles

Hello Folks, I have some cards on circular theme for you today, using the stamps of the month from Chocolate Baroque

For my first sample, I created a background using gelatos in shades of green and purple, which I added to a wet background and blended with my fingers. I dried the background then added a circle mask in the centre. I stamped an image from the Harlequin Fragments stamp set around the edge of the mask, using Pear Tart Memento Ink. I sponged a little bit of ink around of the mask to add some shading, before removing the mask. I stamped and embossed the holly and bell images from the Holly Bells stamp plate using gold embossing powder. I also stamped another set of  images onto a spare piece of card. I coloured the spare images with Distress markers and a water brush  and decoupaged them onto the background. I added some hand drawn 'string'. The sentiment is from the Christmas Magic stamp plate.


I have a couple of CAS cards that I would also like to show you. In these days of rising postage costs, flat cards are always useful to make, and these two cards would make good batch cards, that you could make in lots of different colour options as well. The first card was made using blue, lilac and grey Distress Inks, and I simply created a reverse mask, sponging coloured ink through a circle aperture onto my card. I coloured the top and bottom circles first, and overlapped the middle one last. I then selected three baubles, taken from the Santa Baby/Holly Bells Multi-Buy stamp set, and stamped them in the same inks that I used to create the circles, giving a tone on tone effect. The sentiment was taken from the Christmas Sentiments Multibuy


The last card was made in much the same way, except that I created a single circle, blending Dandelion and Pear Tart Memento Inks, and chose Orange Blossom Archival Ink to stamp the bells, giving a stronger contrast. The sentiment comes from the Bold Christmas Words stamp set.


I hope that I have given you a few more ideas with these stamps, and I will be back soon. Thanks for stopping by, xx


Monday, 1 September 2014

Blue Christmas


Hello Folks, I'd like to show you a coupe of cards using the newly released stamp sets fron Chocolate Baroque

My first card uses the Santa Baby stamp set. I wanted to use the sleigh flying through the air pulled by a reindeer, and so I looked through my older christmas stamp sets and found the perfect match on the Damask Reindeer stamp set. I stamped both of the images onto a piece of smooth watercolour paper, and then covered them with a mask. I also added a circle mask at this point. I coloured the background with a variety of blue Distress Inks, graduating to a deep purple at the bottom of the page. Around the circle, I added some yellow, to create a glowing effect. I spritzed the background with water to create a starry feel to the background, and added a little bit of Perfect Pearl spray for some extra shimmer.

I removed the masks, and coloured the images with Distress markers and a water brush. I stamped a tree from the Stained Glass Christmas stamp set along the bottom of the background, using Cottage Ivy Memento Ink and clear embossing powder. I added some grey shading to the moon, and stamped a sentiment taken from the Christmas Magic clear stamp set using black ink.


I have also created a card using the A Child is Born stamp set. I stamped the corner snowflake stamp around the edges of some watercolour paper using white embossing powder, and filled in the gaps with one of the smaller snowflakes to create a frame. I created a watercolour background using lots of blue toned gelatos. I blended them with my fingers and lots of water to get a soft effect. I added a touch of Chipped Sapphire Distress Ink around the edge. Once I was finished, I buffed the snowflakes with a piece of kitchen towel, so that they were nice and bright.

 I stamped the angel onto a separate piece of card, and coloured the image with pencils. Finally, I added the word 'Joy' to the background.


 My Team mates have some beautiful inspiration for you over the coming month on the Design Team Blog so please keep checking back. Thanks for stopping by, xx

Friday, 22 August 2014

Playing with backgrounds


Hi Folks, I have some more projects for you today showcasing the Thistle Butterfly/Honeysuckle Butterfly multi-buy stamp sets from Chocolate Baroque

I have really enjoyed working with these pretty stamps, as flowers and butterflies are among my favourite images to use. I have made some slightly different backgrounds for these projects, and one of them was a first time experiment for me!


My first sample was created by using Pan Pastels for my background over a mask, I wanted to create a tartan background to go with the thistle image, it seemed appropriate. (If you do not have a mask, you could just use thin strips of masking tape, it was what I was going to use until I found a mask). I used a pale yellow over my card first, then applied the mask before using a lilac PP and then a magenta toned PP over the top.

I then stamped the image with Coffee Archival Ink and coloured it with Polychromos pencils. I used the floral spray stamp from the Honeysuckle stamp set to stamp around the edges using Lulu Lavender Memento ink. The sentiment is taken from the Amazing Birthday clear stamp set.


My second project was created using water colour paper, onto which I stamped the large honeysuckle image.  I then brushed water over the paper around the image, and sprinkled Leaf Green Brusho over the water. I wanted a very pale background, so I spritzed the Brusho with water, and dabbed it with kitchen roll, to take the darkest patches away. I then dabbed between the areas of the image that were still white with the coloured kitchen roll to add some colour. This technique worked really well, and as a first time experiment, I was really pleased! I used the tiniest amount of Brusho, so these powders are going to last me a long time.

I stamped the image again onto a scrap piece of card and coloured the images with Distress markers and a water brush. I decoupaged the butterflies from the second image onto the main image. I stamped the small honeysuckle stamp from the Elegant Edges stamp set around the edge of the background.


 Thanks for stopping by, Judith xx

Monday, 11 August 2014

A Pear of Christmas Trees!

Hi Folks, I have some Christmas cards for you today, using the lovely selection of seasonal stamps currently on offer at Chocolate Baroque.

My first card uses stamps from the Snowy Scenes/Turtle Doves multibuy stamped onto green paper using white embossing powder. I added tiny red gems to the tree and snowflakes for a little bit of Christmas bling. To complete the background, I added a stamp from the Nature Fragments stamp set, stamped in Cottage Ivy Memento ink. I also stamped a sentiment from the Christmas Magic clear stamp set in the same colour onto a piece of scrap paper. I edged all of the pieces of paper with green ink and then matted them onto dark green card before assembling my project.


My second card was created by stamping a large ornate pear from the Pears and Baubles stamp set onto my background using Rich Cocoa Memento ink. I coloured the pears using a mixture of green and yellow Distress markers and a waterbrush. I filled in the background between using my Stormy Sky Distress marker pen and a waterbrush, I made the background very watery using a wide waterbrush where possible. The main image was stamped onto a die cut piece of card using gold embossing powder, and coloured in with the marker pens in the same way. I edged the background with Stormy Sky Distress Ink. I added a large flourish from the Butterfly Dreams stamp set, using gold embossing powder.

I matted the layers onto dark brown card and added a piece of dark brown organza ribbon to finish. I hope that these two cards have given you a little bit of inspiration. I always enjoy mixing the new stamps with some of the other stamp sets already available. Thanks for stopping by, Judith xx


Wednesday, 6 August 2014

Challenge Blog Freebie

Hi Folks, it's time for another post over on the Chocolate Baroque Challenge Blog and this time it's a post with a difference, as we have a free digital download for you! Lesley has created a beautiful download that you can collect, simply by visiting the blog, so please pop over to take a look.

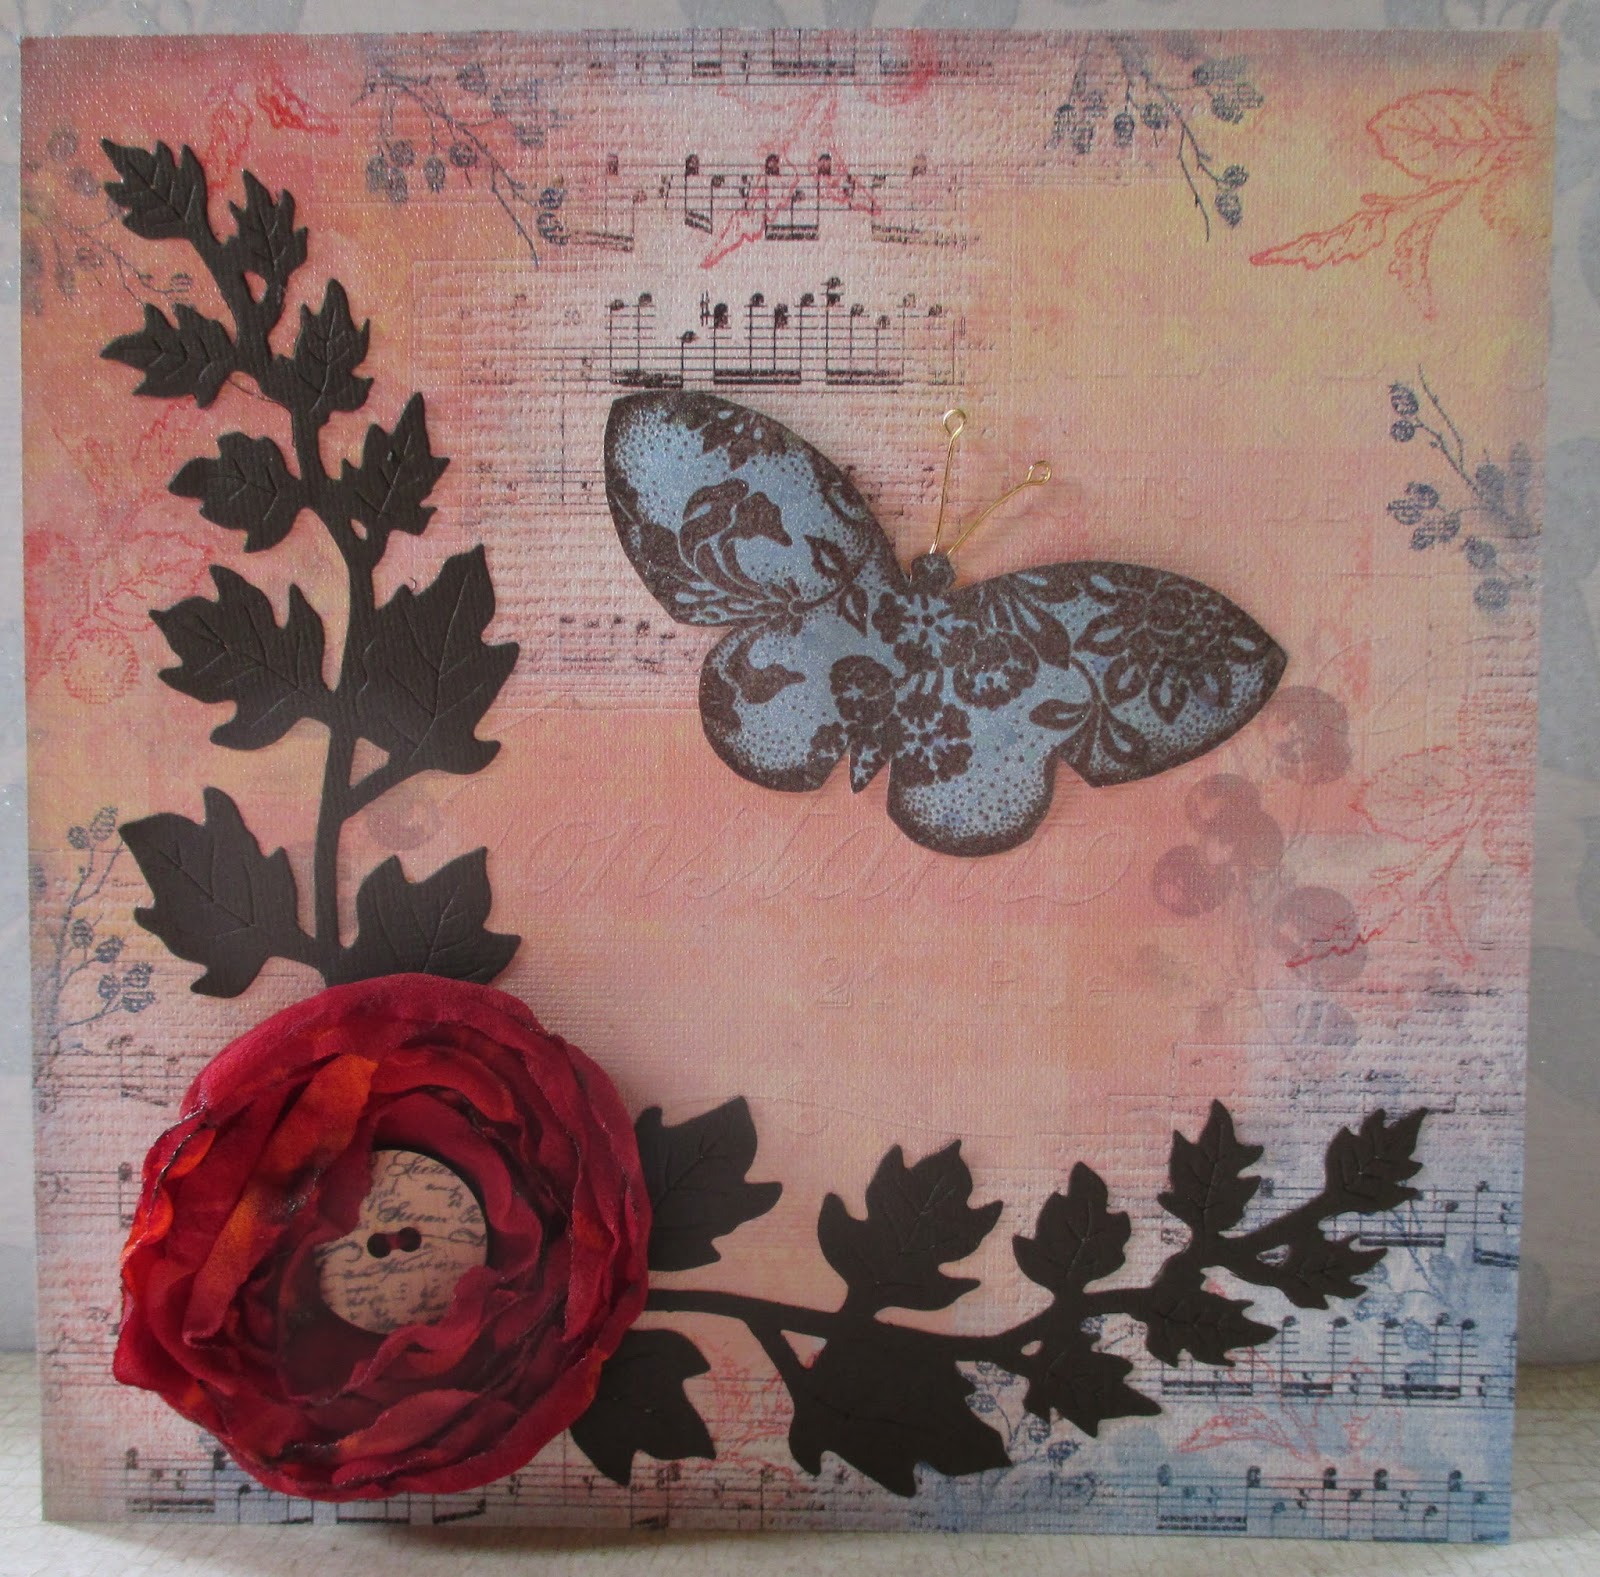
I have created a card using the download for a very special friend, who is celebrating her Birthday today. I printed the download onto canvas, and stamped around the edges, using stamps from the Autumn Fairies stamp set from Chocolate Baroque. I added a chiffon flower that I had lurking in my stash; I have lots of these cut out ready to add to projects whenever I need them. I found a piece of sprayed background paper left over from another project, and stamped a butterfly onto this, using Coffee Archival Ink, and embossed it with clear embossing powder. I added a couple of earring findings for antennae. Finally, I die cut some leaves to place behind the flower.


There is still plenty of time to enter the challenge, so take a look at all of the information while you are there. You can find the link here

Thanks for stopping by, xx


Friday, 1 August 2014

Honeysuckle Canvas


Hi Folks, I have a project to show you today using the Thistle Butterfly/Honeysuckle Butterfly Multibuy stamp sets from Chocolate Baroque. These new sets are a lovely addition to the range of floral butterfly stamps, and great for mixing and matching with older stamps in the range, or using by themselves.

For my project, I covered a canvas with vintage music paper, and then painted it with various shades of Golden acrylic paint in greens and blues. I stamped the flourish from the set around the edges in forget-me-not and orange blossom archival ink to create a border. This is such a lovely stamp, and has become a favourite of mine. I stamped the honeysuckle image onto the background, and again onto some white card. I coloured the image on the card with pencils before cutting it out and adding it to the canvas.

I coloured some scrap card using Distress Inks in shades of blue and orange. I stamped some letters from the Newsprint Alphabet onto the card to spell the word 'Fleur', before cutting them out. I distressed and inked the edges of the little panels, and added these to my canvas.


Keep checking the Design Team Blog for lots of lovely samples from my Team mates over the coming month. xx

Monday, 21 July 2014

Christmas Birds


Hi Folks, I have more Christmas cards for you today, using stamps from Chocolate Baroque. Generally, I like to work with bigger cards, but I found myself making some cute 6" x 6" cards with the lovely images. These will be much cheaper to send in the post, which is a huge consideration at Christmas when we have more cards to send anyway.

My first card was created by stamping the owl image down the side of the card, and extending the tree trunk to the bottom of the card with a permanent black pen. I masked over the image, by stamping onto masking paper, and then stamped a tree image from Reindeer Landscape onto the background twice. I also extended the horizon line using a pen as well. The sentiment comes from the same set.

I embossed some snowflakes onto the background using white embossing powder, and then coloured the background, using Distress Inks. I removed the mask from the owl image, and coloured it with pencils. I added a little bit of Stickles to the hills, and once this was dry, I attached some organza ribbon before I matted the background to some black card.


My second card was created by sponging a piece of white card with Pear Tart Memento Ink, and then stamping around the edges with the end of the swirly bird and pear image, using the same colour green ink. (This is my favourite colour green, and was very apt for this card!) This gives a subtle tone on tone effect. I die cut a pear image from a piece of old book paper, and coloured this with Pear Tart and Cantaloupe Memento Inks, before sticking it to my background with matte medium.

I stamped the bird and pear image in black ink over the die cut pear. I stamped the image again onto a piece of white card, and coloured it with polychromos pencils, cutting out the bird, leaves and pears. I decoupaged these onto the die cut pear. I added a sentiment from the Pears and Baubles stamp set.

I'll be back soon with more samples, keep checking over at the Design Team Blog for more samples from my team mates. Don't forget to enter the challenge over at the Challenge Blog to be in with a chance of winning a £15 prize to spend online at Chocolate Baroque. Thanks for stopping by, xx

Wednesday, 16 July 2014

Exciting News!


Hi Folks, I hope you have all seen the rumblings going on by now at The Design Team Blog and hints of something new about to happen. Well today is the day that it all starts! Chocolate Baroque has its very own challenge blog, and you can find it right here


It is a monthly challenge blog, starting on the third Wednesday of every month at 8.00 a.m. with an inspirational photo and a colour swatch. You can make anything that you like, and if you use Chocolate Baroque stamps, you stand a chance of winning £15 to spend at the Chocolate Baroque website. Anyone using stamps from other companies will be entered into the draw for the Top Three and can display a badge on their blog if they are chosen as a winner.

I have made a tag using the colours from the inspirational photo to help inspire you. I have used Squeezed Lemonade, Mowed Lawn, Peacock Feathers and Festive Berries Distress Inks to create my background. I have used some texture paste through a Crafters Workshop stencil to add some interest. I then added three butterflies which I coloured with pencils to tone in with the main colours.


So take a look at the new challenge blog, make a project and enter the challenge, and enjoy crafting. Thanks for stopping by, xx

Friday, 11 July 2014

Diverse Textures from Chocolate Baroque

Hi Folks, I have some cards to show you today using the Harlequin Fragments/Tangled Fragments multibuy from Chocolate Baroque . I wanted to show how versatile these stamps can be and have created three very different looking cards, using these great new stamps.

My first card was created using the watery background stamp, which I stamped onto a strip of white card, using black ink several times. I then created three pieces of decorated stampbord, using three layers of embossing powder and stamping into them while the last layer was still molten. I brushed a little bit of gold Perfect Pearl powder into the crevices to pick up the detail of the stamp. By stamping my background first, I could work out roughly where on the rubber stamp I needed to press to create the UTEE pieces to achieve a pattern running down the card.

I matted the background onto a piece of toning card, and stuck this onto a larger piece of black card. I added a sentiment taken from the Artistic Affirmations stamp set.

My second card was created using a piece of smooth watercolour paper, which I sprayed with diluted Weathered Wood Distress Ink. I then stamped the dotty stamp, and the stone effect stamp using the same colour over the background. I embossed the single stone spine in the centre using platinum embossing powder. I added some ferns around the edges, taken from the Wild Meadow stamp set using Pear Tart and Sweet Plum Memento Inks.

I stamped and embossed a flower from the Tangled Garden stamp set, plus the leaf fragment using platinum embossing powder, which I then painted with Splash inks. I decoupaged the flower, added the larger leaves to the stem, and used the smaller leaves for a grass effect. Finally, I added a sentiment from the Amazing Birthday clear stamp set to the background.


My third card was created again using watercolour paper for my background. I sprayed the paper with turquoise Dylusions spray, rolling off some of the intense colour for a paler effect. I added a touch of Perfect Pearls turquoise spray at this point. I stamped the large bubbles stamp, and the dotty harlequin stamp with forget-me-not archival ink over the background, and then added some Vintage Photo Distress Ink to the edges to age the colour slightly.

I embossed the butterfly from the Steampunk Buterfly stamp set and some flowers from the Punky Flowers stamp set, using copper embossing powder. I coloured them with splash inks. I added a stamped swirl from the Artistic Expressions stamp plate to resemble leafy tendrils behind the flowers. The sentiment was taken from the Amazing Birthday clear stamp set.


If you love our DT blog then keep your eyes open for something new and colourful coming next week. All will be revealed soon, keep visiting the DT blog to make sure you don’t miss it. Getting excited yet?

Thanks for stopping by, Judith xx


Monday, 30 June 2014

Building Backgrounds

Hi Folks, I have a couple of samples to show you today, using the Harlequin Fragments/Tangled Fragments multibuy stamp set from Chocolate Baroque

I love to make my own backgrounds, and these large stamps are perfect for mixing and matching over sprayed or inked surfaces, or even patterned papers, to create layered backgrounds. For my first card, I have chosen a soft colour scheme, using a printed Julie Nutting tag, and embossed the dotty harlequin stamp using white embossing powder. I have used the large dotty stamp on the main background, stamping my image onto scrap paper first, then onto the card to get a fainter image. This is known as second generation stamping. I stamped three butterflies from the Briar Rose Butterfly stamp set onto beige vellum, using white embossing powder.

The poppy image is from the Flora and Fauna stamp set, which I stamped onto white card and coloured it using Polychromos pencils before cutting it out. Lastly, the sentiment comes from the Mackintosh Sentiments clear stamp set, and I have again embossed this with white embossing powder. I sanded the edges of all of my pieces of card to give a shabby feel to them, before assembling my project and added some cream lace.

I cut my card to 7" x 7" size so that I could use the tag without the top edges showing, I quite like this size, and may make more if I can find a ready source of envelopes. A bit of searching on the Internet, methinks.


My second project was made using a tag that I coloured with leftover inks from my project here as I did not want to waste the remaining ink. I coloured two further tags, and this was one of them. I am trying to create a stash of available backgrounds for future projects, saving me time when I am starting to make a card or tag. I do try to rummage through what I have already made to see if I have something I can use when I am making something. Like me, I'm sure a lot of you have a scrap box full of bits and pieces left over from previous projects.


I stamped the large background stamp using cobalt archival ink, and added white highlights with a signo uniball pen. I used a stamp from the Artistic Expressions stamp set on the background using forget-me-not archival ink, which I also used to edge the tag.

I stamped a peacock feather from the Tangled Peacock stamp set onto pale green vellum three times using navy ink and clear embossing powder. I coloured the reverse of the images with copic markers before cutting them out. A piece of emerald ribbon finishes the tag.


Keep popping over to the Design Team Blog to see what my team mates have made, they have some super samples coming up in July using these stamps. Thanks for stopping by, xx


Saturday, 21 June 2014

Harebell Butterfly


Hi Folks, my sample today uses lots of my favourite colours, namely purple and teal. I often try to work outside my comfort zone when I am making samples and do not often turn to these colours when making a project. it has been a real pleasure dipping into this colour palette.

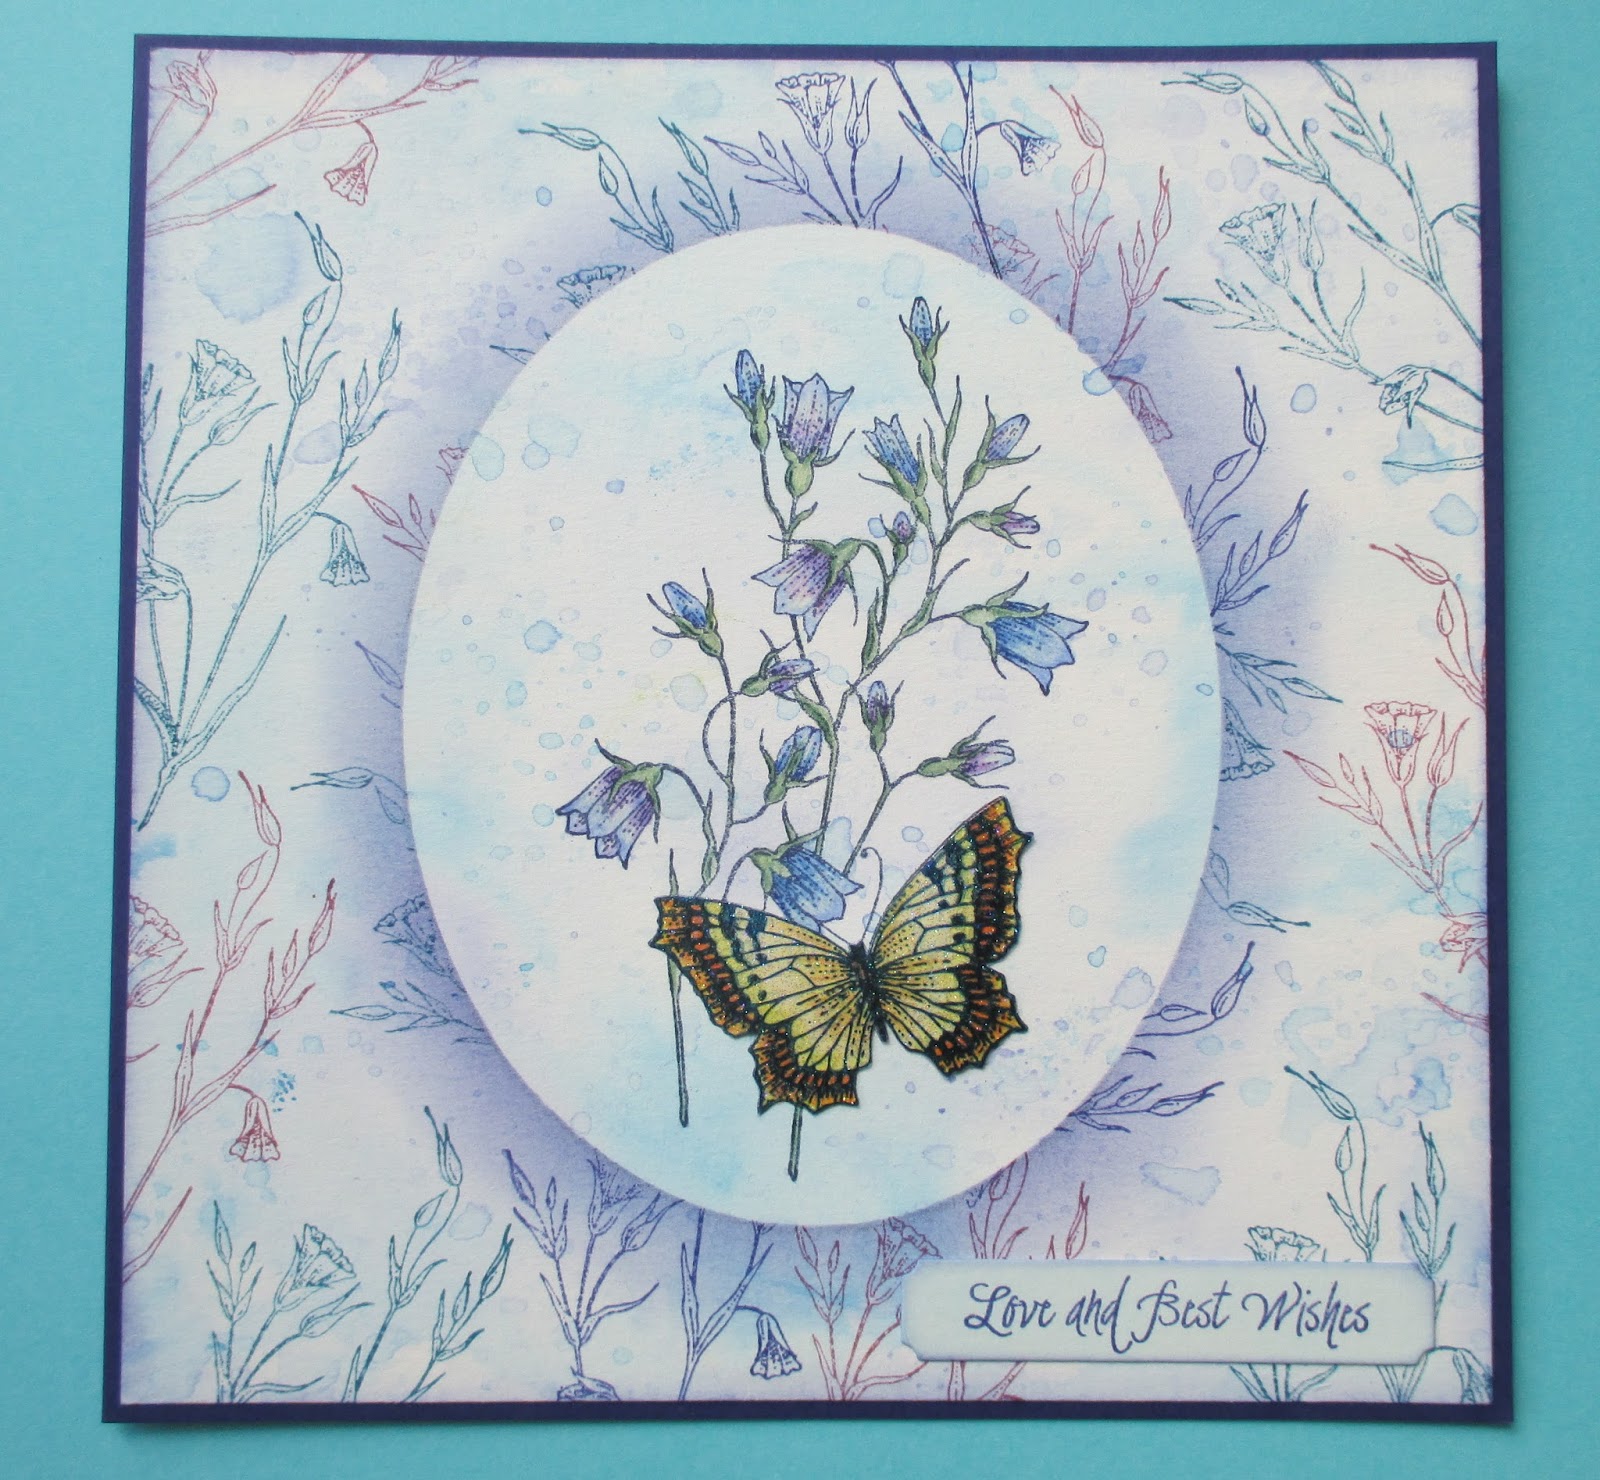
I started my card by creating a wrinkle free background using smooth watercolour paper, using blue and lilac Distress Inks. I then created an oval mask, which I placed in the centre of the page. I used Paris Dusk Memento Ink and sponged around the edge of the mask, creating a shadow. This helps create a faux layer, which keeps the card flat and saves on postage! I also added the same colour to the edge of the background. Using a flower stamp from the Harebell Butterfly stamp set, I stamped around the edge of the background, and over the edges of the mask. I used a mixture of teal, navy and purple inks. I removed the mask and stamped the main image using Cobalt Archival ink. I stamped the butterfly from the main image again onto a scrap piece of watercolour paper and also onto sparkly acetate.

I bleached the image, and coloured it with pencils. I coloured the second butterfly, and stuck the acetate butterfly over the top. I added these to the main picture. The sentiment comes from the Amazing Birthday stamp set, and I have used a Dienamics die to cut out my little tag.


I added a bit of grey pencil directly around the edge of the mask to deepen the shadow, and this helps the contrast between the background and foreground 'layers'. Thanks for stopping by, xx

Saturday, 31 May 2014

Summer Fairies

Hi Folks, there is now a fourth set of fairy stamps which has been recently released at Chocolate Baroque completing the seasonal collection. This one is the Summer Collection. This set is full of lovely fairy images, and some great floral images as well.
My first card uses one of the large silhouette fairies, which I have placed on an inked background, made using Distress Inks. I chose several colours which I blended across the page, and then placed a leafy stencil over the top, and used the same colours again to stipple colour through the stencil. I added some deeper colour around the edges of the background to create a frame, and then stamped the trailing ivy across the top of the page, using Paris Dusk Memento Ink. I added a border around the bottom half of the card, using a tree stamp taken from the Fantasy Woodland stamp set. The two trees are a stamp from the same stamp set. I added some shading underneath the trees using a paper mask, and Old Paper Distress Ink. I stamped the silhouette fairy, and the little butterfly, which comes from the Autumn Fairy stamp set, using Versafine Onyx Black Ink.

I added some glitter glue to the fairy and butterfly wings for a little bit of sparkle.


My second card uses a couple of the flower stamps from the collection to create a fairly clean and simple card. I cut a rectangle of smooth watercolour paper, and stamped the freesia stamp at the bottom of the card. I covered the image with a mask so that I could stamp the image again on either side of the original image.

I coloured the silhouette freesia stamp with Distress Markers, blending several colours, and stamped the background with the mask in place. I placed the mask on top of each freesia image in turn, so that I did not stamp over them. I then coloured the three freesia images with Distress Markers and a waterbrush.

I matted the picture onto a piece of dark green card, and then placed this onto a larger square of light green card, adding some orange and green ribbon to my main image. I added three Crealie butterflies to the large background. These Crealie butterflies are great, they co-ordinate to create dimensional butterflies. You can use them individually, or layer them together as I have done for my sample.


My last card was created using lots of masking again, and a hand cut stencil. It is very easy to cut your own stencils using blank stencil sheets.

I used one of the large fairies from the collection, which I stamped and masked off, before stamping poppies from the Poppy Meadow stamp set. I then masked these flowers and stamped the little silhouette flower from the same set. I love this little stamp and it is going to be a favourite from now on. That's the beauty of revisiting older stamp sets, you often discover stamps that you have never used before! I added the stencil and coloured the sun rays using Distress Inks, before inking the remaining sky with blue. I have added a shimmer spray over the top.

I have coloured the fairy and flowers with Distress Markers. The two tiny butterflies are half of a butterfly stamped twice, taken from the Spring Fairy stamp collection. I simply covered half of the stamp with masking tape before I inked it up, then removed the masking tape before I stamped it onto the page. I have decoupaged them, and added glitter glue to their wings. The sentiment is taken from the Fairyland Words clear stamp set.

Anyone who knows me, knows how much I love poppies, and I had great fun creating this card. I hope that it has given you a few ideas as well. Thanks for stopping by, xx

Related Posts Plugin for WordPress, Blogger...