Ingredients:
4 pieces of Stampbord 2.5" x 3.5"
1 piece of mountboard 2.5" x 2.5"
A piece of patterned paper 3.5" x 10.5"
Butterfly Dreams stamp set
Archival Jet Black Ink
Brushos
Waterbrush
Palette
Glue
Seed beads on a string.
Instructions:
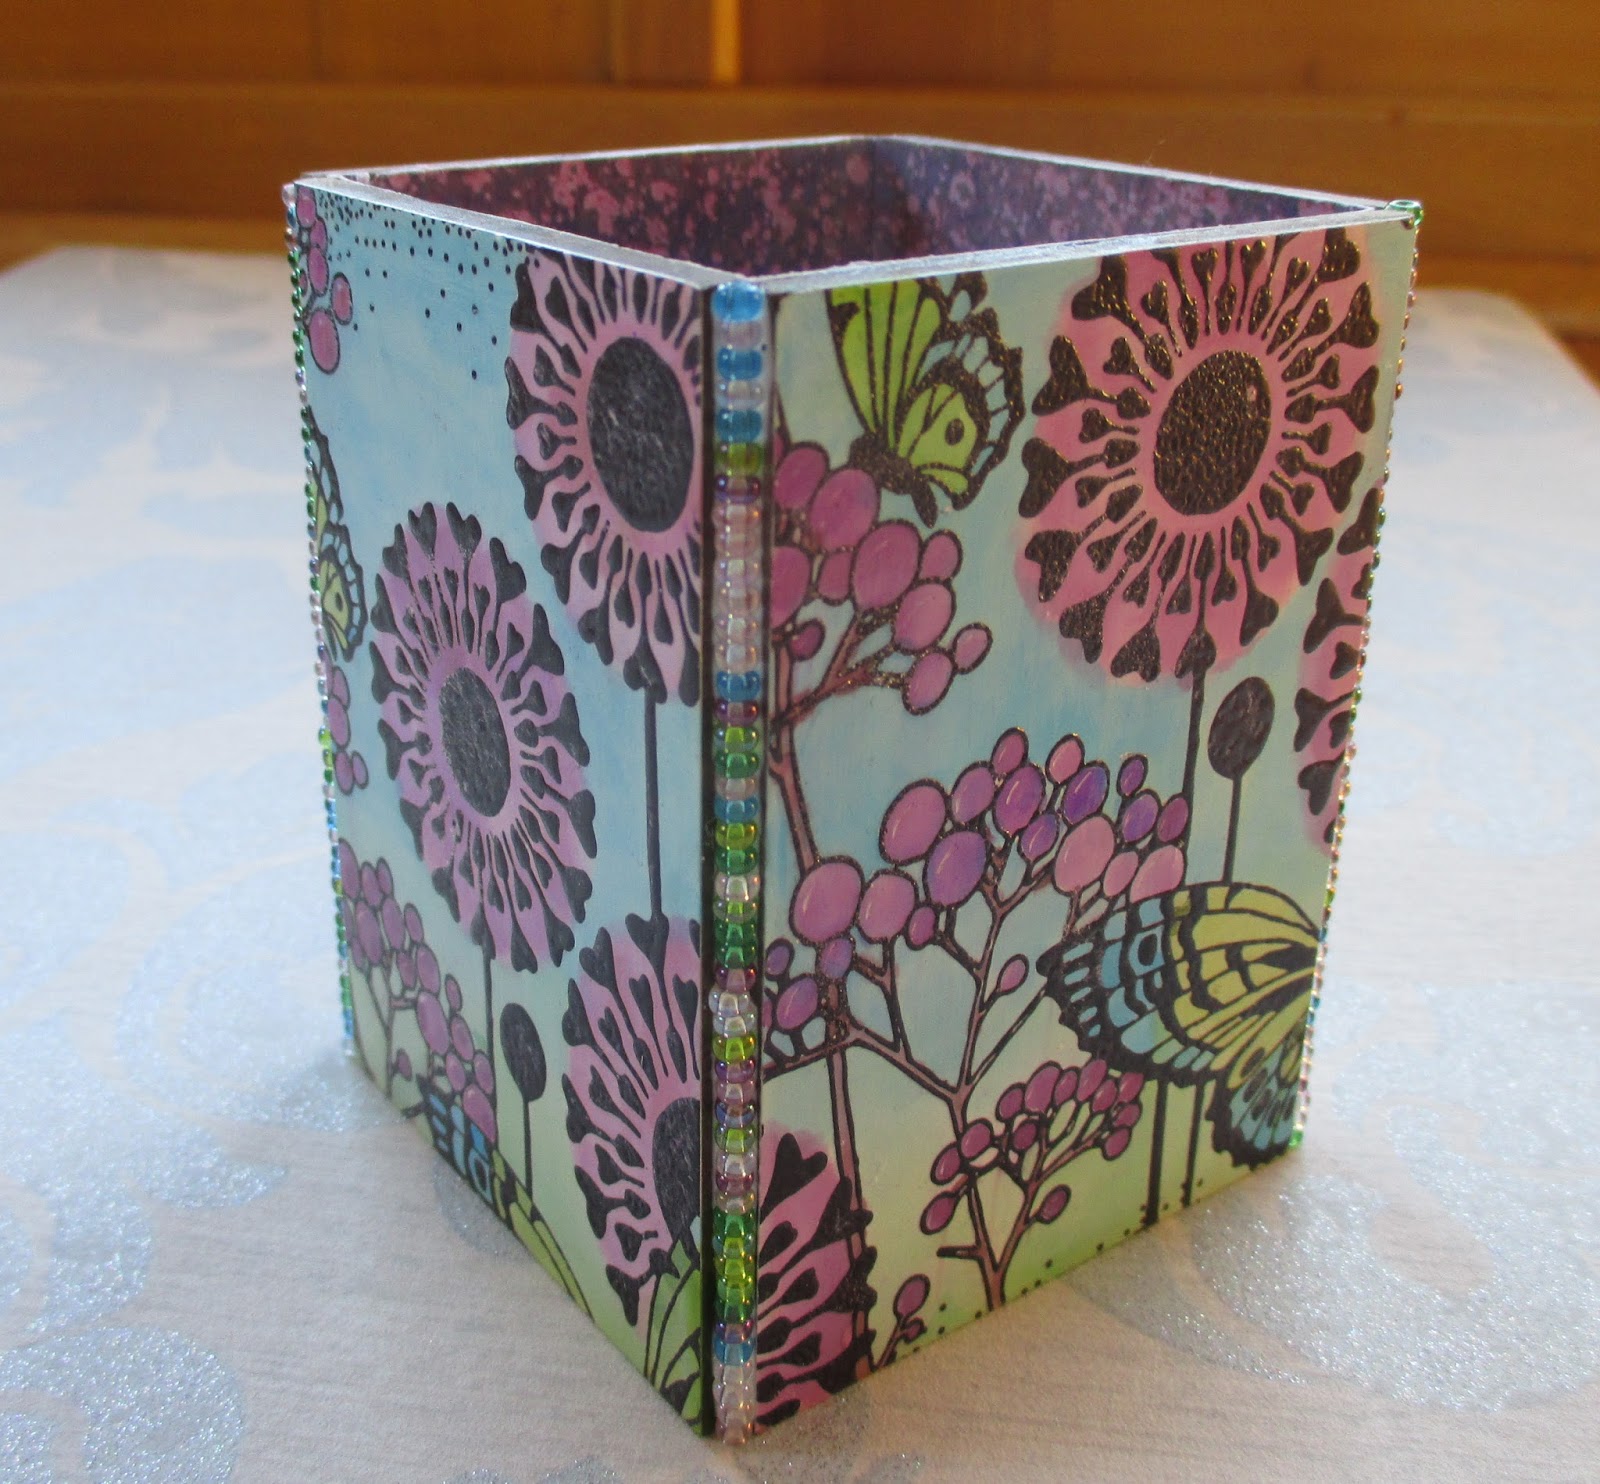
- Stamp the four pieces of Stampbord each with a different part of the large stamp from the stamp set, using Archival jet black ink and emboss with clear embossing powder. (I found it easier to place the stampbord on the stamp, not the other way around).
- Colour the images using Brushos, mixing the powders in a palette using a water brush.
- Stick the patterned paper across the back of the Stampbord, overlapping the join slightly.
- Run a line of glue around the edge of the mountboard and slide it into the bottom of the pencil pot. Allow the glue to set.
- Run a line of glue along each outside corner and lay the seed beads on the glue, pulling the thread out slowly, to keep the seed beads nice and straight.

2 comments:
Your seed bead corners are a super finishing touch for the pot & I love the way the pink ones pick up on the little round buds of the flower florets. Your choice of patterned paper for the inside is a super complement too & I particularly like the way our colours blend in the background yet allow the images to stand out clearly through your choice of colours.
Paula (PEP)
Oh this is a nice project to have a go at,I love the way you used the seed beads and thanks for the tip on how to get them straight.
Post a Comment