Followers

Showing posts with label Crealies. Show all posts

Friday, 22 May 2015

A Trio of Tags

Hello everyone, I have created three tags to show you combining the Sewing Stamps multi-buy and the Peacock Parade/Tangled Peacock multi-buy. I wanted to create some designer haute couture style dresses, and decided to use the peacock tails as skirts combined with the bodices of two of the mannequins from the sewing sets. I stuck to a peacock themed colour palette throughout the three tags.

I cut three large tags from watercolour paper using the Crealies extreme labels and tags die. This is a super set of dies, and I used the largest die for my tags. It has embossed stitching running around the edges, so was very appropriate for my project.

I started the three tags by stamping and embossing the lace strip along the bottom of the three tags, using Versafine Onyx Black ink and clear embossing powder. I then stamped the foot of one of the mannequins on each tag. I stamped each peacock tail onto a tag, using Versafine Deep Lagoon ink, and coloured them in using watercolour paints. I used the same paint to colour the bodices, which I stamped and embossed onto a spare piece of card.

I inked each background using Tumbled Glass Distress Ink, and then chose a corresponding ink colour to blend around the edges, (Peacock Feathers, Salty Ocean, Seedless Preserves). I used the same ink colour to stamp an assortment of sewing notions as a border. Finally, I added a sentiment to each tag.


Thanks for stopping by, xx

Thursday, 26 January 2012

Art Nouveau Friendship Card

Hi folks, here's another card made with some of the great new stamps recently released over at Chocolate Baroque I really like this stamp plate, it's called 'Wisteria Lane', and there are some great stamps on this one. I particularly like the large stylised flower, as it reminds me very much of the Art Nouveau era. I set about creating a card with that theme in mind.
I chose to go with a very strong colour theme for this one, and used Butterscotch and Caramel Adirondack inks to create the background for the card. I used one of the smaller flourish stamps to finish off the larger piece of card, using Black Archival ink. I then stamped the large flower onto the smaller piece of card.

I decided to use a Crealie Doily Element Die (Number 8) to mat the smaller card piece, which added definition to the piece. The shape of this die really fitted in well with the Art Nouveau theme. I cut the pieces out, and just put them on the back of the piece of card by eye, I didn't use a template, then stuck them down with double sided tape. I started with the corners, and then worked the other pieces in to fit, adjusting where necessary.

I added a sentiment from another Chocolate Baroque stamp set 'Art Nouveau Birthday', which is sadly soon to be retired. The font is great on this.


Don't forget to pop over to the Design Team Blog to see what the other Design Team members have been up to with the new stamp sets. Thanks for stopping by, xx

Tuesday, 13 September 2011

Birthday Card for a Friend

Hi Folks, I'm safely back from Italy now, we arrived home last night. Lake Garda was as beautiful as ever, and the week passed very quickly. We visited Venice, Milan and Verona, as well as local towns around the Lake, with stunning views. We went with my Brother-in-law and his wife, My Mother and Father-in-law, and also my Son, so a group of seven of us. We didn't have a drop of rain all week, and the temperatures reached 32 degrees which was about as much as I could bear!


One of my favourite places to visit is Gardone, a town on the Lake, and a house there called Il Vittoriale, with beautiful gardens, reminiscent of Portmerion. I've been there twice now, and just love the atmosphere, it's so peaceful.


It's the Birthday of a very good friend of mine today. I made her card before I went away, and wanted to incorporate things that meant something to her. I created a background using some leaves from my garden, as she loves Nature, and her own lovely garden. Hopefully she'll come and see my garden IRL one day, and I'll get to see hers. We are crafting buddies, but long distance, only meeting at Craft Shows, and days out. I used a technique that I found on Marja's Blog. She gives a link in this  post, to where she found the technique. I sprayed some watercolour paper with Cosmic Shimmer sprays, after I had laid my fig leaves onto the paper. I then placed another piece of the paper on top, making a sandwich, and ran this through my Big Shot. The result is this lovely piece of paper.

I used a piece of background paper from a lovely 12 x 12 pad that I hoard in my stash with butterflies on  a teal background. I stamped the gardening lady stamp onto a piece of card coloured with Distress Inks, and matted onto a Nestie frame. I used a new Crealie Flower die to make the flowers from some left over card, adding large pearl brads. This image reminded me of my friend as soon as I saw it, and I bought it with her Birthday card in mind, several months ago. I bought it from an Ebay store that she herself frequents!
Some teal ribbon, and a butterfly charm finish the card off. I know that she has received the card, and I hope that she is having a very special Birthday.

Thanks for stopping by today, xx

Friday, 11 March 2011

Bah Humbug Apertures

Hi folks, it's the second week of my stint as a Guest designer over at Bah Humbug. This week the challenge is to make a card or project using apertures.
For my first card, I managed to use three stamps that I haven't used before. I have had them for ages, and they have sat neglected in my box of Christmas stash, gathering dust. They would qualify for my other Friday post, lol! They are a set of bauble stamps from Great Impressions, with the words 'Peace', 'Love' and 'Joy' on the baubles. I chose to stamp these on acetate, and cut three apertures out of my main card. I glittered the baubles, and stuck them into the apertures, and then covered the back with another layer of acetate, to keep the glitter nice and tidy, then added a layer of card, to tidy up the inside of my card.

Apologies for the ornament in the corner of the picture, but I need a nice sunny position to take the photo, and the windowsill was handy!

My second card is a tri-fold card, made using a stamp from Elusive Images, stamped onto watercolour paper, and coloured with Polychromos pencils. I have placed it so that it can be seen through an aperture on the front of the card. I have added some flowers and leaves cut from Crealie dies.

Don't forget to pop over to the Bah Humbug blog to see what everyone else has been up to, and thanks for stopping by, I'll be back later with my Forgotten Friday post, see you then! Judith xx

Wednesday, 12 January 2011

Bah Humbug challenge my first entry!

I decided to enter the Bah Humbug challenge this week, and am getting in pretty much by the skin of my teeth. I have had trouble with headaches which has made crafting really difficult, but no matter, my card is together now. The theme this week was Holly or Fairies, or you could use both. I chose to use a digital image by Mo Manning called Holly Fairy, which is just perfect for this challenge. I used some lovely backing paper from Sei, from their Winter Song range, that I have been cherishing for a long time, and that formed the basis for my colour scheme. It is a lovely soft turquoise colour. Some of the other papers in the range have a deep red in them, so I decided to choose a deep red Bazzil card as my mount.
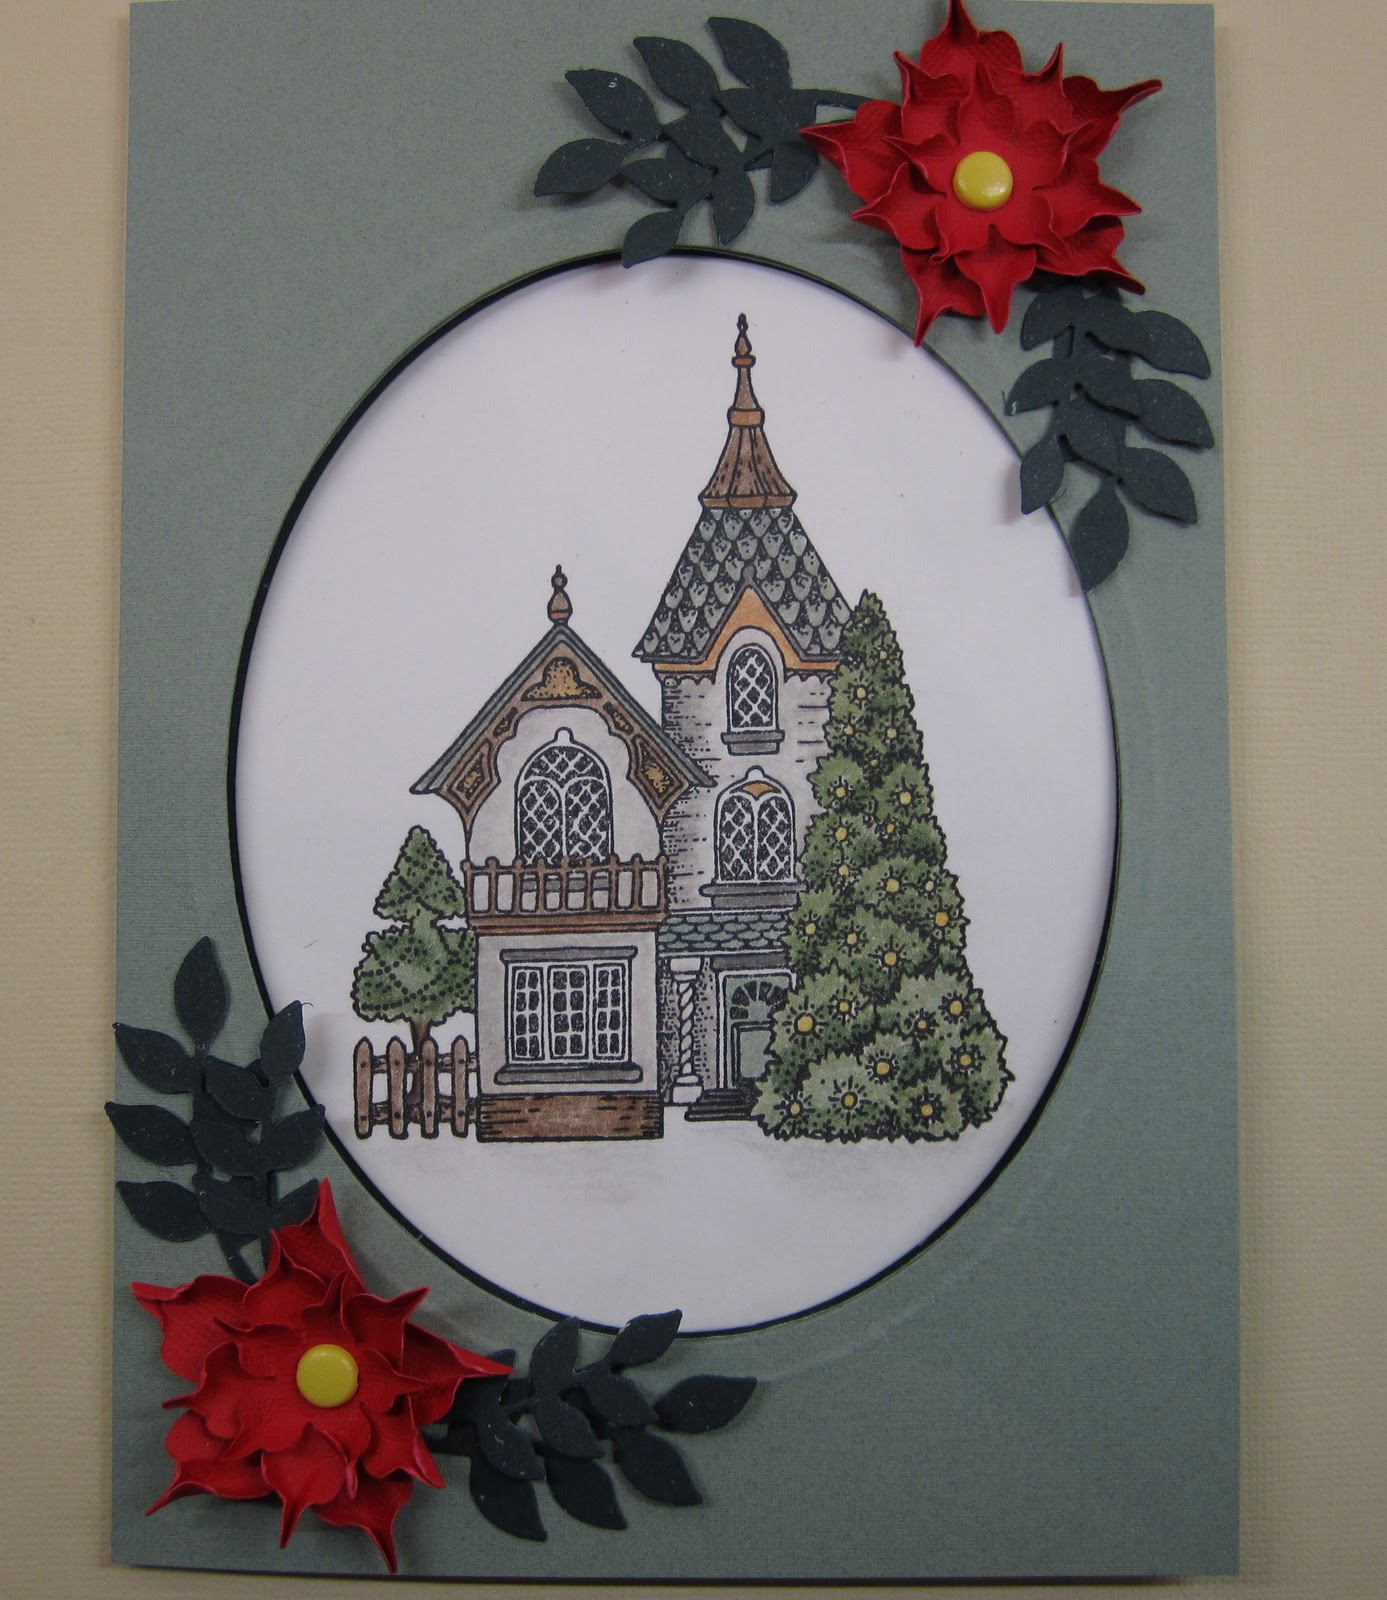
I have used Diamond Stickles to edge a lot of my layers, to add a bit of Christmas bling, you always have lots of glitter at Christmas, don't you? I have used a Whiff of Joy die to cut out my Holly leaves, and a Crealie die to cut out my lovely flowers from the remaining Bazzil card. I wet this before I curled the flower points to add dimension to the flowers.
The sentiment comes from Elusive Images, and the brads are from Hobby House. I saved a biscuit tin left over from Christmas, as per the tip on the Bah Humbug blog last week, so this card will be the first to go in there ready to send out at Christmas. It feels really good to say that I've started to make my Christmas cards for this year!!! Thanks for stopping by, Judith xx
Related Posts Plugin for WordPress, Blogger...