Followers

Showing posts with label Floral Grunge. Show all posts

Tuesday, 1 March 2022

Butterflies on Film

Hello everyone, I hope that you are all keeping well. I have a couple of projects to share with you today, showcasing stamps from last month's TV shows.

My first project was created by covering a piece of Drawing Cartridge with a wash of cold tea. This is a really quick way of adding a vintage look to your backgrounds, and I tend to colour several sheets of paper at a time, let them dry and save them for another time.

I stamped the film strip from Butterfly Mind down the background, and masked the background, leaving only a segment of the film strip uncovered at a time, so that I could stamp a portion of a butterfly into the area. I moved along to the next portion, covering where I had stamped previously, and rotated the butterfly, for a different angle.

I added the splatter stamp from the same stamp set to the background, using two different colours of ink. I coloured the butterfly wings in toning colours, to match the background splatters. The sentiment also comes from the same stamp set.

The following two projects are not new, but I thought I would share them with you again. I have used the film strip from Butterfly Mind once again, but added it to one of the fabulous flowers available from Chocolate Baroque, Floral Grunge. The film strip helps to create a fabulous collage effect, and with the use of Masking Tissue over the flower, was really easy to create. 

Finally, I created a bokeh effect background over some Brushos, using a stencil and white ink, then added three brightly coloured butterflies from Butterfly Mind. By choosing contrasting a colour for the background, the butterflies really pop.

I will be back soon with more projects to share, thanks for stopping by, xx

Friday, 26 November 2021

Grungy Numbers

Hello everyone, I have two projects to share with you today, showcasing the stamps that we brought to you in last month's TV shows.

To create my first project, I made a quick background by inking up the gelli plate with Distress Ink, and pulled a print using smooth white card. I stamped Floral Grunge in the middle of the card using black ink, and added some leaves from the From Nature 1 stamp set around the flower head and up the 'stalk'. I added the numbers from Numerolgy to the background, and also the splatter, using colours that would match the colours I chose for the flower.

I stamped the flower head again onto a piece of separate card and coloured it with pencils, before cutting it out. I also coloured the leaves that I had stamped onto the background with pencils, to give them extra definition. I attached the coloured flower head to the background.

My second card is a much brighter affair than my first card, and shows how the Numerology stamp set can be used to create a card. I created a Distress Ink background, using shades of green, blue and yellow. I then added the various stamps from the set, and a couple of leaves from the From Nature 1 stamp set, stamped in second generation stamping in the background. I like the subtle effect that the leaves give underneath the numerals. I stamped them with the same black ink for a monochchrome effect.

Thanks so much for stopping by, xx


Saturday, 13 November 2021

Autumn Colours

Hello everyone, I have some leafy projects to share with you today. I thoroughly enjoyed using the new From Nature 1 stamp set that Lesley created and showcased last month on the TV shows. This set is so versatile, and will be a 'go to' set for me when I need to create cards for so many different occasions.

For my first project, I chose a piece of patterned paper, and stamped the large tag from Tagtastic using black ink. I added a bit of shading using Distress Ink around the edges. I stamped two of the flower heads from Floral Grunge onto book paper, and coloured them using pencil, in colours that matched the tag. I worked out where I wanted the flowers to go and stamped some little leaves from the From Nature 1 stamp set so that they would be peeking out from behind the flower heads. I used Versafine Clair ink. I also added the fabulous splatter stamp from Numerology, before adhering the flower heads, and trimming them to fit the tag shape. I then edged the tag again with black ink.

I created a background on a piece of Drawing Cartridge using Distress Ink, using colours to match the tag. I used a larger leaf and Versafine Clair ink as before to stamp all over the background, to echo the design on the tag. These are my favourite colours, I try not to work with them all of the time, but I love how they look together.

For my second design, I inked up my gelli plate with a shade of green Distress Ink, and stamped one of the leaves from the stamp plate randomly over the plate. I pulled a print with smooth white card, and cut the card to the size that I wanted. I then chose a shade of green Versafine Clair, and stamped a smaller leaf stamp over the background, and added one of the sentiments. This was a really quick card, but great fun to create.

You could vary the colours, and each card would turn out differently.

My final card is a variation of a card from my previous post. I inked up a background using Distress Ink, and then just stamped lots of leaves in first and second generation stamping using Versafine Clair and Archival Inks. I love this riot of Autumn colour.

I created a little embellishent from paper clay to go on this final card, and was really in two minds about whther to add it or not. It looked fine, but in the end I decided not to use it. The colours really went well together, but I will use it for something else, at another point in time. 

I will be back later in the month with more projects to share. Thanks so much for stopping by, xx


Monday, 1 November 2021

Beautiful Autumn

Hello everyone, I hope that you are keeping well. We are really into the Autumnal weather now, the leaves are falling and the windy days are here. I love this time of year, we still get the odd sunny day, and it is not too cold for a good walk.

I have three projects to share with you today. My first card was created on a left over background from another project. I had painted over a piece of scrapbook paper with a wash of white acrylic paint and added some stencilling with blue and orange Distress Oxide Ink. Some subtle stamping had been added with the same colour ink; butterflies, clocks, and splatters, etc. These colours dictacted the colours that I then chose for the rest of my project. 

I stamped Beauty is in the Eyes using Versafine Onyx Black and extended the bottom frame using a fineliner pen. I used the same pen and a circle stencil to draw extra bubbles on the right hand side. I coloured the image with pencils, and added white highlights with a gel pen. I had another scrap background for the larger background, created using acrylic sprays. Always keep your left over backgrounds, you never know when you might need them! I matted both backgrounds with black card for extra drama. The little word 'Focus' comes from the same stamp set.

My second project is a small chipboard panel. I used a piece of decorative paper and stamped one of the leaves from From Nature 1 across the background using green ink. I stamped and embossed the large leaf spray from the same stamp set onto kraft card using white embossing powder. I also stamped and embossed just the face from Beauty is in the Eyes, and the flower from Floral Grunge, also onto kraft card using white embossing powder.

I added a sentiment to the background paper, before attaching it to the chipboard panel with matte medium. Once the adhesive was dry, I sanded the edges to get a white edge. I coloured the face and flower with pencils, and inked the leaves with Distress Ink. I attached all of the images to the panel for a collaged effect.

My final project mixes and matches stamp sets, something that I really enjoy doing. I have used Distress Inks to create a blended background, and then taken a branch from the Sticks and Stones stamp set which I have stamped in first and second generation stamping, using a brown Versafine Clair ink. I have coloured in the first generation branches using brown pencil, and the second generation using a mixture of grey and brown pencils, to make them appear to be in the background. I have then used a mixture of Autumn colours to stamp the lovely leaf from From Nature 1 in first, second and third generation stamping across the branches. Finally I have added my absolute favourite Chocolate Baroque sentiment to the card. This comes from the Nature's Peace stamp set. As Design Team Leader for Chocolate Baroque, I should probably not have favourites, but I am still human, and I adore this stamp! I knew as soon as saw the stamp set From Nature 1 that I wanted to create this card, sometimes a card design just pops into your head.

Thanks so much for stopping by, take care, xx


Sunday, 31 January 2021

Sending Hugs

Hello everyone, I am sharing my last post for this month, and once again, hoping that you are all safe and well. 


My first card was created using a stamp from last month's TV shows on Hochanda, Floral Grunge, and I have mixed it with a few other images to create a card that could be used for lots of different occasions. The sentiment I felt was particularly apt for now when lots of people could do with a hug, but we cannot give them one.


I started my card by stamping the main image onto Drawing Cartridge using Versafine Clair ink. I masked the flower head and then stamped and embossed the film strip from Butterfly Mind. I used the same colour ink, but added clear embossing powder over the top. I added a few extra splodges with a stamp from the same stamp set around the flower head and then removed the mask. I coloured the image using Polycolour pencils, before replacing the mask, and adding more splodges of colour with Distress Oxides to tone in with the colours that I chose to colour the flower head. The sentiment is from Amazing Mackintosh Words.

I am also sharing some older cards that I made using some of Kim Moody's stamps, that were also featured on last month's shows. Sadly I did not have a chance to make any fresh samples with these fabulous stamps, but I thought you might like to see some of these again...

A street made from all of the houses, using a bit of masking, and I added some treees from Trees a Crowd in the background. This was such fun to make!

A moving day, who would not like to get away from it all and live in such a picturesque spot? We live near the forest and love taking long walks in the woods.

White embossing on kraft always looks so effective, especially painted with Koh-I-Noor paints.

This almost spooky version of the Posh House was another favourite sample that I enjoyed putting together with the trees.

I will be back next month with some projects from our One Day Special shows. Thanks so much for stopping by. Take care and stay safe, xx


Thursday, 21 November 2019

A Burst of Colour

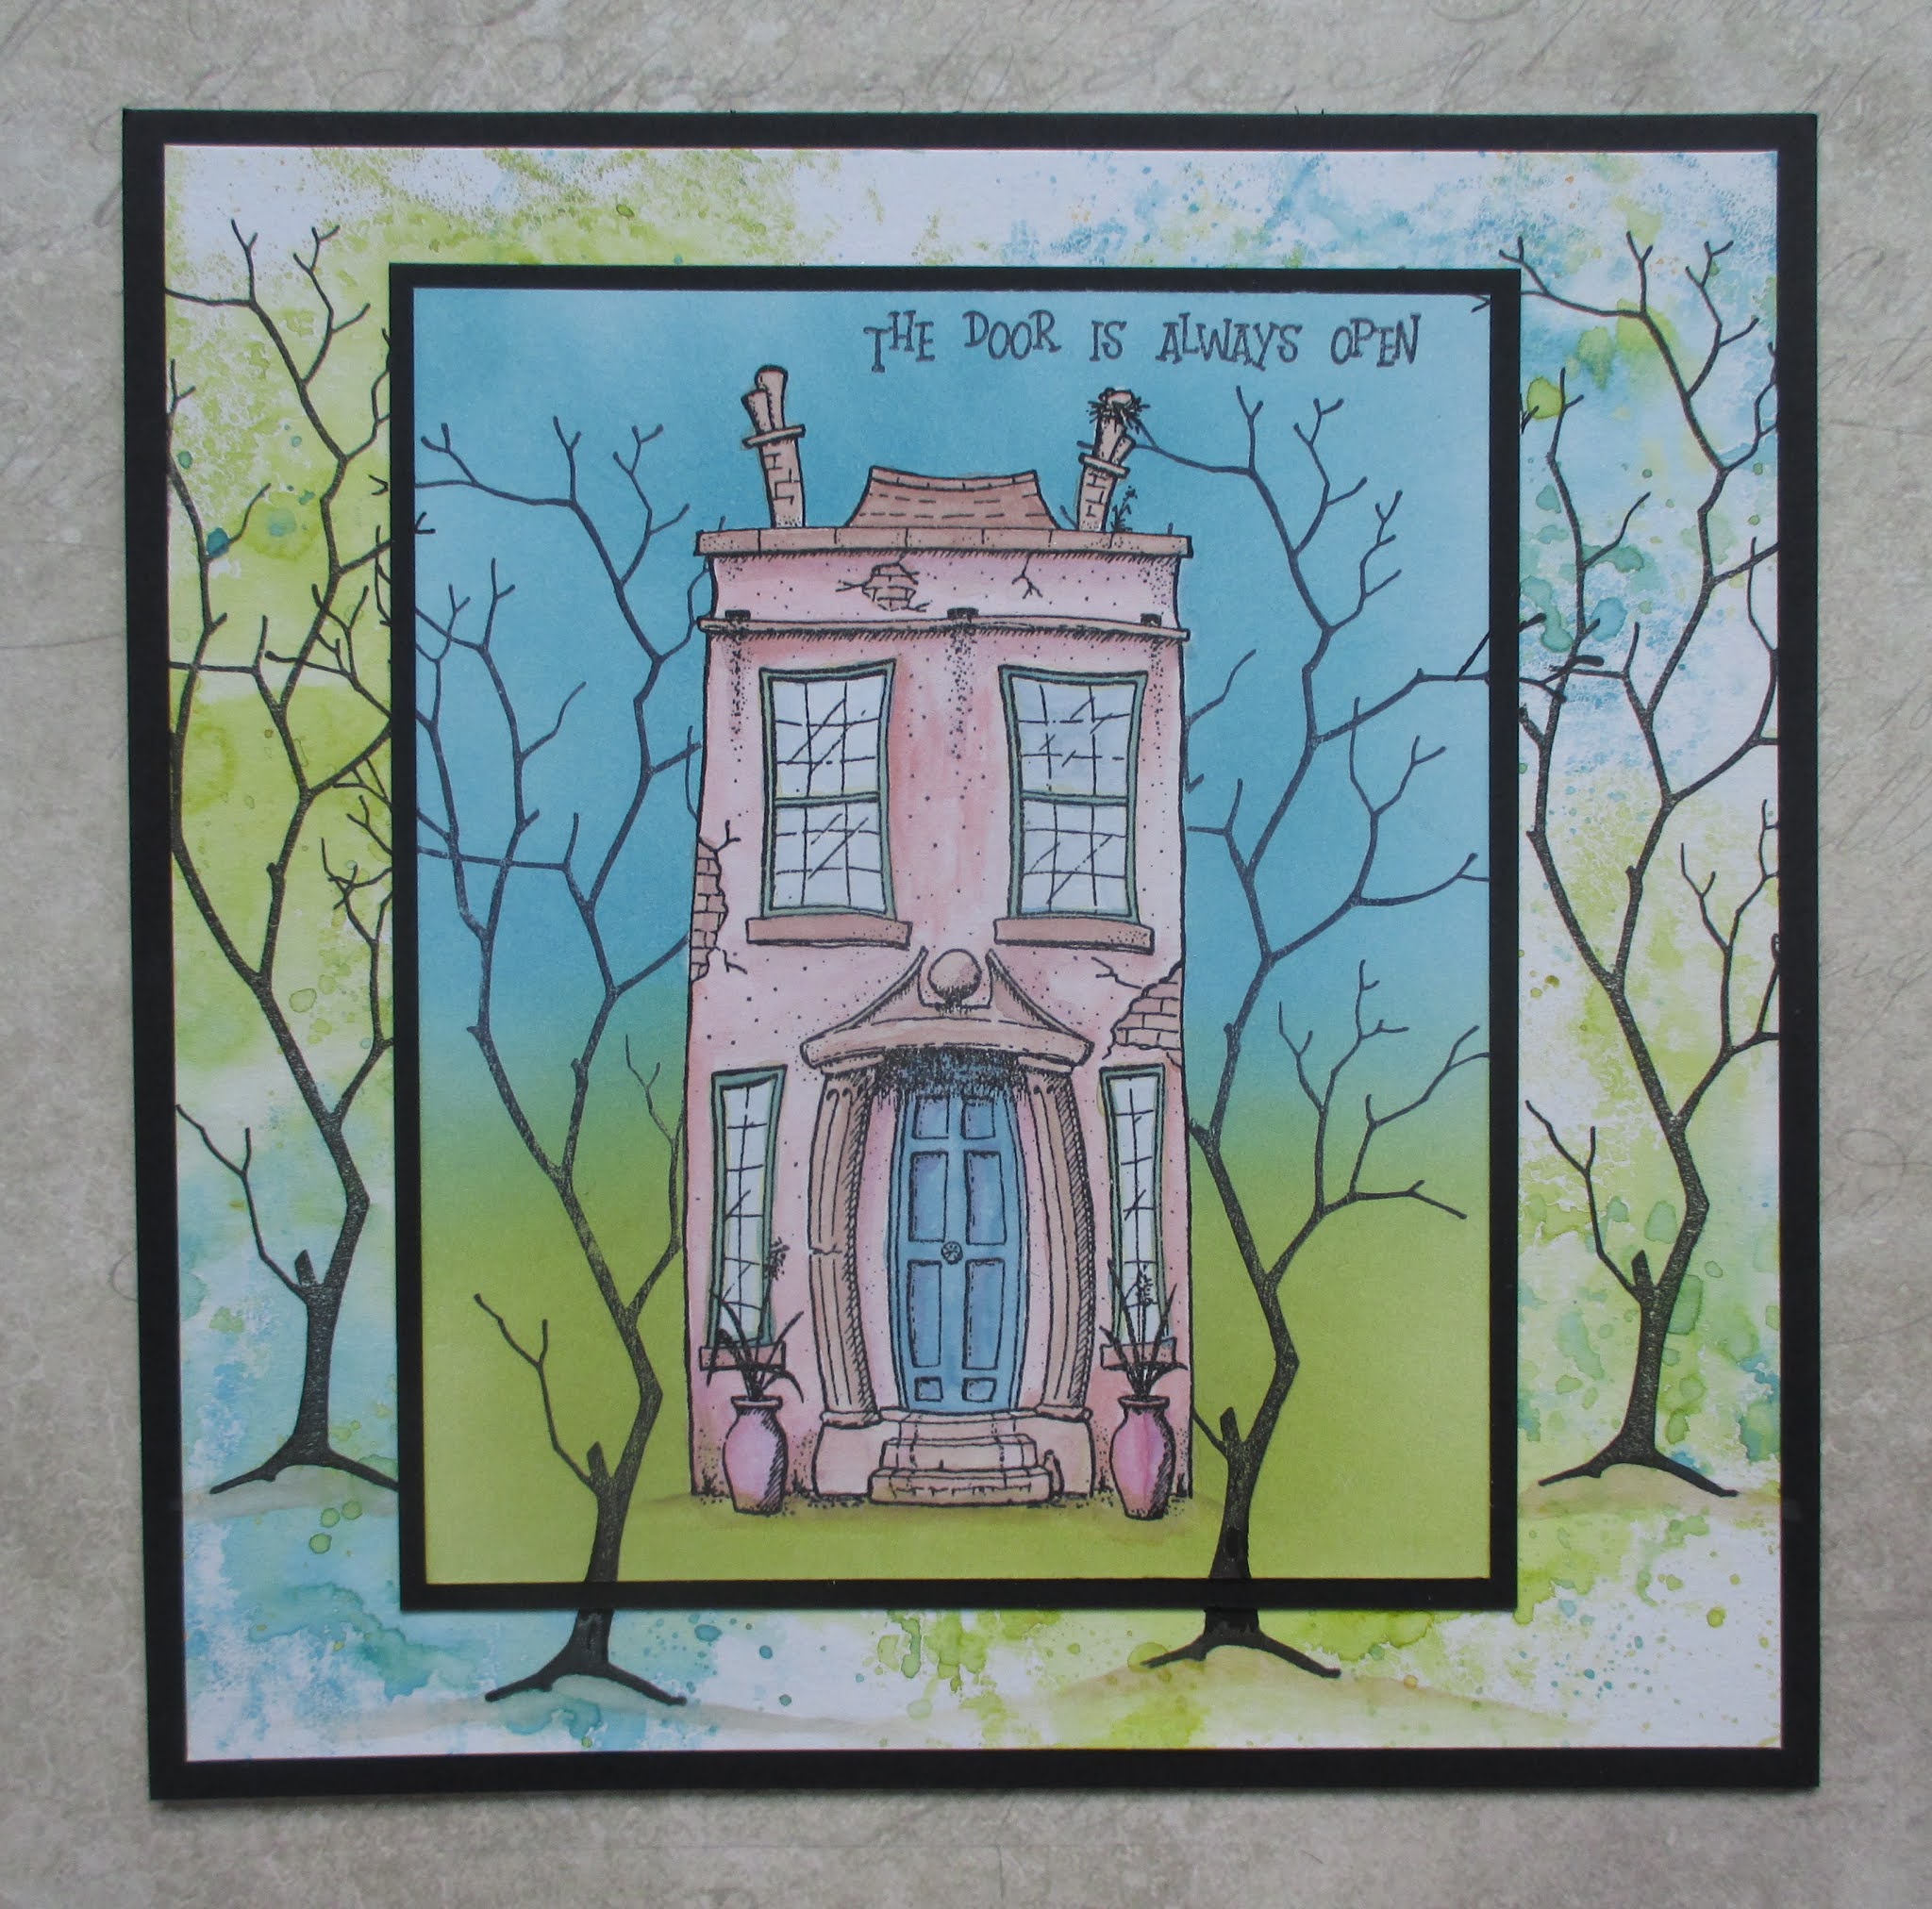
Hello everyone, as the nights are pulling in, and the days are often a bit grey and gloomy, I thought I would share a few colourful projects that I made for last month's TV shows on Hochanda. I hope that these projects will brighten up your day and inspire you to get your inkpads out and have some colourful creative fun yourselves.

My first project was created using drawing cartridge and Brushos. I wanted a zingy background, and chose yellow, red and orange to create the first layer. I sprinkled the Brushos first, and added water to get the lovely mixture of colours. I blotted another piece of drawing cartridge over the top, and saved that piece for another day's project. I added some stencilling using red and yellow ink, and stamped randomly over the background using the Klimt Panel cling mounted rubber stamp. I held the stamp in my hand rather than on a block to get just bits of the image here and there.

I stamped and embossed some chess pieces from The Art of Chess stamp set onto black card using gold embossing powder, and cut them out. I also stamped the sentiment onto a spare piece of my background card. I mounted the backgrounds before adding them to a tag shaped card.

The backgrounds for the next three cards were all created in the same way, I simply finished them off in different ways. The colours are so pretty, and I really enjoyed making the backgrounds. I made a lot, and still have some left for another creative session. I used Distress Oxide Ink spread onto a craft mat, which I spritzed with water. I placed my drawing cartridge over the top, and then added some gold mica spray, giving it a generous spritz. I put some crinkled cling film over the background and left it to dry completely. When the cling film is removed, you are left with some beautiful patterns, highlighted by the mica spray. There are lots of variations for this technique out there on the Internet, so do give it a try.

For the first of the three cards, I stamped the heart from Music Fanfare five times on a pink background, and once on green. I cut the green heart in half, and edged the cut side with black ink. I stamped the large music segment twice using a toning ink, and added a piece of velvet ribbon to the background. I scrunched, then arranged the hearts into a flower, tucking the green segments behind to resemble leaves. I wanted the flower to look more 'crumpled', and by scrunching the petals first, it gives them far more texture. I added a big black button in the centre. To finish, I added a sentiment from the Loving Sentiments stamp set and matted the background onto black card.

For the next two cards, I used the beautiful Floral Grunge stamp. I used patterned papers for the first card, paper piecing the image, and adding a butterfly cut from the papers themselves. I added one of the ephemera stamps using toning coloured ink, matching the background colours. You can really see the shimmer of the mica spray in this photo.

Finally, I added a bit of pencil colouring to the image on this last card, adding some grey pencil around the flower to give some shading and to give a feeling of dimension. I chose toning colours once again, and although this was a very quick card, it would make a lovely Birthday card. I used a sentiment from the Birthday Words stamp set.

I hope that I have given you a few ideas, and that you will try out some of the projects that I have shared with you today. Thanks for stopping by, xx


Wednesday, 6 November 2019

Vintage Ephemera With an Added Cup of Tea

Hello everyone, I have a couple of vintage themed projects to share with you today using the stamps that we launched last month on our TV shows on Hochanda. These fabulous new stamps are so useful, and can be used with lots of your existing stamps, as you will see from both projects that I have created.

I coloured some drawing cartridge with some cold tea, and then sprinkled the background with sea salt, leaving it to dry. I brushed the grains of salt away, and then stamped one of the images from Baroque Ephemera 1 randomly over the background. I dry brushed some pale blue chalky paint from Little Birdie over the top, to push the images into the background. I really like the blue and beige combination.

I stamped Floral Grunge over the top, using black Archival Ink, and also stamped the flower head a couple of times onto spare piece of background paper, also coloured with tea. I cut these out, and stamped the same ephemera image over the top, so that they look as if they had been stamped onto a piece of text. I decoupaged the images onto the background. I added some ricrac, also painted with the blue paint. I created a little tag by dry brushing a section of lolly stick with the paint, and stamping a word from Baroque Ephemera 2 over the top. A black brad and black card to mat the background complete the card.


I used some of the same background to complete my second card. I used the alphabet strip to create a frame around the edge. I added a postcard created by stamping onto another piece of the background, and adding a section of Movie Strip Collage in the corner. I added the lovely butterfly from Happy Flower's Day, and coloured both of these images simply with Koh-I-Noor watercolour pencils and a water brush. I added tickets stamped from the ephemera stamp sets and some little stamps complete the card.

Both cards were a lot of fun to create, the stamps are great for building up backgrounds, and adding a little something extra to your projects. They can be mixed with your other stamps or create something special in their own right. I hope that you will enjoy playing with them as much as I have!

Thanks for stopping by, xx


Saturday, 15 December 2018

Flower Meadow

Hello everyone, it is time for the Fifteen Minute blog post over on the Design Team Blog today. I am sharing a card from that blog post here as well.


Lots of our projects feature Lesley's beautiful designer papers this month, and this card from myself uses one of the patterned papers from the collection. I have stamped foliage from the Wild Meadow stamp set using a variety of Versafine Clair inks, and then stamped the Floral Grunge flower onto the background, using a deep teal colour. I stamped the flower head onto one of the plain papers, and decoupaged it onto the main background. I also added a small butterfly paper pieced from a scrap of the same paper. The sentiment comes from the Be Kind stamp plate. I edged the paper with ink before adding it to a white card blank.

These papers are perfect for creating quick cards, whether you use the patterned, or the plain versions, they take surface stamping so well.

Do hop over to the Design Team blog and check out what my team mates have made. Thanks for stopping by, xx


Saturday, 8 December 2018

Rainbow Tags

Hello everyone, I have a project to share today using some of the stamps and papers that we brought to you on last month's TV shows on Hochanda. I wanted to use a little bit of everything in this project, and incorporate lots of colour to cheer up these gloomier days that we are having at the moment.

I started by stamping three of the Tagtastic tag shapes with Versamark, and covering them with white embossing powder. I also added three of the little tag 'hole' shapes onto the background of each tag, and then heat set everything. I stamped and embossed three of the flower designs, Shared Beauty, Floral Grunge, and Movie Strip Collage, and a little butterfly from the Wild Meadow stamp set onto some of the lovely papers designed by Lesley, and used the papers to help me decide on the colours that I used to colour each tag. I settled on three colours of Distress Ink for each tag.

Once the tags were coloured, I stamped the sentiments from the Shared Beauty stamp set over each tag in the same colours of Distress Ink. I cut the flowers and butterflies out of the papers, and adhered them to the tags, and then attached the tags to a tryptich made from corrugated card. Finally, I added some rainbow coloured ribbon to each tag.

Thanks for stopping by, xx

Related Posts Plugin for WordPress, Blogger...