Followers

Thursday, 18 February 2021

Just Useful Collages (by Judith)

Hello everyone, I have a couple of projects to share with you today. I posted one of the projects a few weeks ago on social media to help promote last month's One Day special on Hochanda, so some of you may have seen this card already. To create the card, I stamped the paint splash onto a piece of drawing cartridge several times using Versafine Clair Ink in three different colours. I chose bold colours for lots of impact. I stamped the dragonfly image from the Fragile Wings stamp set onto the background, and added the slim script  and splatters from the Just Useful stamp set to extend the collage. I also added circles from the Make Your Mark stamp set.

I stamped and embossed the dragonflies onto some patterned paper, and cut them out. I then attached them to the background. The sentiment comes from the Fragile Wings stamp set as before.


I created an acrylic tag as my second project, I really enjoy making these, they are really fun to create. I chose a piece of A5 Double Sided Designer Paper, and using Archival Ink, added lots of detail. I used elements from the Just Useful stamp set to create a collage, showing that you do not need a hero image to create a real focal piece of artwork. You could add this to a card, or give it as a special gift to someone, hang up as a stand alone piece of artwork, or include it on a larger piece of mixed media. The stamps I have used are all great for incorporating in backgrounds and building up your collage pieces. I have some real favourites amongst them already, some real go to stamps. As you experiment and play with them, I hope that you will find yourself reaching for these stamps too.

I will be back later in the month with some more projects to share with you, thanks for stopping by. Take care and stay safe, xx



Saturday, 6 February 2021

Just Useful Backgrounds

Hello everyone, I hope that you are all keeping well. I have some cards to share with you that showcase stamps from last month's TV shows from Hochanda. I have used two collage style stamps as the focal point for my cards with the Just Useful stamp set to build the backgrounds. These stamps were really fun to work with, and I hope you enjoy the projects that I share with you this month.

 My first card was created by stamping the beautiful Alium Collage stamp onto fabric using Plum Archival Ink. I coloured the image with Inktense pencils, and used a waterbrush to fix the colours permanently. I created the background by stamping and embossing the numbers from Just Useful using white embossing powder onto a piece of Drawing Cartridge. I then blended Distress Oxide Ink over the background, and added a splatter stamp using the same colour of Archival Ink as before.

I stamped the sentiment onto a scrap piece of card and crumpled it slightly before attaching it to the card with some twine and double sided tape.


My second card was created by stamping the large Ace Card image onto a die cut piece of Drawing Cartridge with Versafine Clair Ink. I coloured the image with pencils. I coloured a piece of glossy card with more Versafine Clair Ink and a roller, polishing the card with a piece of tissue once I had covered the card. I stamped several images from the Just Useful stamp set over the top with Archival Ink to create a collage effect.

These stamps are just great for creating a whole range of backgrounds really quickly, and you can achieve lots of different effects as you can see by the two backgrounds that I have made here.

Stay safe and take care, xx


Sunday, 31 January 2021

Sending Hugs

Hello everyone, I am sharing my last post for this month, and once again, hoping that you are all safe and well. 


My first card was created using a stamp from last month's TV shows on Hochanda, Floral Grunge, and I have mixed it with a few other images to create a card that could be used for lots of different occasions. The sentiment I felt was particularly apt for now when lots of people could do with a hug, but we cannot give them one.


I started my card by stamping the main image onto Drawing Cartridge using Versafine Clair ink. I masked the flower head and then stamped and embossed the film strip from Butterfly Mind. I used the same colour ink, but added clear embossing powder over the top. I added a few extra splodges with a stamp from the same stamp set around the flower head and then removed the mask. I coloured the image using Polycolour pencils, before replacing the mask, and adding more splodges of colour with Distress Oxides to tone in with the colours that I chose to colour the flower head. The sentiment is from Amazing Mackintosh Words.

I am also sharing some older cards that I made using some of Kim Moody's stamps, that were also featured on last month's shows. Sadly I did not have a chance to make any fresh samples with these fabulous stamps, but I thought you might like to see some of these again...

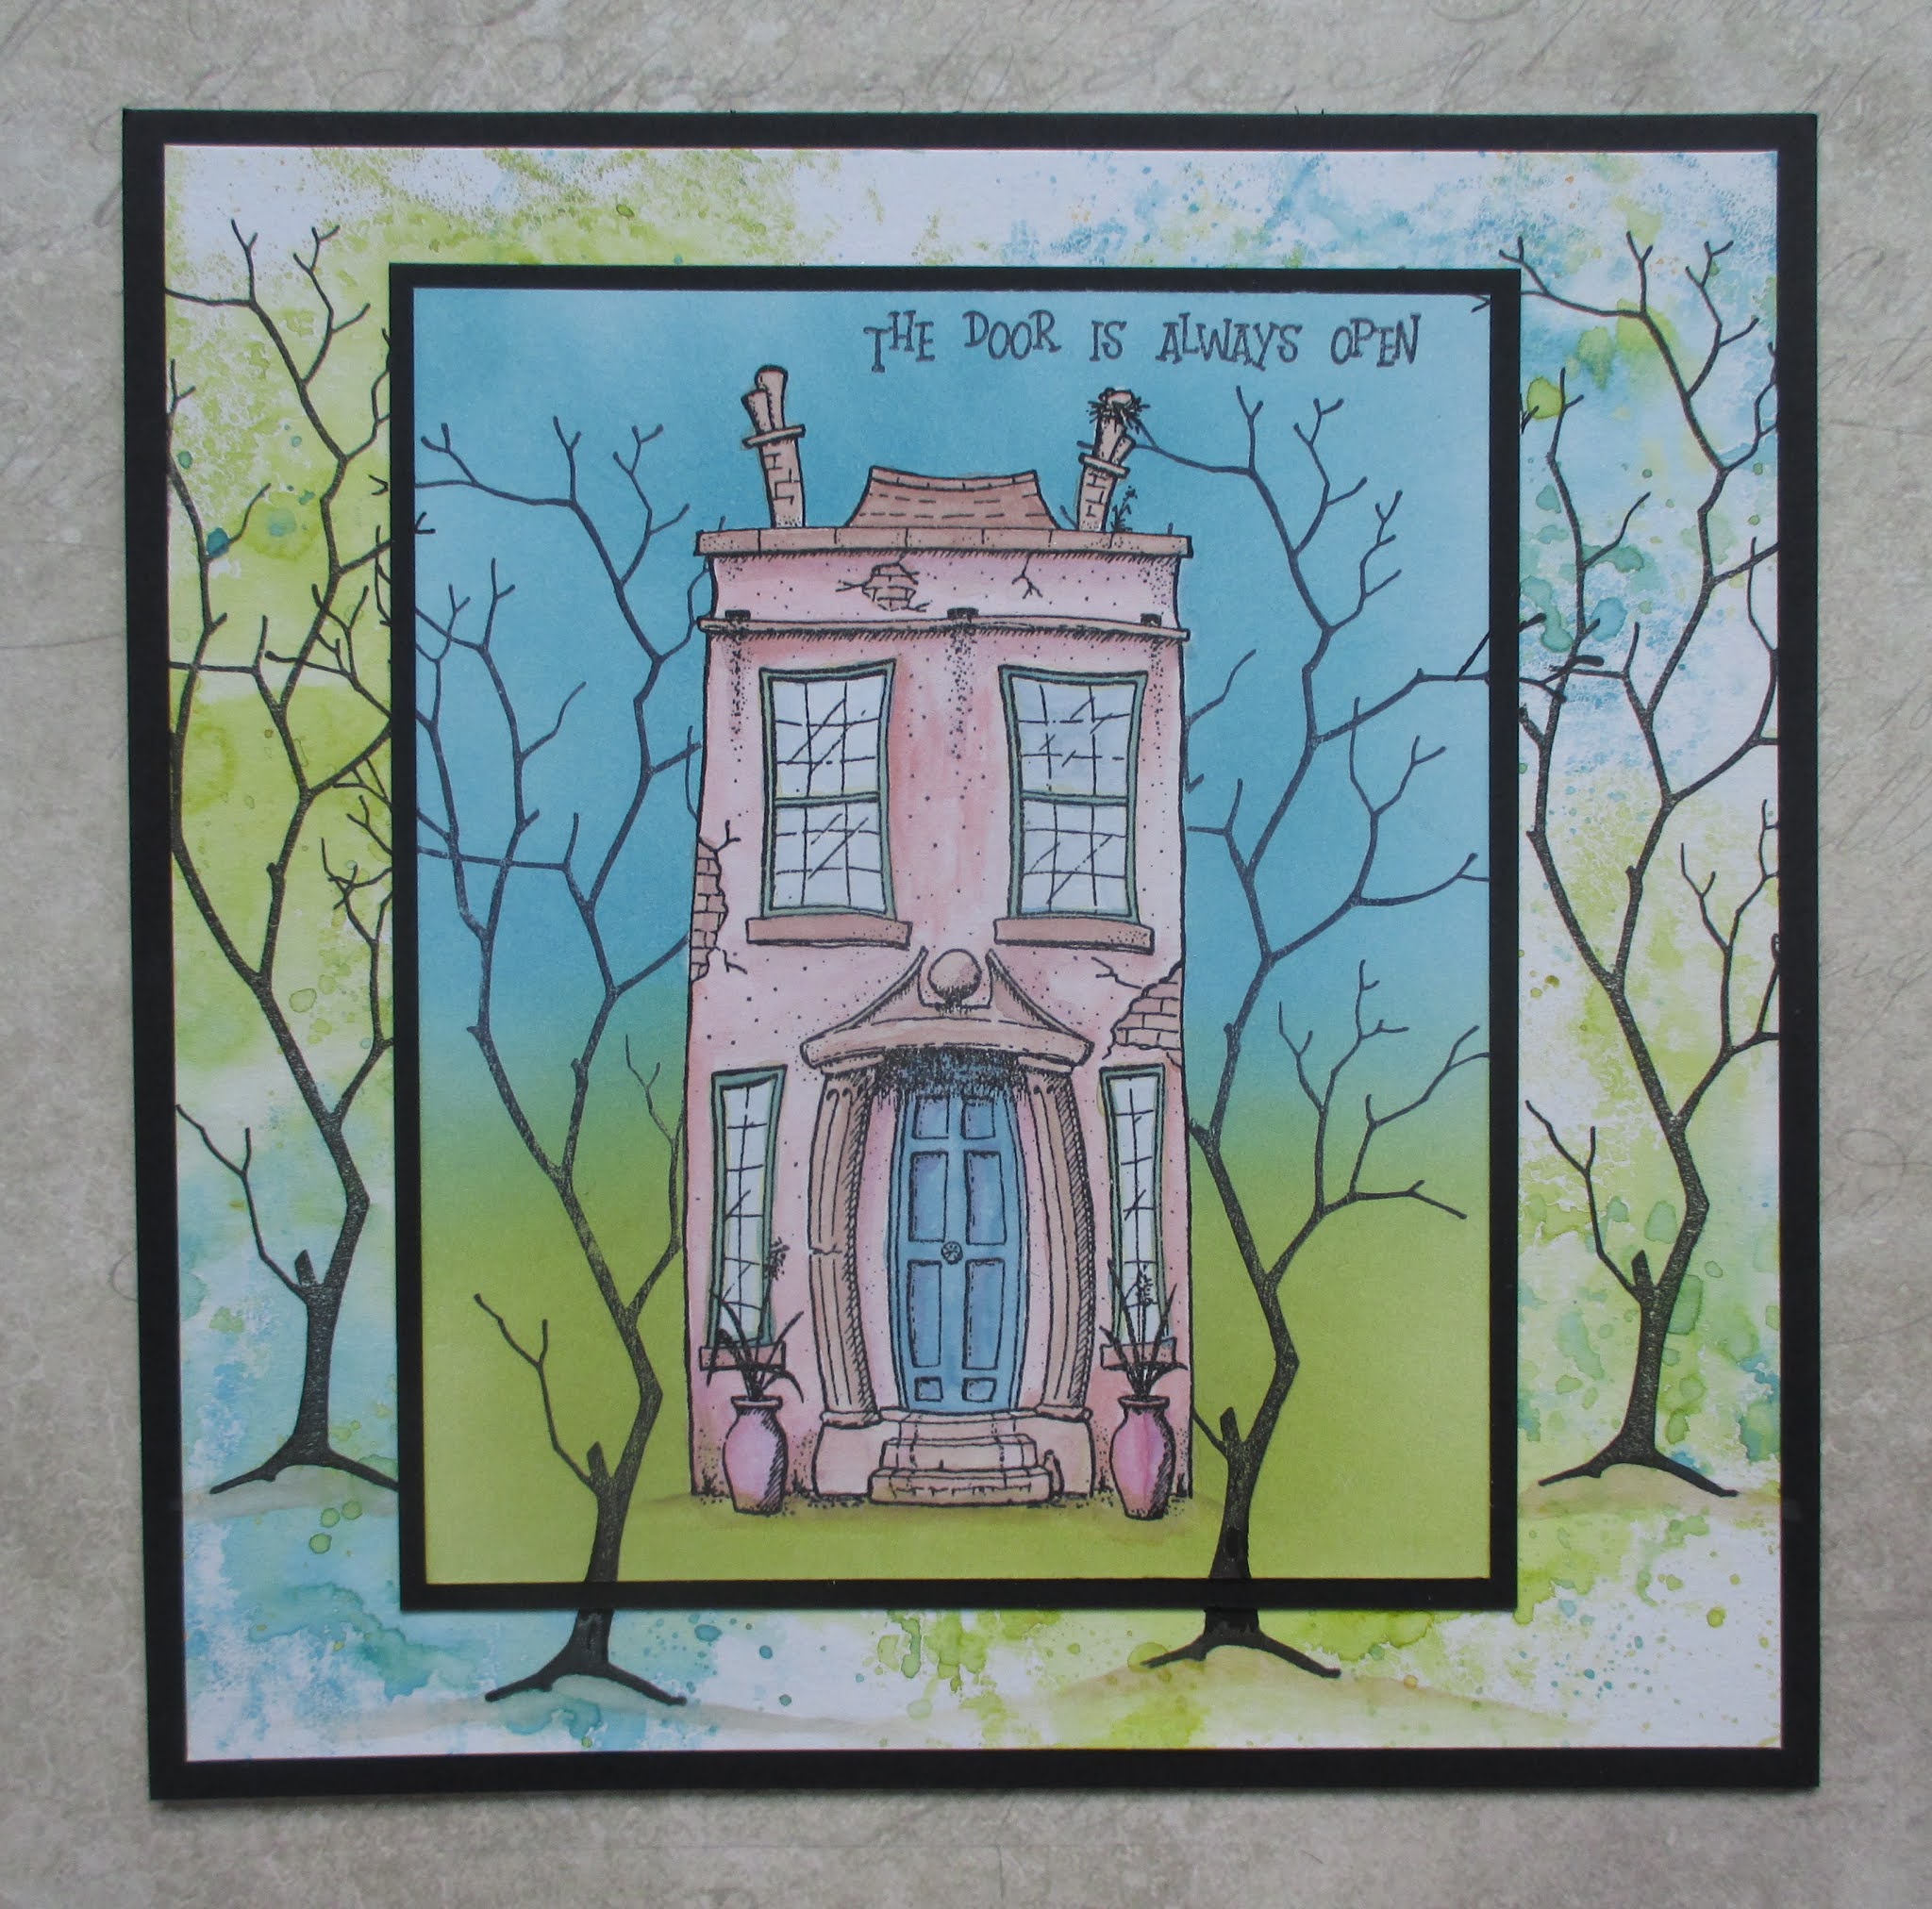
A street made from all of the houses, using a bit of masking, and I added some treees from Trees a Crowd in the background. This was such fun to make!

A moving day, who would not like to get away from it all and live in such a picturesque spot? We live near the forest and love taking long walks in the woods.

White embossing on kraft always looks so effective, especially painted with Koh-I-Noor paints.

This almost spooky version of the Posh House was another favourite sample that I enjoyed putting together with the trees.

I will be back next month with some projects from our One Day Special shows. Thanks so much for stopping by. Take care and stay safe, xx


Thursday, 21 January 2021

Floral Collage

Hello everyone, I hope that you are all keeping well. I have a project to share with you today using some of the stamps that were featured on last month's TV shows on Hochanda. 

I created a background using a stencil and a piece of drawing cartridge. I brushed three colours of Distress Ink through the stencil, (Dutch Doobadoo A5 Mask Bubbles), the colours are Faded Jeans, Wilted Violet and Peeled Paint, to give a soft backdrop for the rest of the design. I added a stamp from the Baroque Ephemera 1 stamp set in each of the four corners, using Versafine Clair Twilight and Shady Lane, and then stamped the Movie Strip Collage image onto the background. I stamped and embossed the flower portion of the image three times onto a spare piece of drawing cartridge using gold embossing powder, and coloured the images with watercolour paints.

 I cut the images out, and worked out the positioning of the flowers on the background. Before I stuck them onto the background, I added some extra splats using an image from Butterfly Mind, and a fern leaf from Wild Meadow. I used the same Versafine Clair inks as before.

I will be back later in the month with more projects to share with you. Thanks for stopping by, take care, xx


Sunday, 10 January 2021

First Post of the Year!

Hello everyone, I hope that you are all keeping well in these uncertain times. My thoughts go out to any of you who are unwell at this time, and I wish you a full and speedy recovery.

I have a couple of projects to share with you today. These projects feature stamps that we showcased during the December TV shows on Hochanda. Unfortunately, I was unable to make any new samples for the shows, and found some older samples that I had made to send to Lesley for the shows. I have since had a chance to make a couple of projects to share with you, but will also show you a few of my older cards as well this month.  

My first project is a card which mixes stamps from both Chocolate Baroque and those designed by Kim Moody. They work together so well. I coloured some drawing cartridge with some tea and let it dry thoroughly. I then stamped the larger piece with some images from A Dip in the Sea and Baroque Ephemera 1. I stamped the large postcard from Baroque Ephemera 2 onto a spare piece of background, and also the beach huts over the top. I stamped the beach huts once again onto spare card. I coloured the beach huts with Distress Ink, and decoupaged them onto the postcard. I added a couple of tickets behind the postcard, and coloured all of the edges with Vintage Photo Distress Ink.

My second project is a journal page. I enjoy using my journal to work out ideas for potential cards, or simply to play around with stamps and colour. I used two of Kim's larger stamps from Harbour Master and Jolly Roger, and stamped them on the same page. I linked them together with a fineliner pen, and added a few dots and dashes to finish the scenery. I coloured the image with watercolour pencils.

Here are a couple of my older cards using Kim's stamps:


I will be back later in the month to share more projects with you. Thanks for stopping by, take care, xx


Thursday, 31 December 2020

A New Year's Eve Wish

Hello everyone, I hope that you have had a good Christmas, and enjoyed some time celebrating the festive season, even if it has been very different to your usual celebrations. Many of you will not have been able to have spent the time together with your loved ones, or to have seen as many of your family as you would have done under normal circumstances. 

This year has been such a strange and turbulent year for many reasons, we have been thrown into a life that is so different from what we are used to, and many people have lost their jobs, their businesses, faced floods, illness, or the loss of loved ones. Lockdown has been very hard for everyone, the isolation and separation from friends and family has been really difficult. Social media, and contact through technology has really been a big help. Zoom, Whatsapp, Facebook Messenger, video calling, have all come into their own as a means to interact with other people to be able to 'see' each other and chat face to face. 

Chocolate Baroque has tried to do its part with the Butterfly Tree get togethers, allowing members of the Choolate Baroque Facebook Group to join in with the meetings and feel part of the community. The sense of belonging that is part of Chocolate Baroque, the community of crafters, learning together, and having fun getting messy and inky, has always helped to make us feel less isolated. Many friendships have been forged through the Chocolate Baroque community, I have several amazing friends that I have made personally, so I can vouch for magic of this wonderful group.

As we turn to thoughts of the approaching New Year, one thing that has continually come to my mind is that we can be grateful for what we have. We have lost so much this year, but we still have friendship, we still have family, we still have a shared love of crafting. My New Year's Eve wish for you all is that 2021 will be a better year. It may not turn out exactly as we would all like, but may you all find peaceful, contented, healthy times ahead. I hope that you will enjoy what we at Chocolate Baroque continue to share with you over the coming year, and that you will keep crafting along with us. Most of all, look after yourselves and be happy. 

I am sharing some projects with you today, part of a play session that I had using a few favourite stamps. The first and last card are made using stamps that are not currently available on the website. Hopefully they will be back on sale again soon, as they are really beautiful stamps.


Stay safe, and thanks for stopping by, xx


Sunday, 13 December 2020

A Compilation of Favourites

Hello everyone, I hope that you are all keeping well. I am going to share a few golden oldie projects with you today that feature stamps from last month's TV shows on Hochanda. These projects are favourites of mine using these stamps, and I thought that you would not mind seeing them again.

The first three projects feature stamps from the perfumery range of stamps:

Butterfly Perfumery


This card was created using a Brusho background, and I used a scrap piece of the same background for the perfume bottle.

Floral Perfumery

I created a Distress Ink background, and painted the image with toning colours.

Rose Perfumery

Another Brusho background for this wreath card. I added a bit of sparkle to the roses, although it is hard to see on this photo.

The final projects are from A Tomte Christmas stamp set:

I used a stamp from Trees a Crowd to create the scene, using first and second generation stamping. Some grey ink was added to ground the trees.

Music paper makes a great background for the card and acrylic tag.


These little gnomes are so versatile for cards and tags, and I know that you have been busy making cards and tags yourselves this year with them.


I will be back later in the month with some new projects to share with you, thanks so much for stopping by. Take care, and stay safe, xx


Tuesday, 1 December 2020

Butterfly Bauble

Hello everyone, I hope that you are all keeping well. Today I am celebrating a lockdown Birthday, and like many of you this year, it will be a subdued affair. However, I am thankful for my family around me, and will celebrate properly once we can get out and about again.

I have created a card using stamps from last month's TV shows on Hochanda. There was a fabulous selection, and I was really spolit for choice when I came to creating something for my blog post. I decided to use the plain circle from Shaded Baubles, and added a butterfly from Butterfly Perfumery as a focal point.

I found a spritzed background in my stash, which I cut down to fit a 6" x 6" card, and drew a wiggly frame using a fineliner pen. I added a sentiment, from Butterfly Perfumery once again. The splatters are from the Timeless stamp set, such a useful little stamp. 

I stamped the bauble image onto a paler version of the spritzed background so that it toned in with the main background, and then stamped the butterfly on top. I stamped the butterfly again on a piece of spare card, and coloured it with Inktense pencils, blending them with a water brush. I added shading around the edge with Rusty Hinge Distress Ink. I fussy cut the image, and decoupaged it onto the circle. 

Thanks for stopping by, take care, and stay safe, xx


Sunday, 22 November 2020

Hello everyone, I hope that you are all keeping well. Today is my Wedding Anniversary, and I should have been in sunny Mexico, but as with so many things this year, it was not meant to be. Like so many of us, I know that family, friends and the simple things in life are far more important than holidays and lots of possessions. Enjoyment of Nature, the changing seasons, and the promise of Spring and lighter nights always seems to spur us on.

I have made some projects using the beautiful stamps showcased on last month's TV shows on Hochanda which I am sharing with you today. The first card uses the lovely Be at Peace stamp drawn by Dawn. I have given the card an Autumnal feel by colouring the leaves in different colours, so quick and simple to do. I added the sentiment in a circle around the tree, and distressed the edge of the background before matting onto kraft card.


My next two projects were created using the Life is Wonderful stamp set. I created a gelli plate background using green ink and a texture tool, and then stamped the little dragonfly over the top. I coloured the image with pencils.

My final card was created by stamping and embossing onto black card with white embossing powder. I painted the image with Koh-I-Noor paints, and added some splatters with white paint. I used one of Lesley's zingy Designer Papers A5- Background Splash to matt the design onto. Definitely much bolder than my previous design!


Thanks so much for stopping by, as always, stay safe, and take care. xx


Friday, 13 November 2020

Splats and Flowers

Hello everyone, I am back to share a few more projects with you using some of the fabulous stamps that were showcased on last month's TV shows on Hochanda.

For my first two cards, I have used the large gerbera stamp from Gerbera and Friends, drawn by the very talented Annabel.

To create my first project, I used a small round gelli plate and added colour using yellow Versafine Clair ink. I added texture with some bubble wrap, before stamping the gelli plate onto the background. I repeated this process until I had filled the background. I stamped over the top of each circle using the gerbera stamp and dark brown Archival Ink. I used the same ink to stamp onto white shrink plastic, and coloured the image with pencils, before I puched a hole at the top of the image and cut it out. I shrunk the image using a heat gun, and flattened it while it was still hot, using an acrylic block.

I stamped the sentiment onto some yellow ribbon, again using the Archival Ink, and once it was completely dry, attached the ribbon to the background. I attached the shrink plastic image to the ribbon using a couple of jump rings.

To create my second card, I added colour to the background using a roller, and then stamped the splatter stamp over the top. I stamped the gerbera images onto scrap card alrrady coloured with blue and purple Distress Ink, and cut them out. I have decoupaged the images, so that the inner sections have been stamped and cut out again for extra depth. I added shading with pencils to create more shadow on both flowers just beyond this central area too. Before I attached the flowers to the background, I selected a  design from the Silhouette Grasses stamp set, and stamped that behind where the flowers were going to be placed. I used the flowers as a guide to help decide where to stamp, and used a lovely plum shade of Versafine Clair ink in first and second generation stamping.

I used a spare piece of the purple card left over from the flowers to stamp the sentiment, and roughly tore the edges, to allow the white edges to show.

My next two projects were created using the Canary Bird Rose stamp. I have really enjoyed creating backgrounds using these two stamps particularly, from the Gerbera and Friends stamp set during this period. As in the previous card, I used a roller to lay colour onto the background, and then I used the splatter stamp and the lines stamp, to create a collage effect. These really are such useful stamps.

I stamped the Canary Bird Rose onto a whiteboard heart using brown ink, and then edged the heart using a green Distress Ink. I coloured the image with pencils.

 My final project was created using kraft card. I stamped the image and sentiment using brown ink, and coloured the entire image using a white pencil. I then coloured over the white pencil with the colours that I wanted to add, creating a very soft look. Finally, I added some white splatters using some white paint.

I hope that you will try out some of my ideas. Thanks so much for stopping by. Stay safe and take care, xx


Sunday, 1 November 2020

New Talent at Chocolate Baroque

Hello everyone, I am sharing a few projects today featuring stamps that were showcased on last month's TV shows on Hochanda. The stamps were designed by Lesley's very talented Granddaughter Annabel, and another new designer to Chocolate Baroque, Dawn. These beautiful floral stamps are absolutely stunning, and we hope that you will enjoy our projects this month, and be inspired by what we have created with the stamps.


My first project was created with the lovely Dream Petals stamp. I coloured some Drawing Cartridge with Distress Inks, and stamped the image twice. I cut it out, and scunched it up, to give it a crinkled texture. I attached the image onto a Brusho background from my stash. I stamped the sentiment onto a scrap piece of card, masking the part of the sentiment that I did not want to use each time before I inked up the stamp. This enabled me to split the sentiment. I edged the sentiment strips with red Distress Ink to take away the whiteness of the card, and to tie them in with the main flower.

I added a hand drawn stem using a fine liner pen. I stamped the small dragonfly onto scrap card, coloured it with pencils, then decoupaged it onto the background.

I used the same flower stamp for my next card, stamping three times onto book paper, and colouring the images with orange and red Distress Ink. I created a background using Distress Ink, and added the splat from Gerbera and Friends in toning colours. I stamped the dandelion clock, using it as stalks for the Dream Petals flowers, which I laid over the top.


My final card for today uses the same dandelion clock stamp over another Brusho background. I embossed the flower three times using white embossing powder, and then added more of the flowers using Versafine Claie Ink in a teal and purple colour, to give the effect of a field of dandelions. I used first and second generation stamping. This card would be useful for so many occasions, including a sympathy card.


I will be back later in the month with more projects to share with you. Thanks for stopping by. Take care, and stay safe. xx 


Friday, 23 October 2020

Having a Lightbulb Moment

Hello everyone, for my final post this month, I am sharing two projects using the beautiful Lupin Blueprint stamp set. This fabulous stamp set is full of beautiful images, and some lovely sentiments. I really enjoyed working with this stamp set and will definitely be using it a lot!

For my first card, I created a background using a technique that Lesley shared with us on a Butterfly Tree get together. I painted a piece of scrapbook paper with white paint, then rolled Distress Ink over the top. I added stamping and stencilling with the same colours to create a collage effect. The whole effect looks very vintage, and makes a great background for the main image. I coloured the image with pencils, coordinating with the background colours. I also added some shading around the edge with Distress Ink.

To create my second card, I used a piece of scrap background from my stash box. This brightly coloured piece of card was crying out for some of the lightbulbs, and I stamped them across the yellow area in the middle of the page. I drew some lines at the top to hang the bulbs from, so that they were not floating in mid air. I created a matching background using the same colours of Distress Ink, and stamped the large lightbulb randomly over the top, using turquoise Archival Ink.

I hope that you have enjoyed the blueprint series of stamps this month, thanks so much for stopping by. Take care, and stay safe. xx


Related Posts Plugin for WordPress, Blogger...